| February 2021 | 1 |
| January 2021 | 1 |
| November 2020 | 1 |
| October 2020 | 3 |
| May 2020 | 2 |
| March 2020 | 5 |
| September 2019 | 1 |
| August 2019 | 2 |
| May 2019 | 3 |
| July 2018 | 1 |
| June 2018 | 2 |
| May 2018 | 23 |
| 2015 Willys 2.5in JKS Lift | Feb 25 2021 |
| 2017 Ford F350 gets a lift | Jan 28 2021 |
| Lifted Adventure Van | Nov 02 2020 |
| 2018 Jeep Wrangler Lifted & Locked | Oct 23 2020 |
| Lifted 2020 Toyota 4Runner | Oct 20 2020 |
| Lifted 2019 Toyota 4Runner with Toytec | Oct 20 2020 |
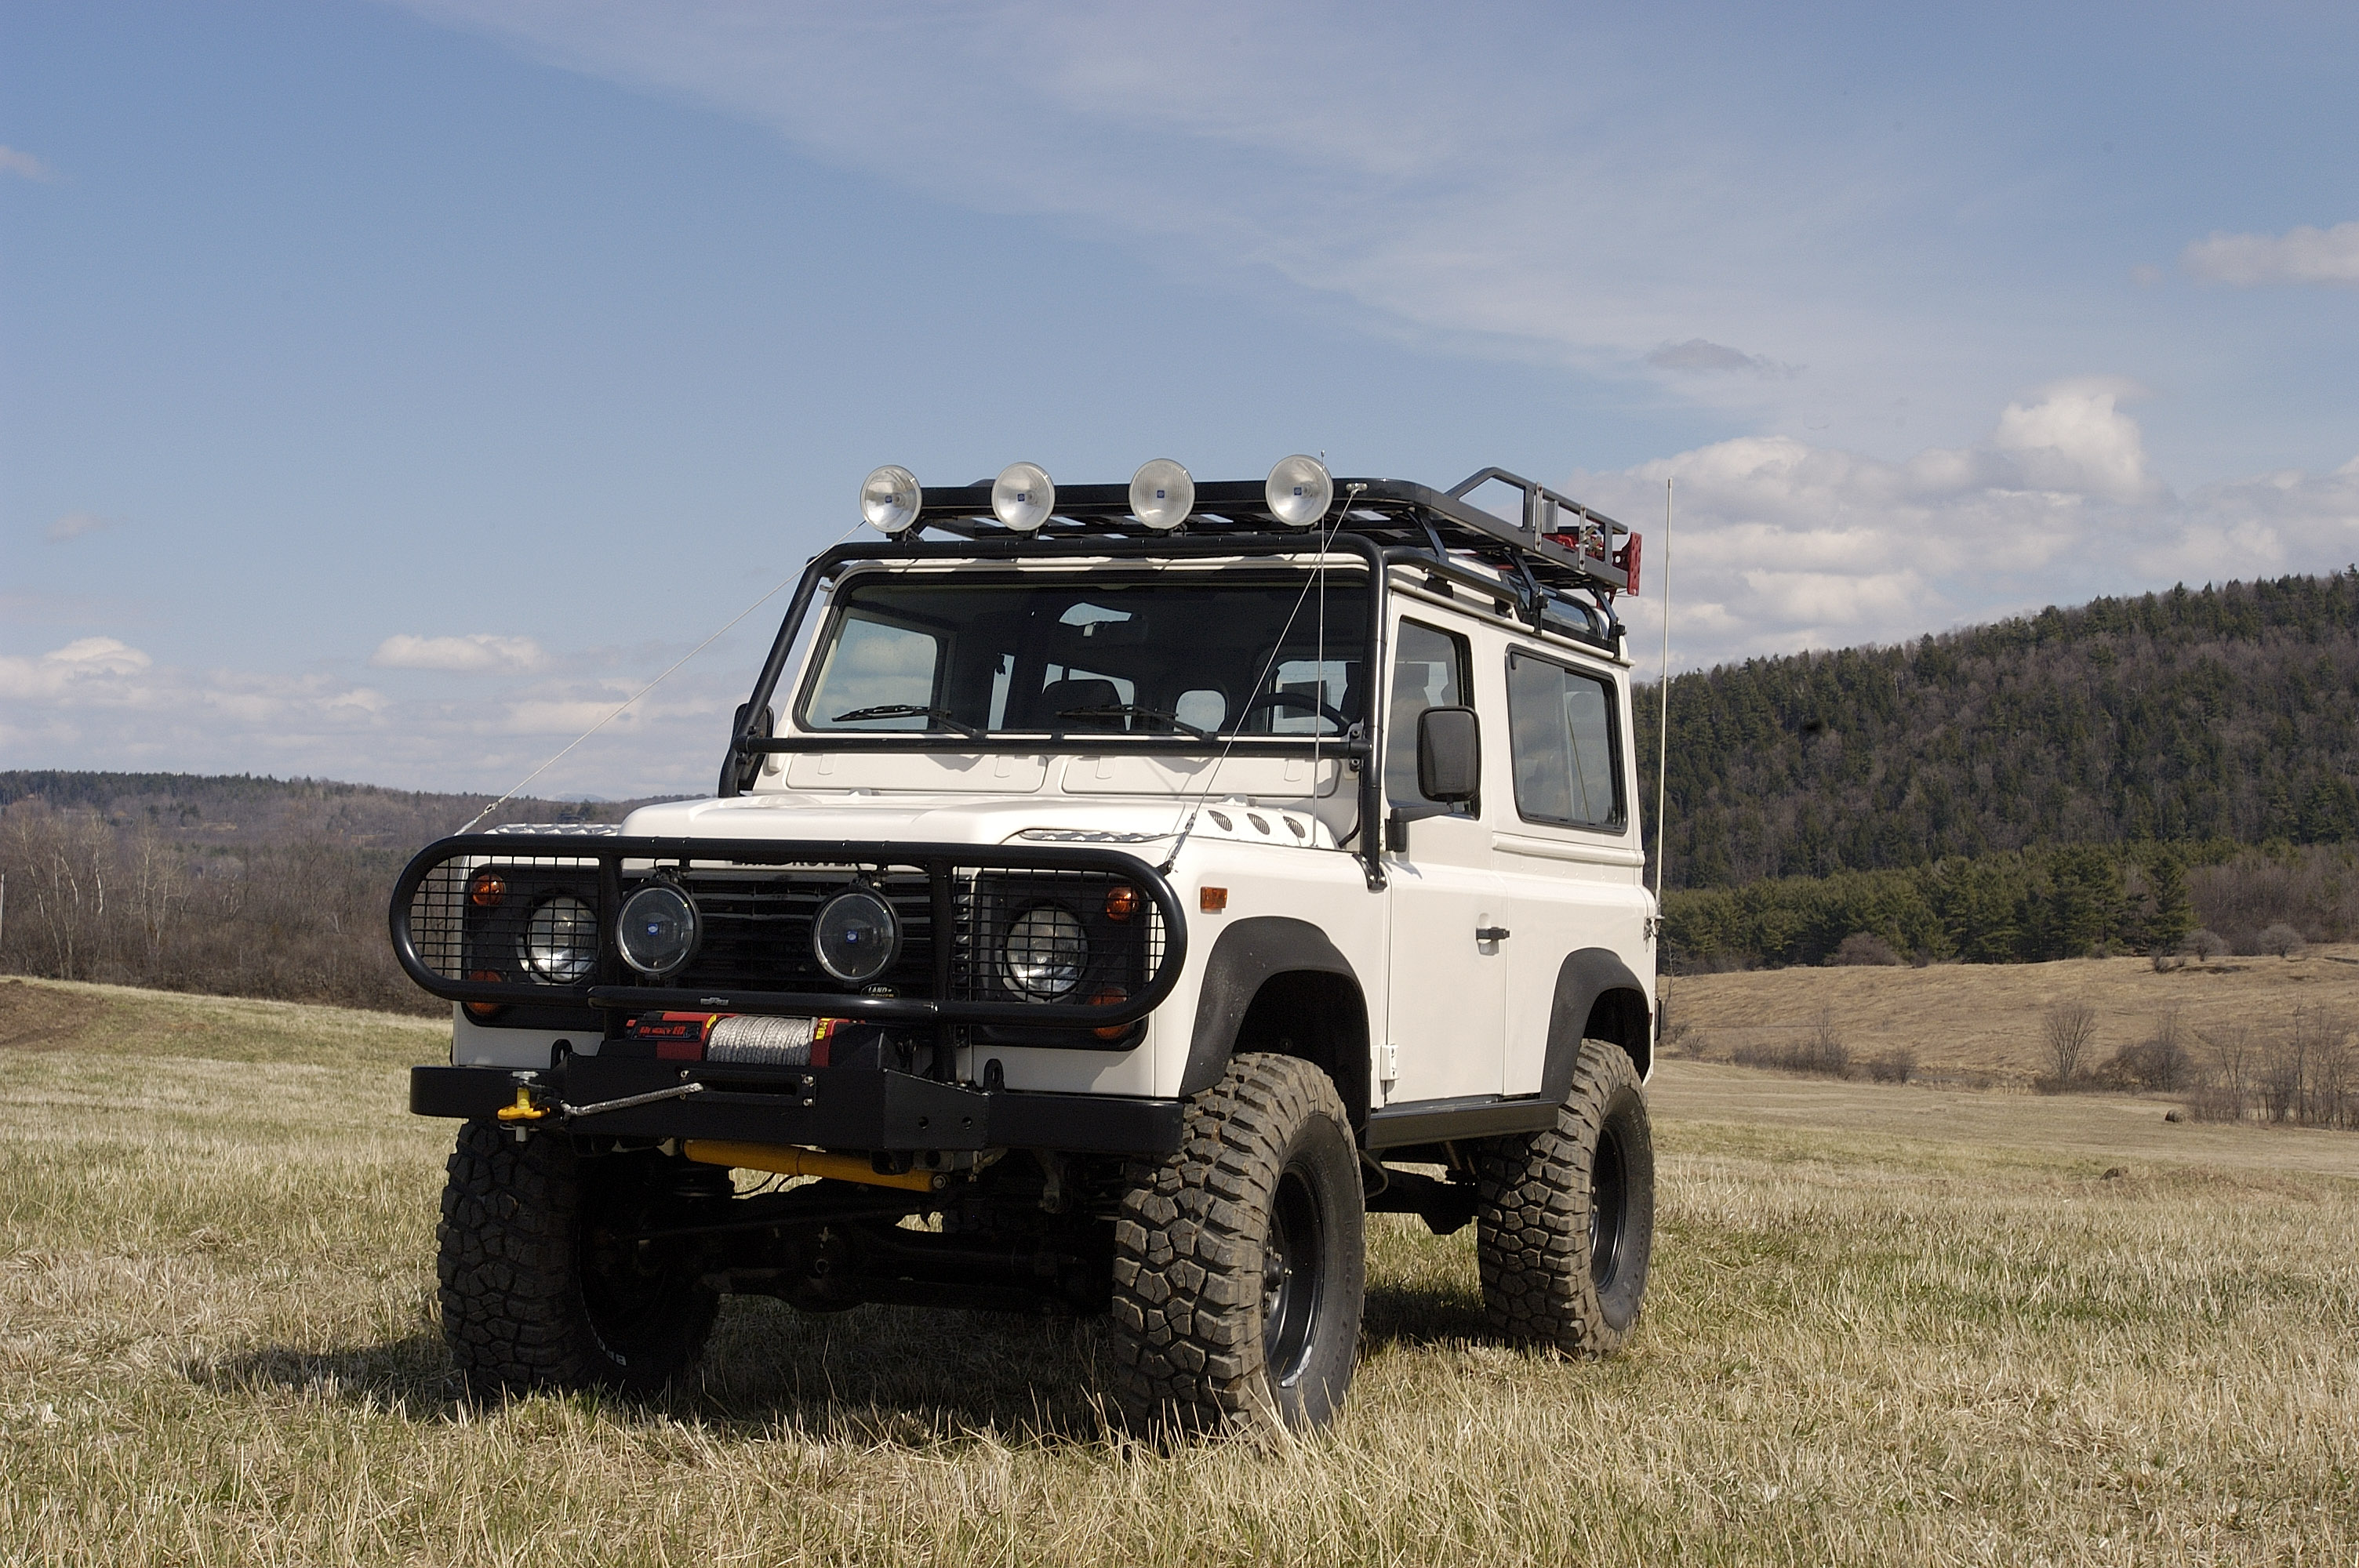
1995 Defender 90 - Restoration
1995 Defender 90
The customer of this white 95 D90 station wagon 5 speed wanted to set it up for a variety of off road travel primarily in Mexico. It got shipped to us from California but that was not where it had spent most of its life & as it was somewhat rusty. The body was in decent shape, the chassis was somewhat rusty & the floors of the firewall had some rust.
The customer’s wish list was:
- 4.6 motor.
- Galvanized frame.
- Repair corrosion as & where necessary.
- Underdrive
- 4.10 gears & ARB air lockers.
- Off road suspension.
- Bigger tires.
- Fix & tidy up ancillary wiring.
- Limb risers.
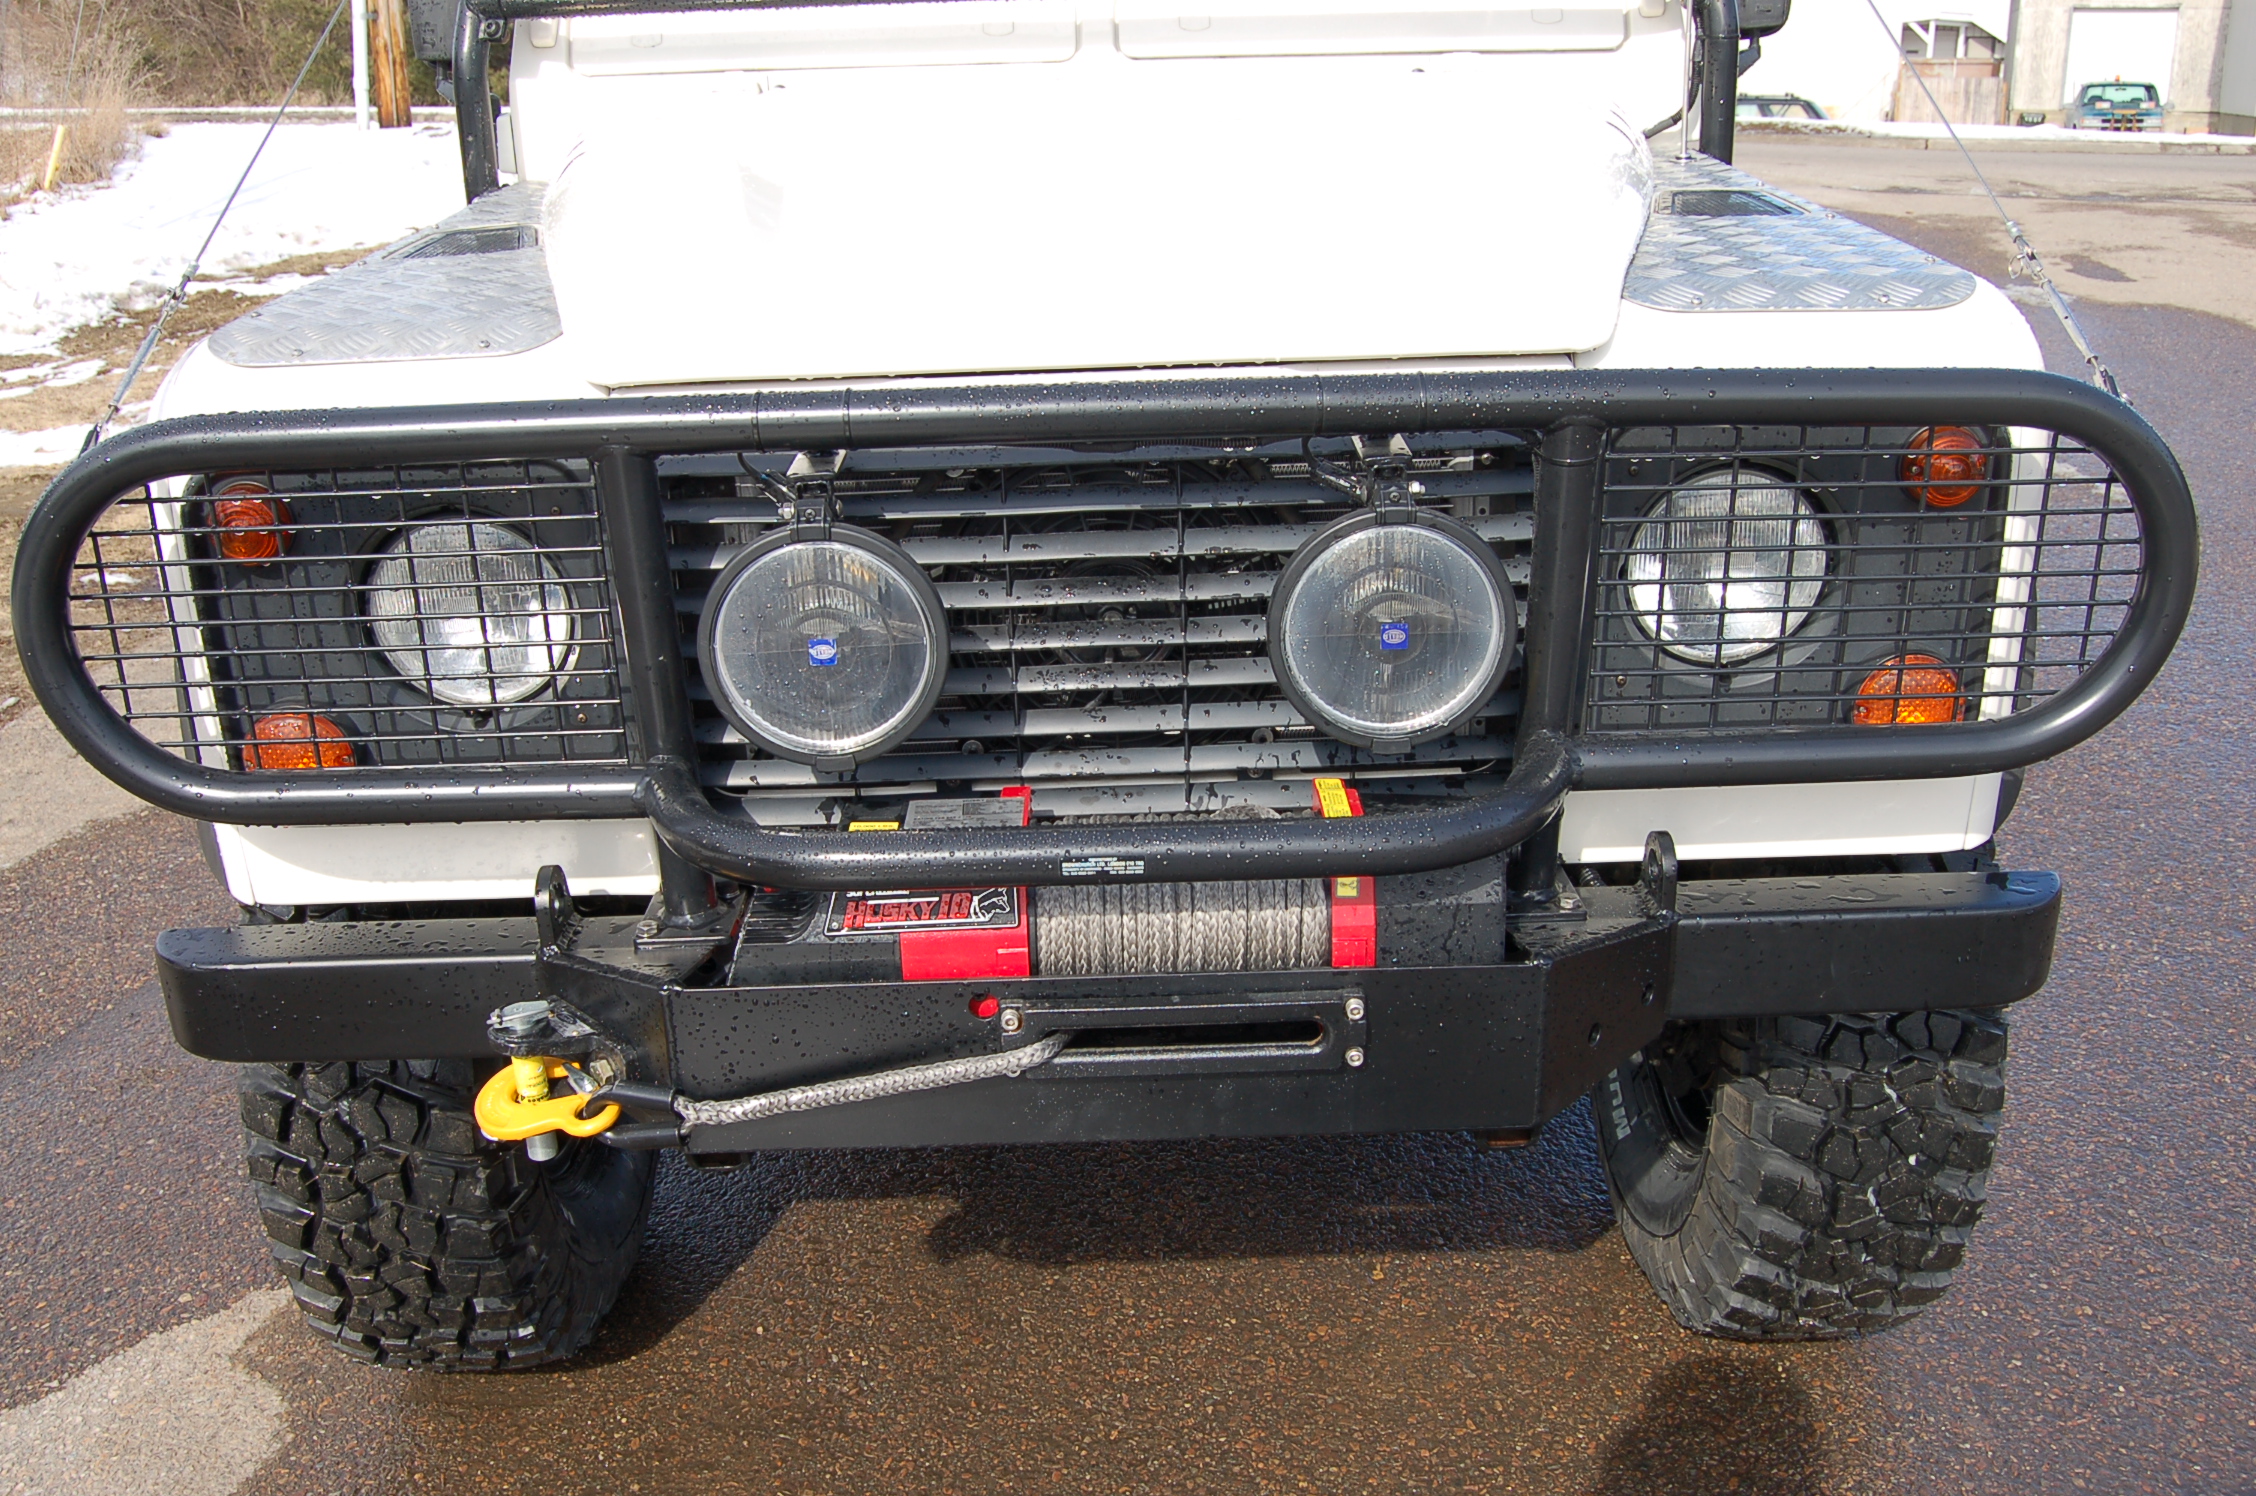
- Winch & brush bar.
- Dual batteries
- Work & driving lights.
- Stainless steel brake & fuel lines.
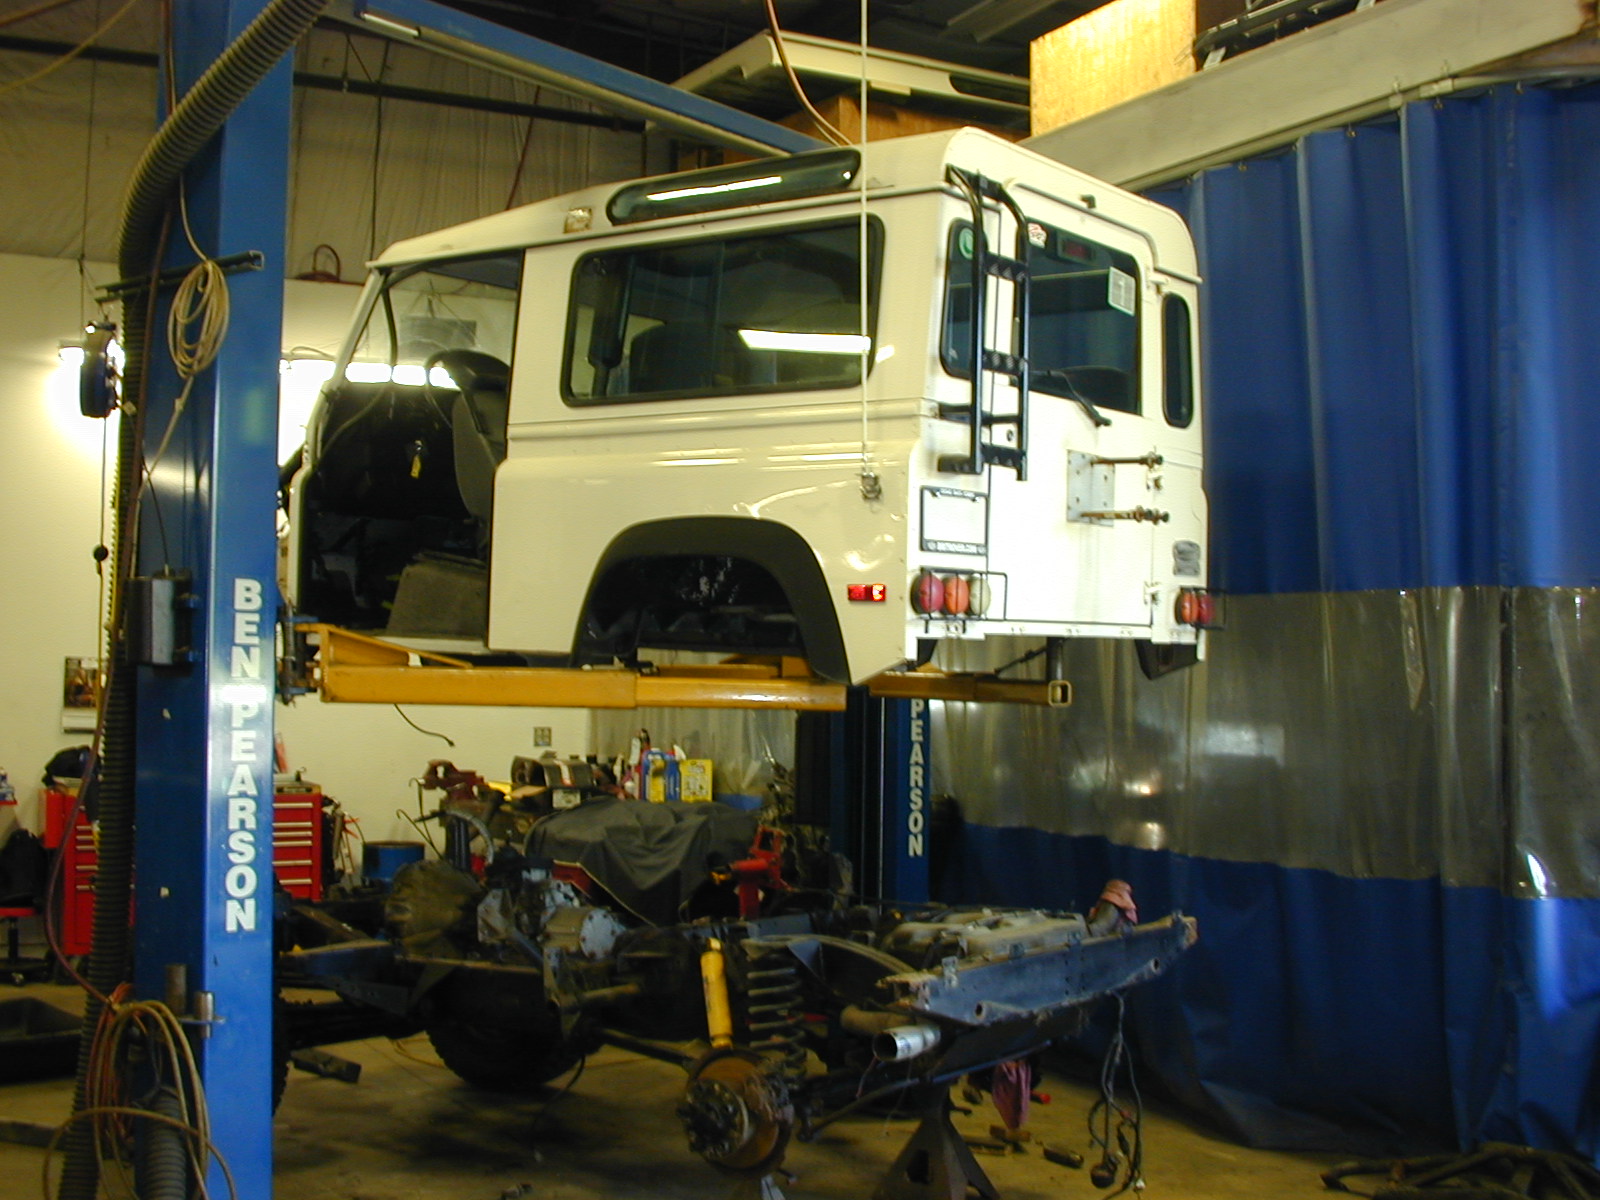
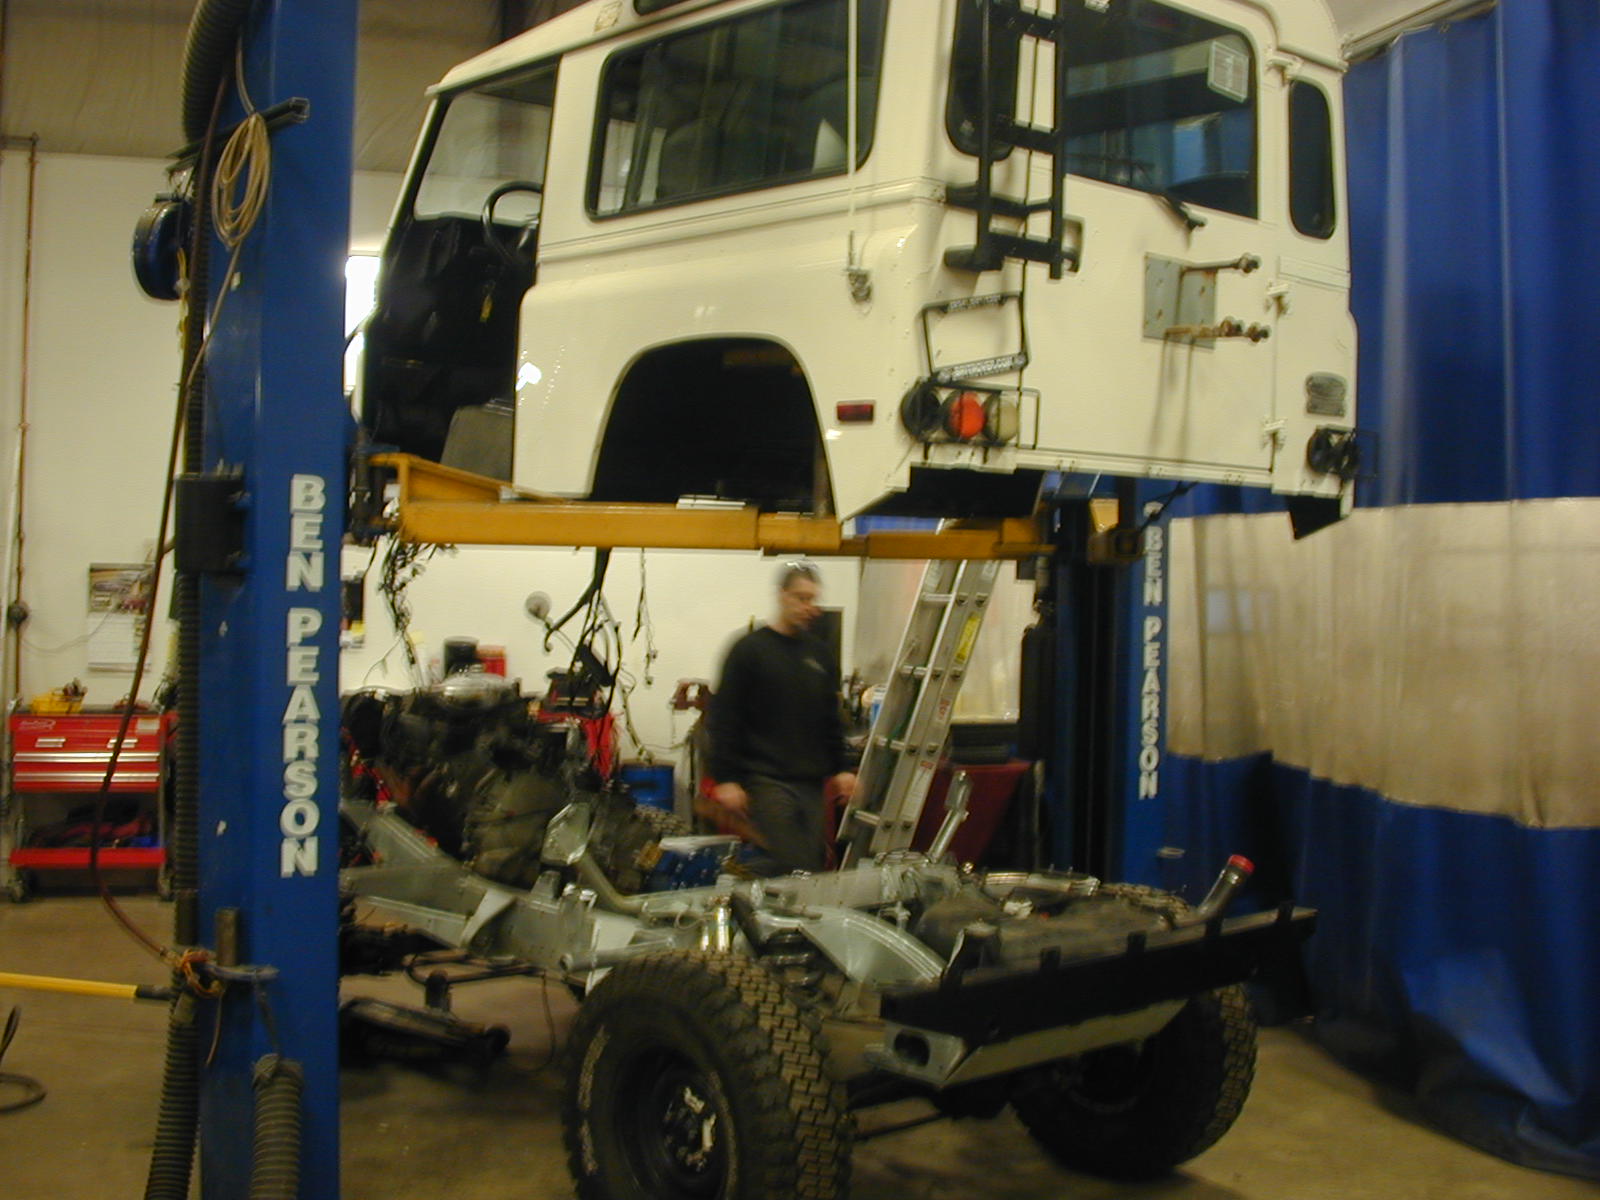
As the firewall was not getting replaced & we were not painting the whole body the rear half was left together & picked up as one. This saves quite a lot of time & small parts.

The 4.6 long block is put on an engine stand to have the ancillaries put on it prior to being installed in the chassis.
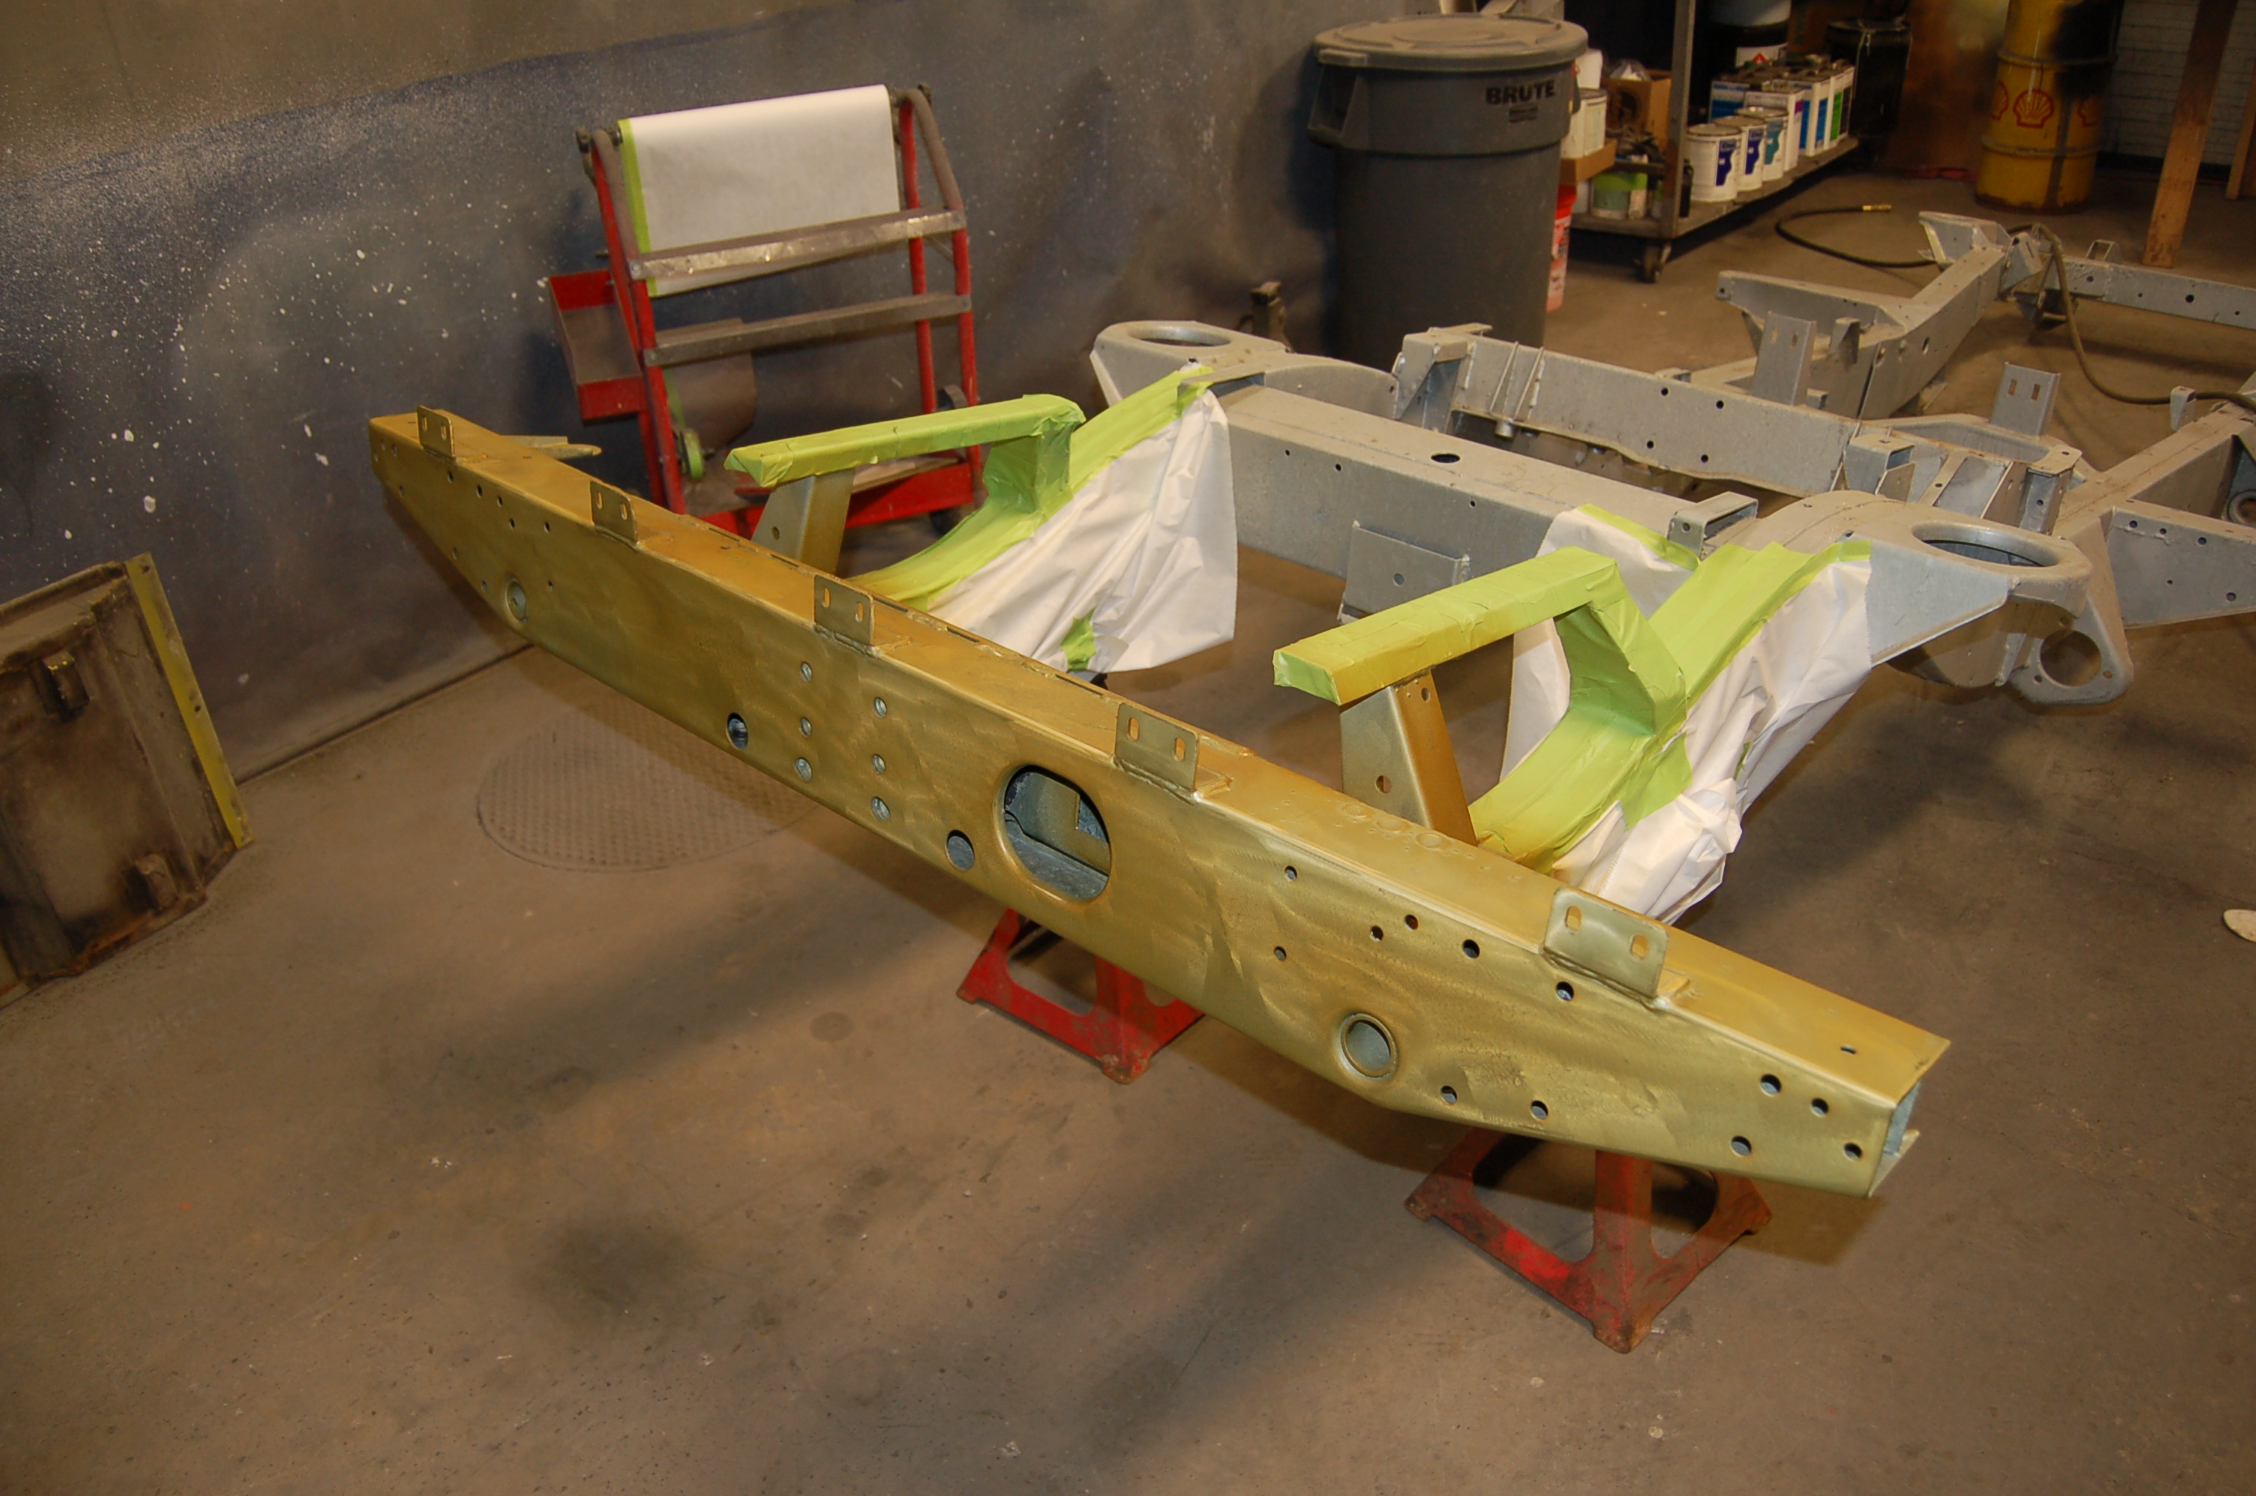
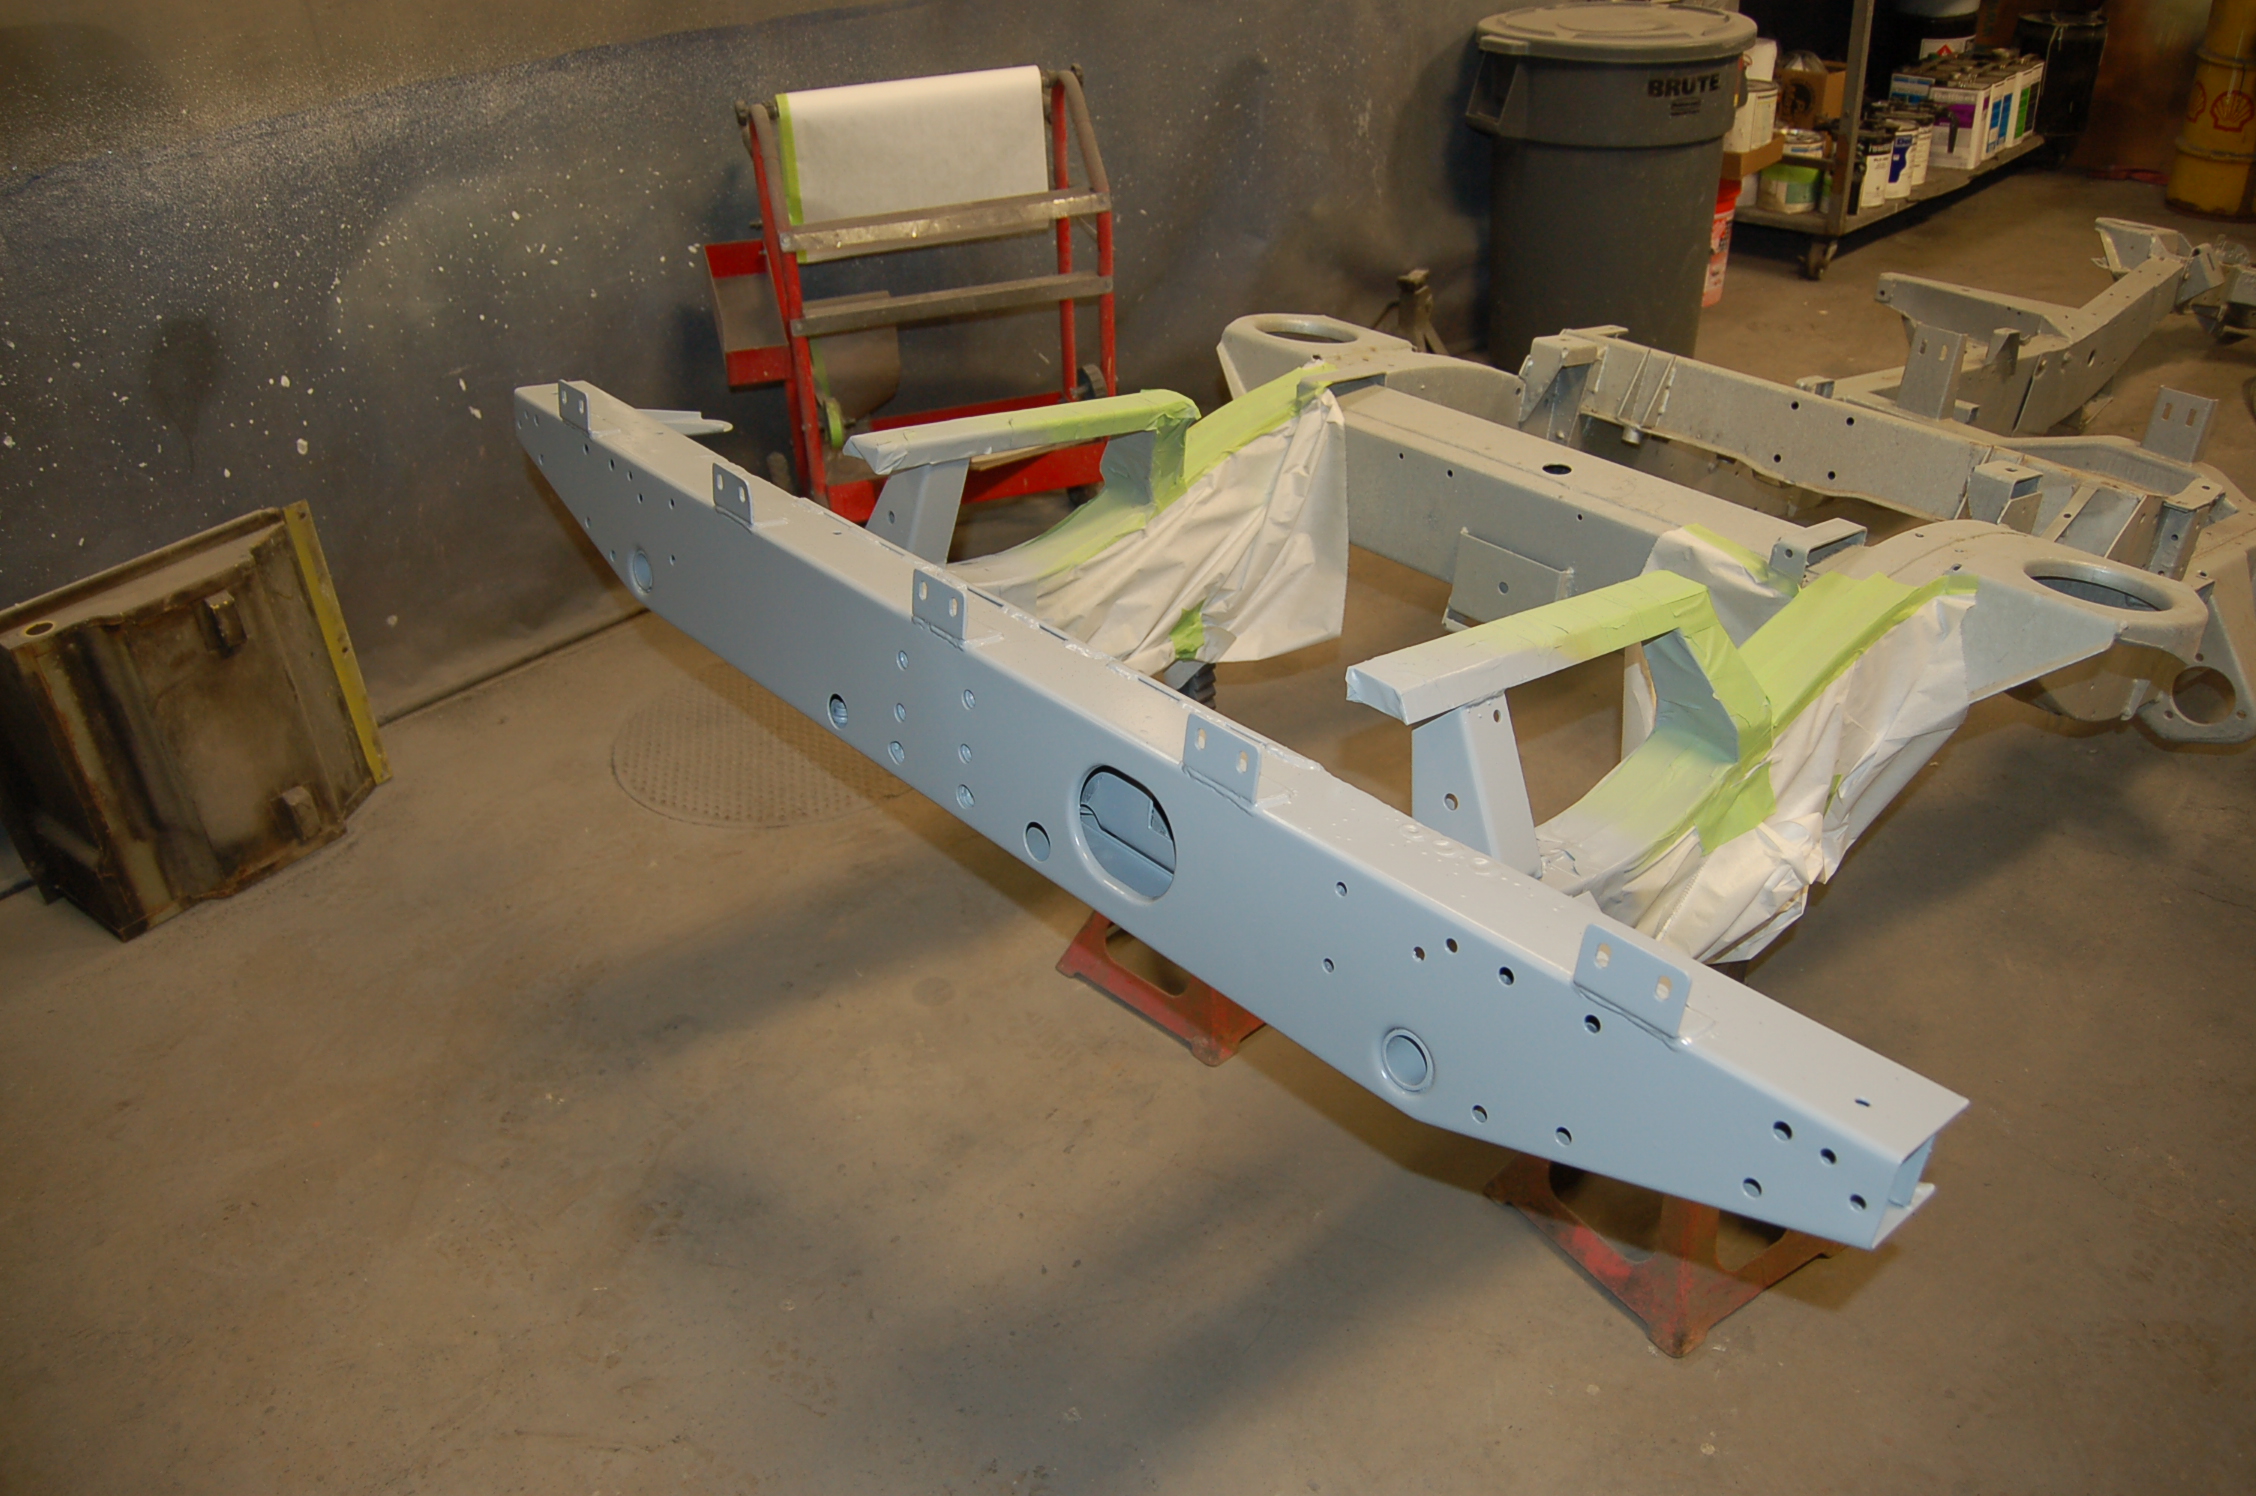
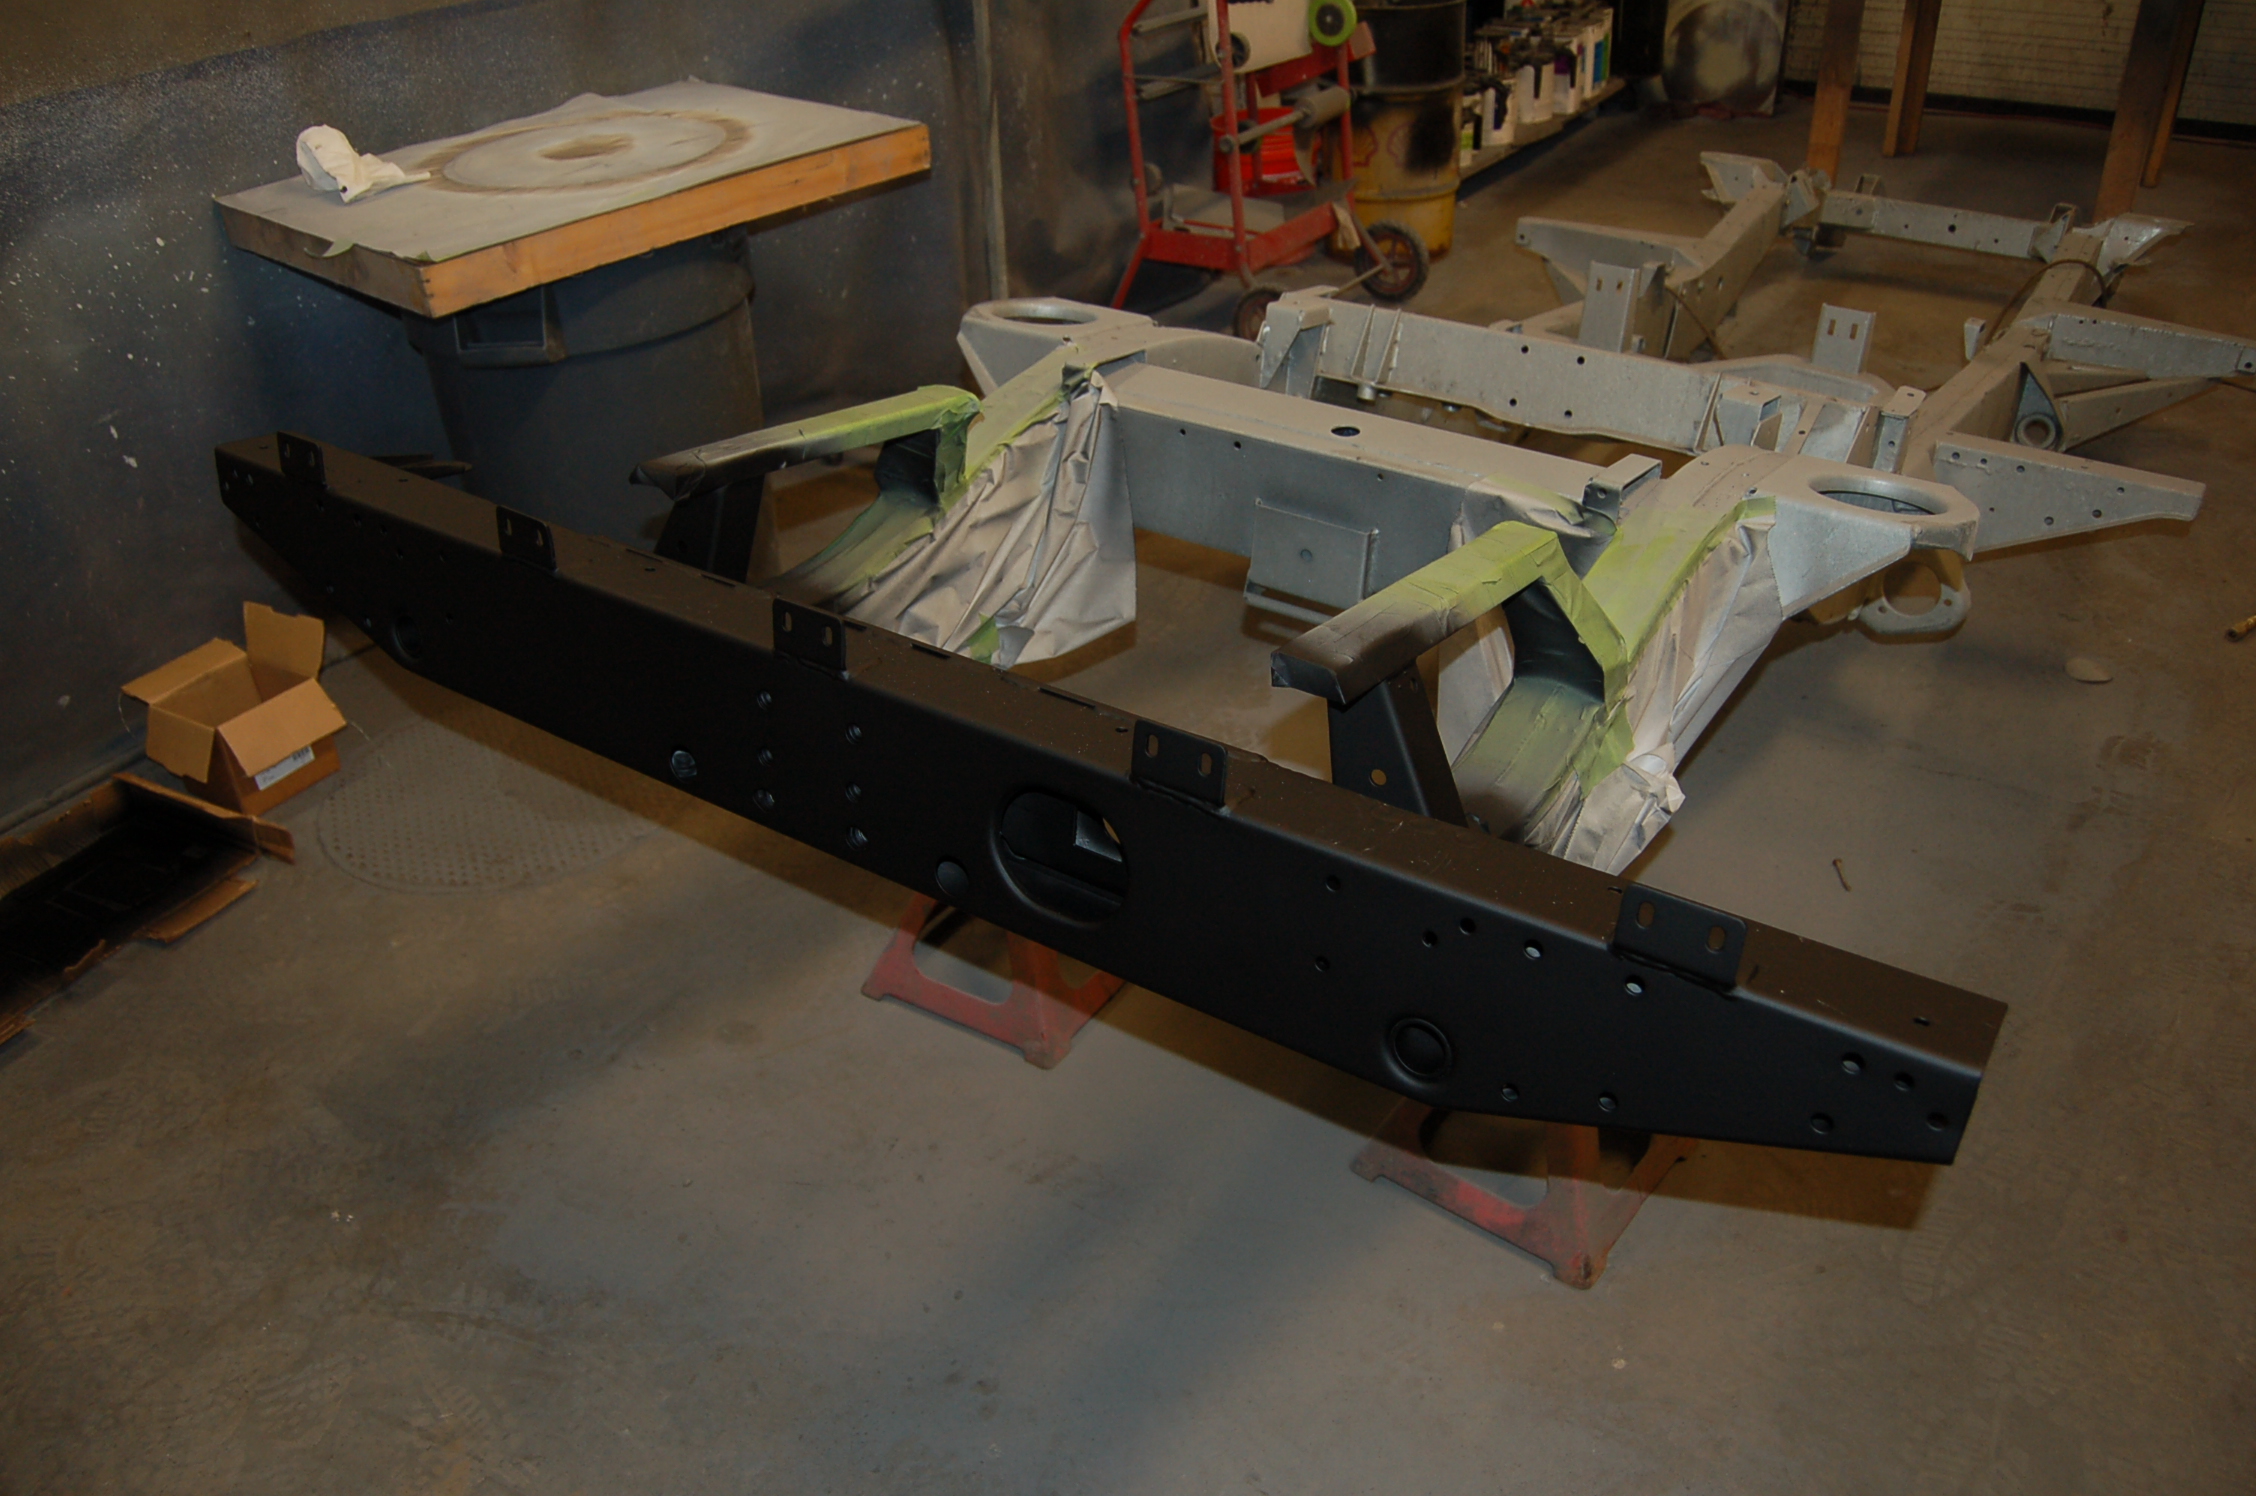
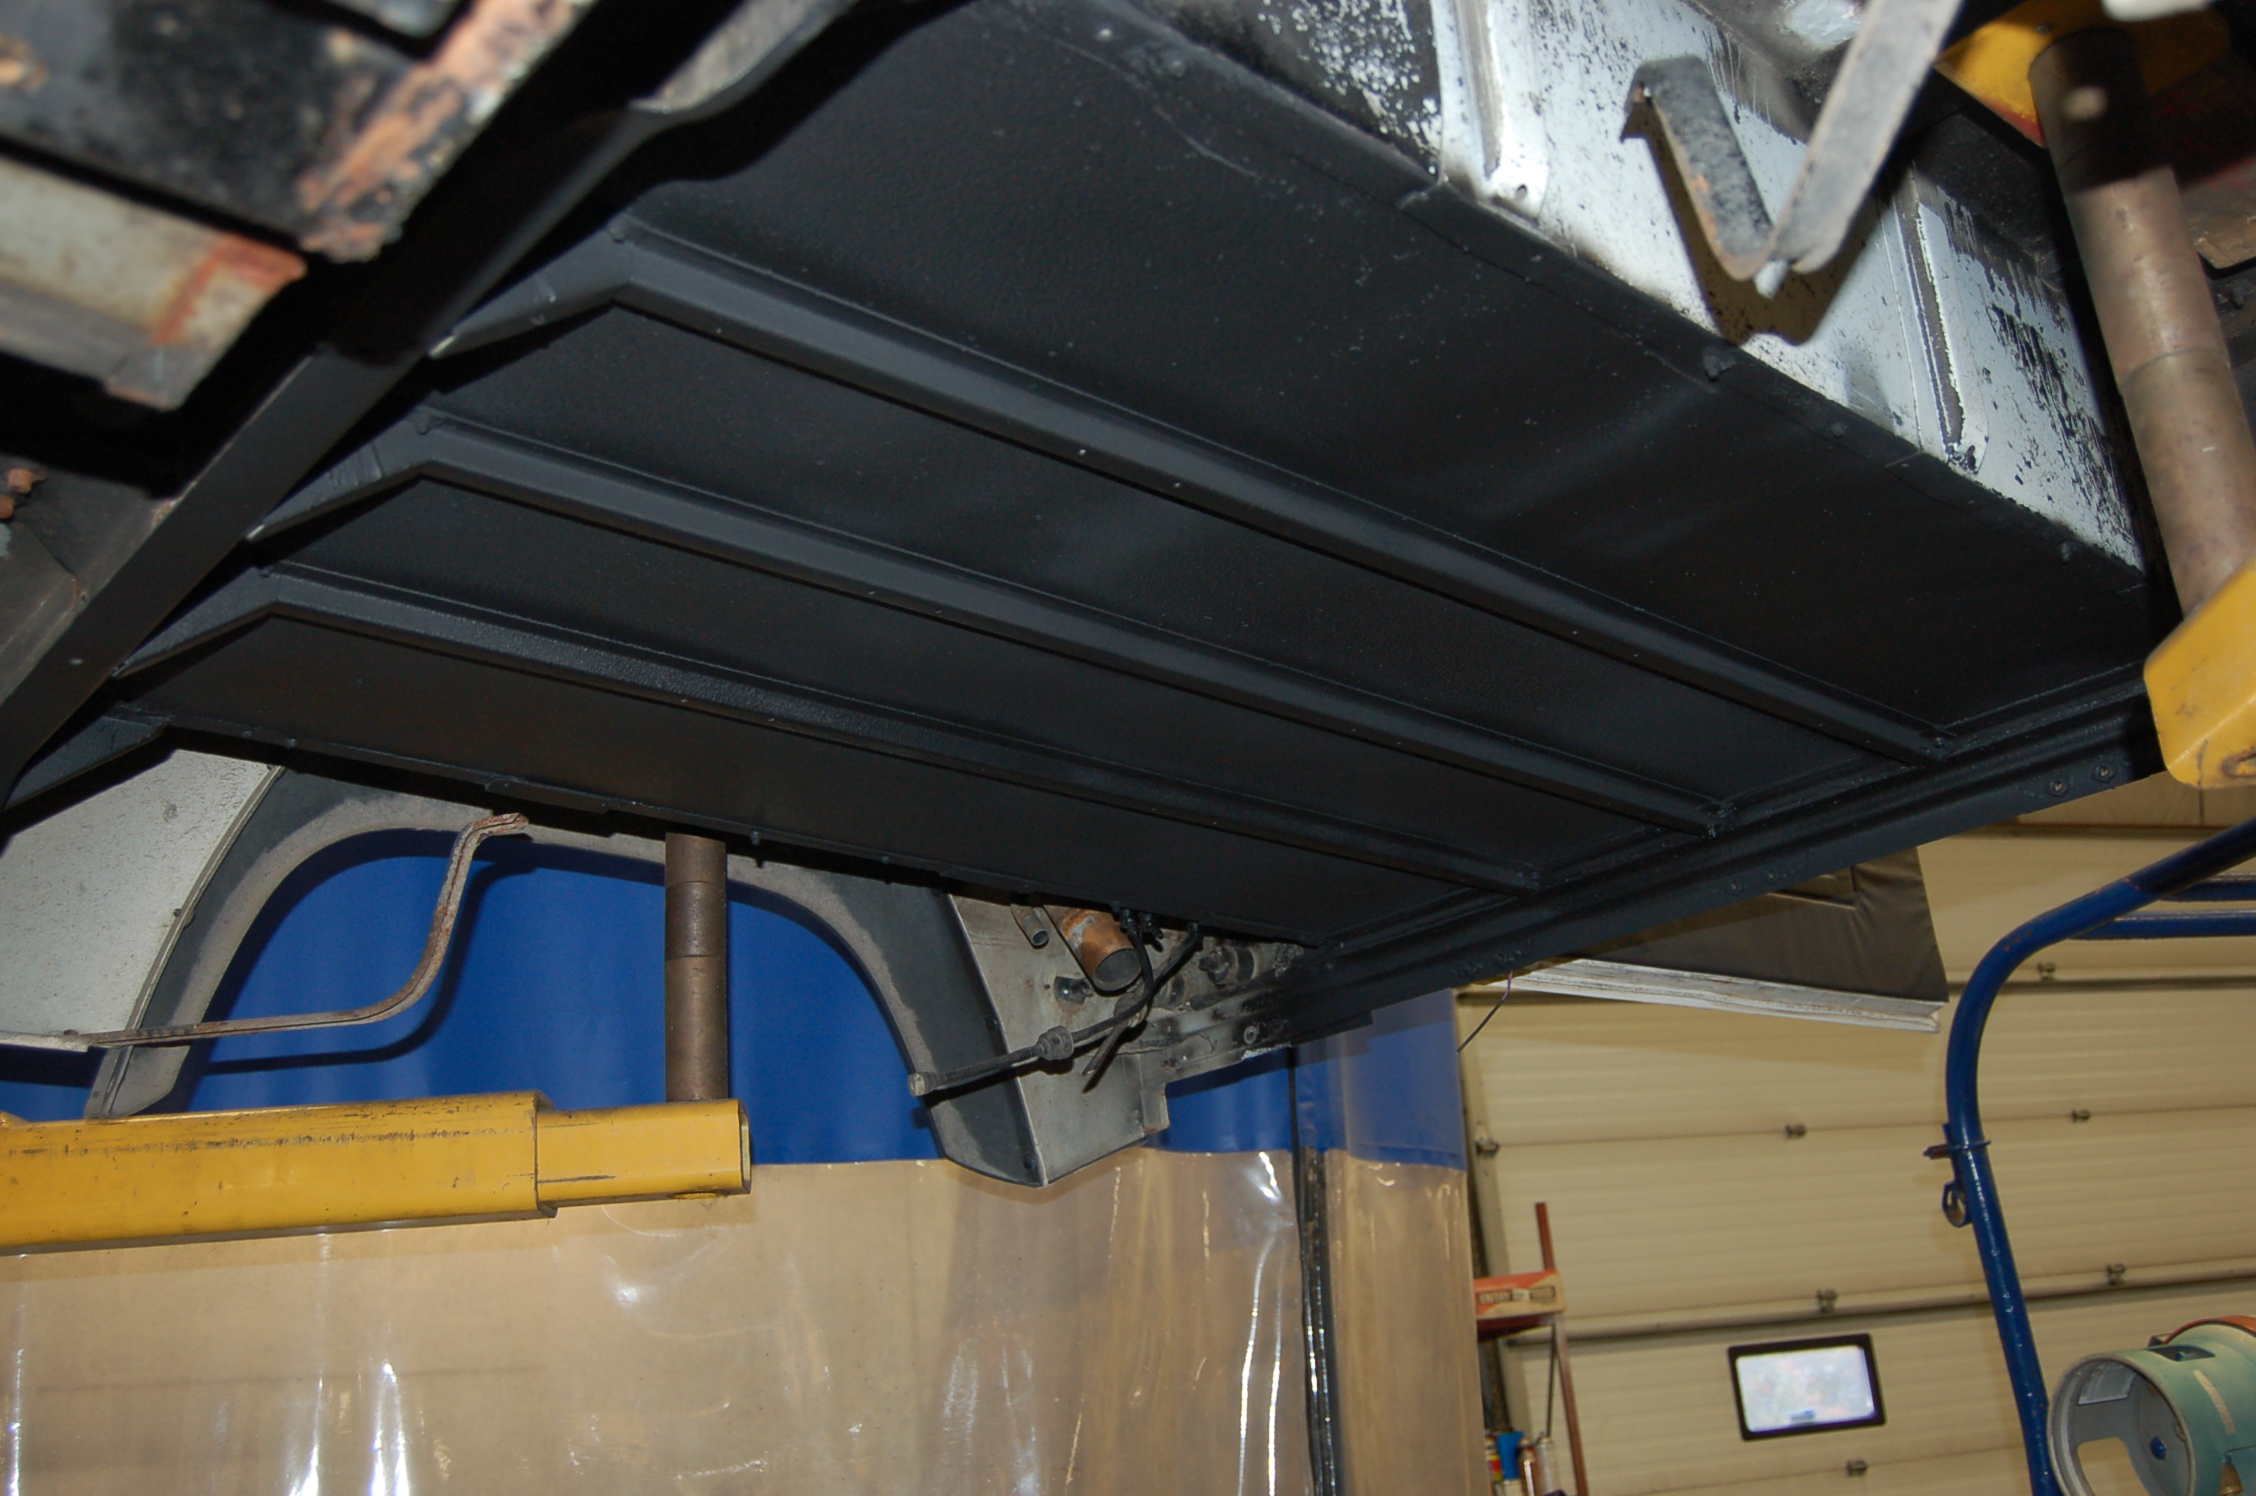
The new galvanized chassis rear x member was painted black & then the inside was undercoated & waxoyled. This gives it an original look from the rear & gives it an extra layer of protection. Making paint stick to galvanize requires a special multi step procedure.
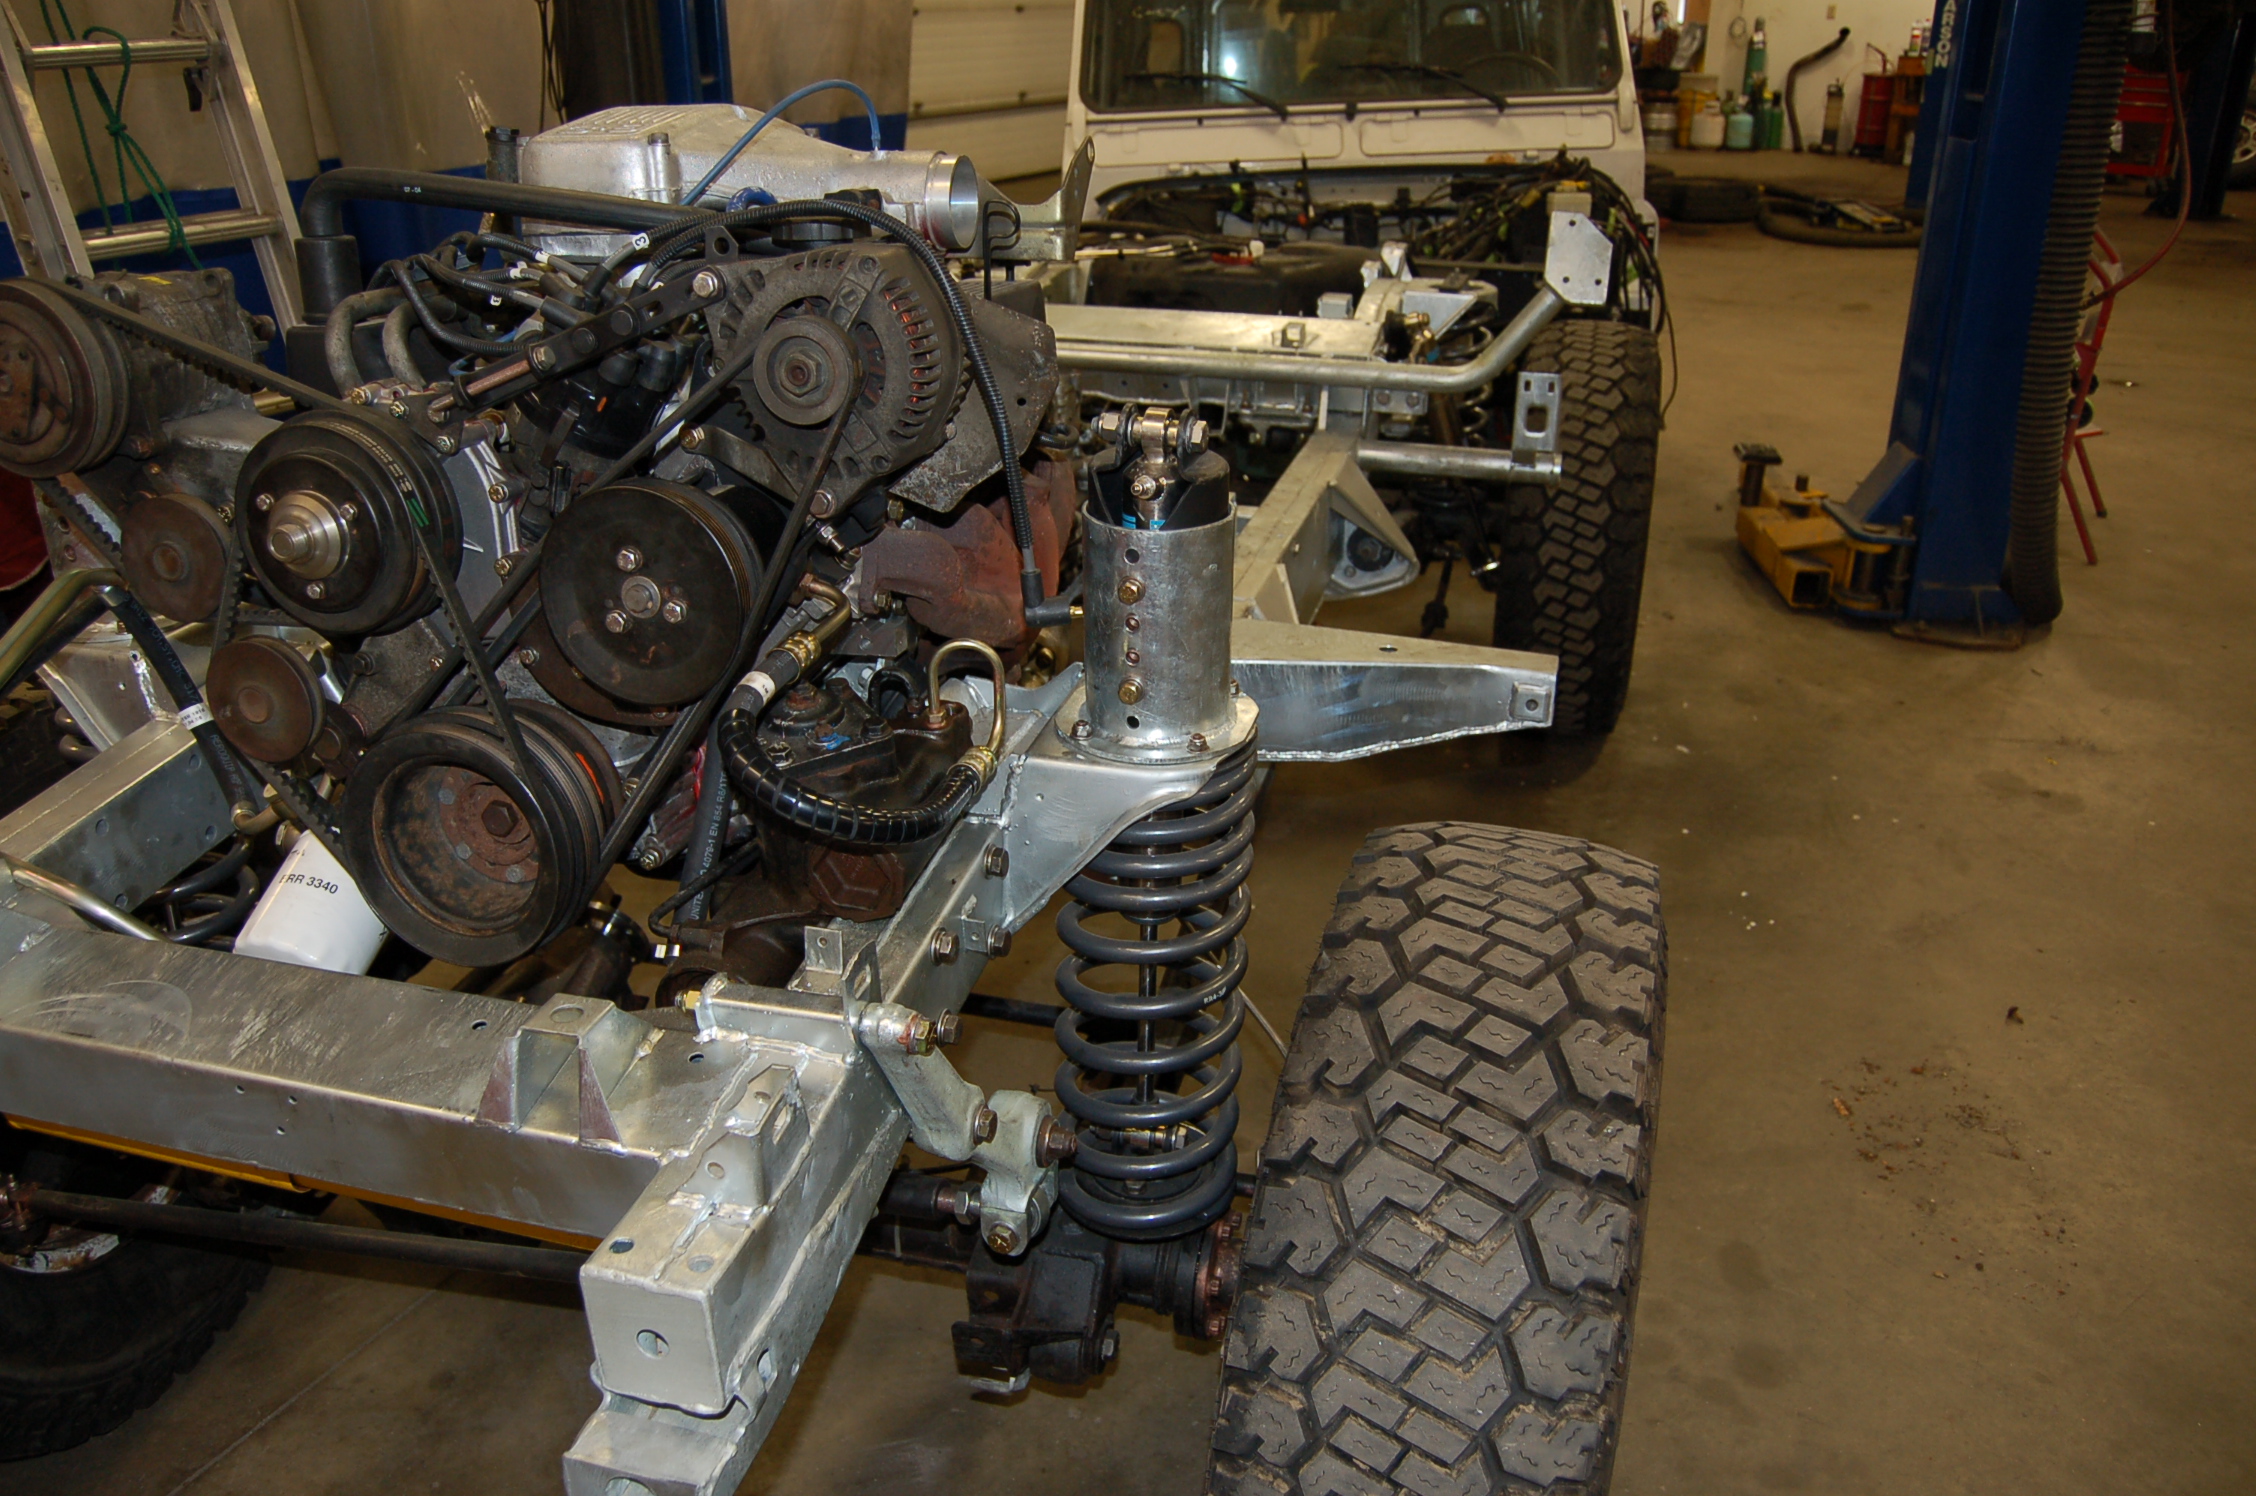
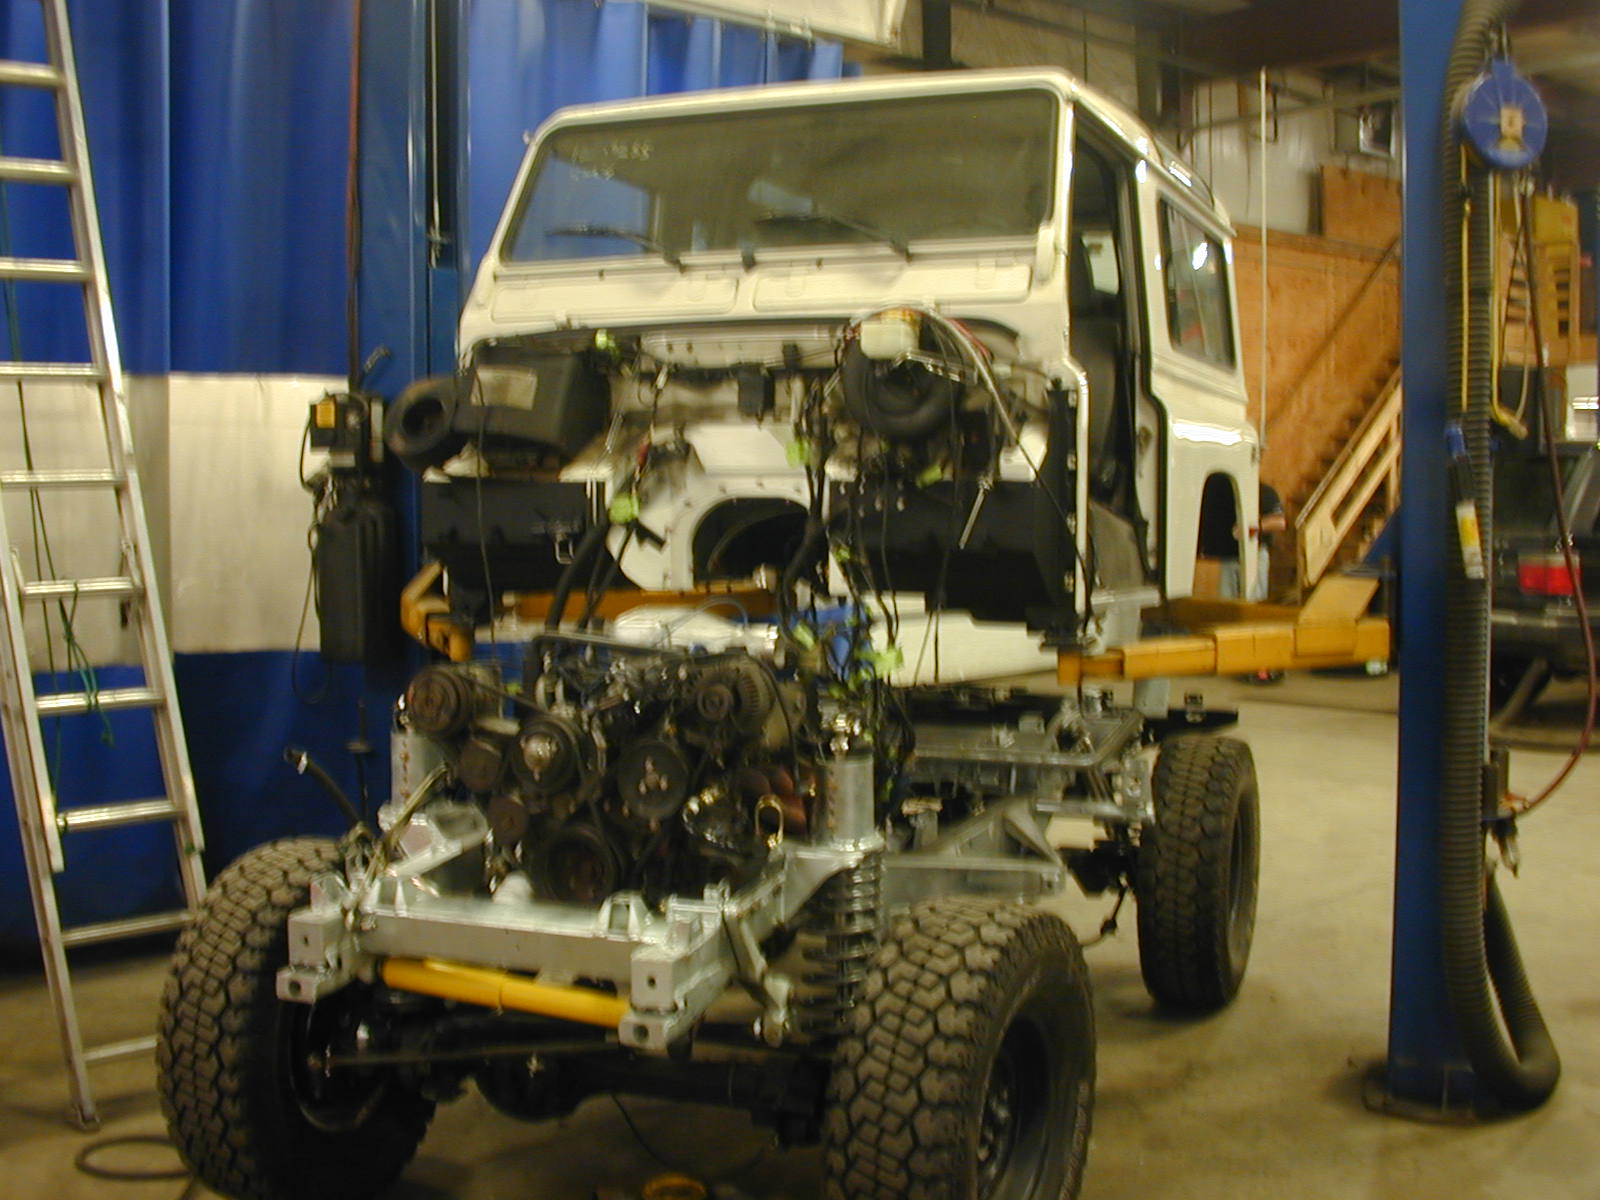
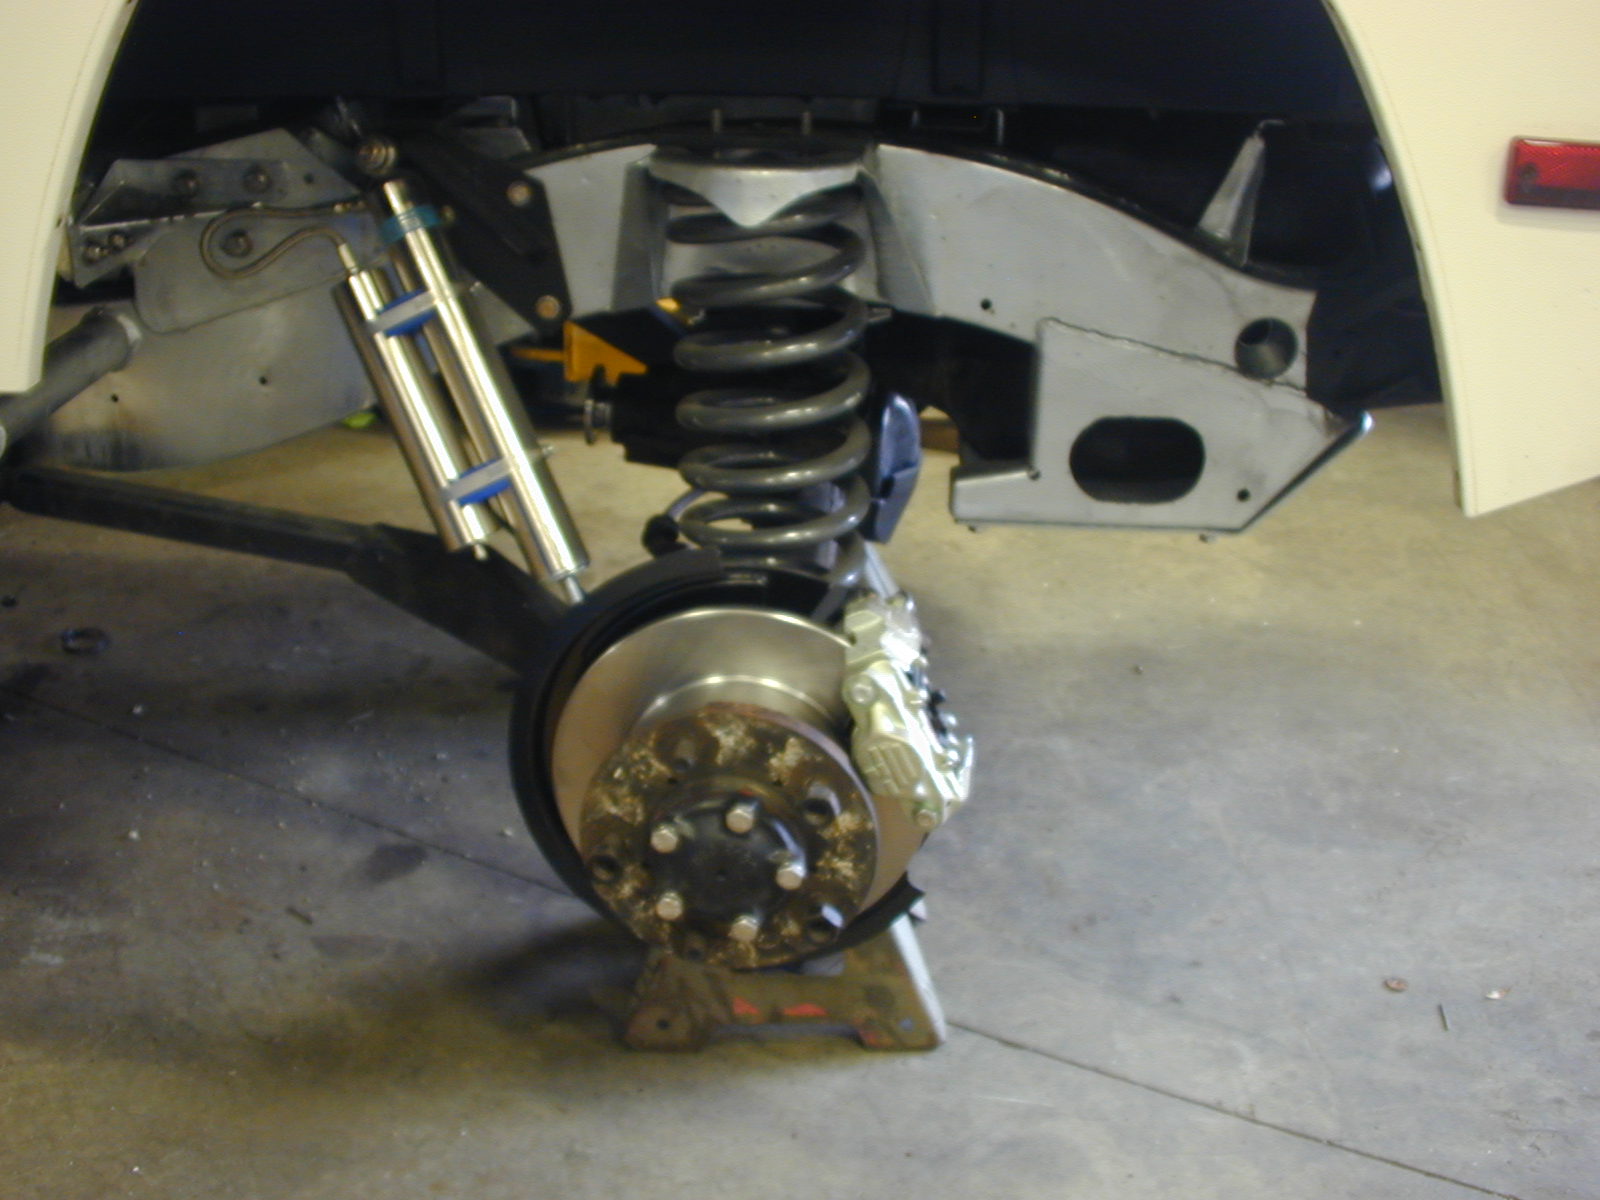
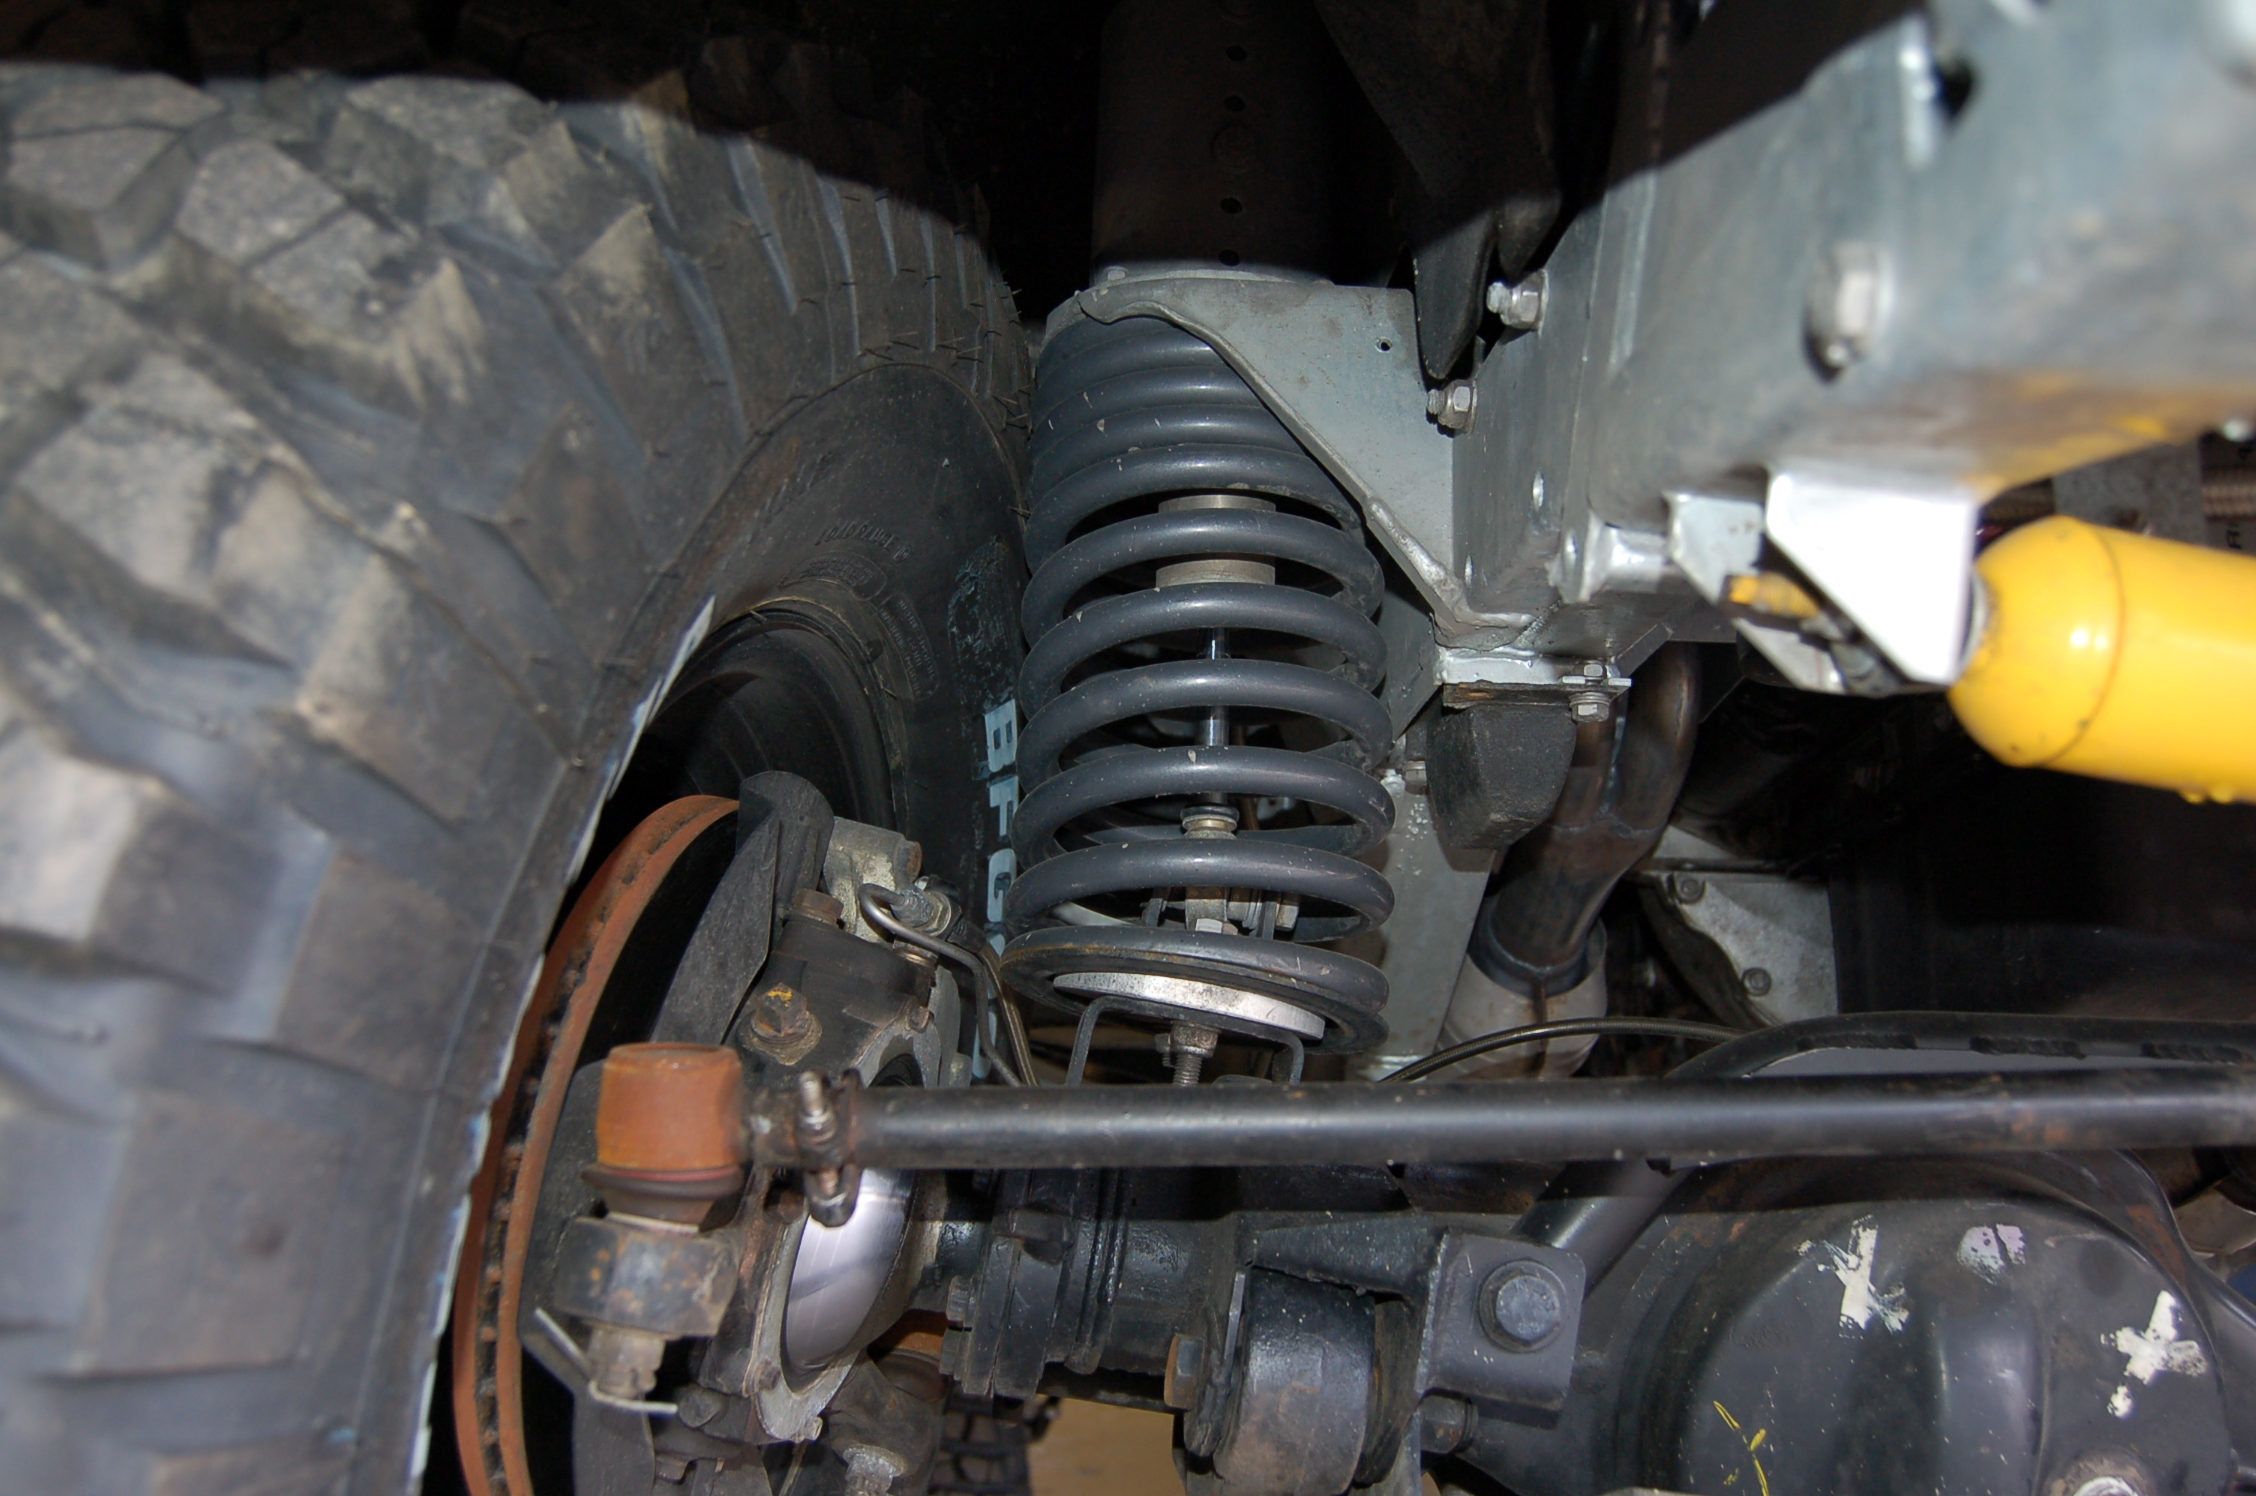
The rolling chassis was assembled with a 3” suspension lift, engine, gearbox & axles.

As much of the underbody steel was galvanized as possible.
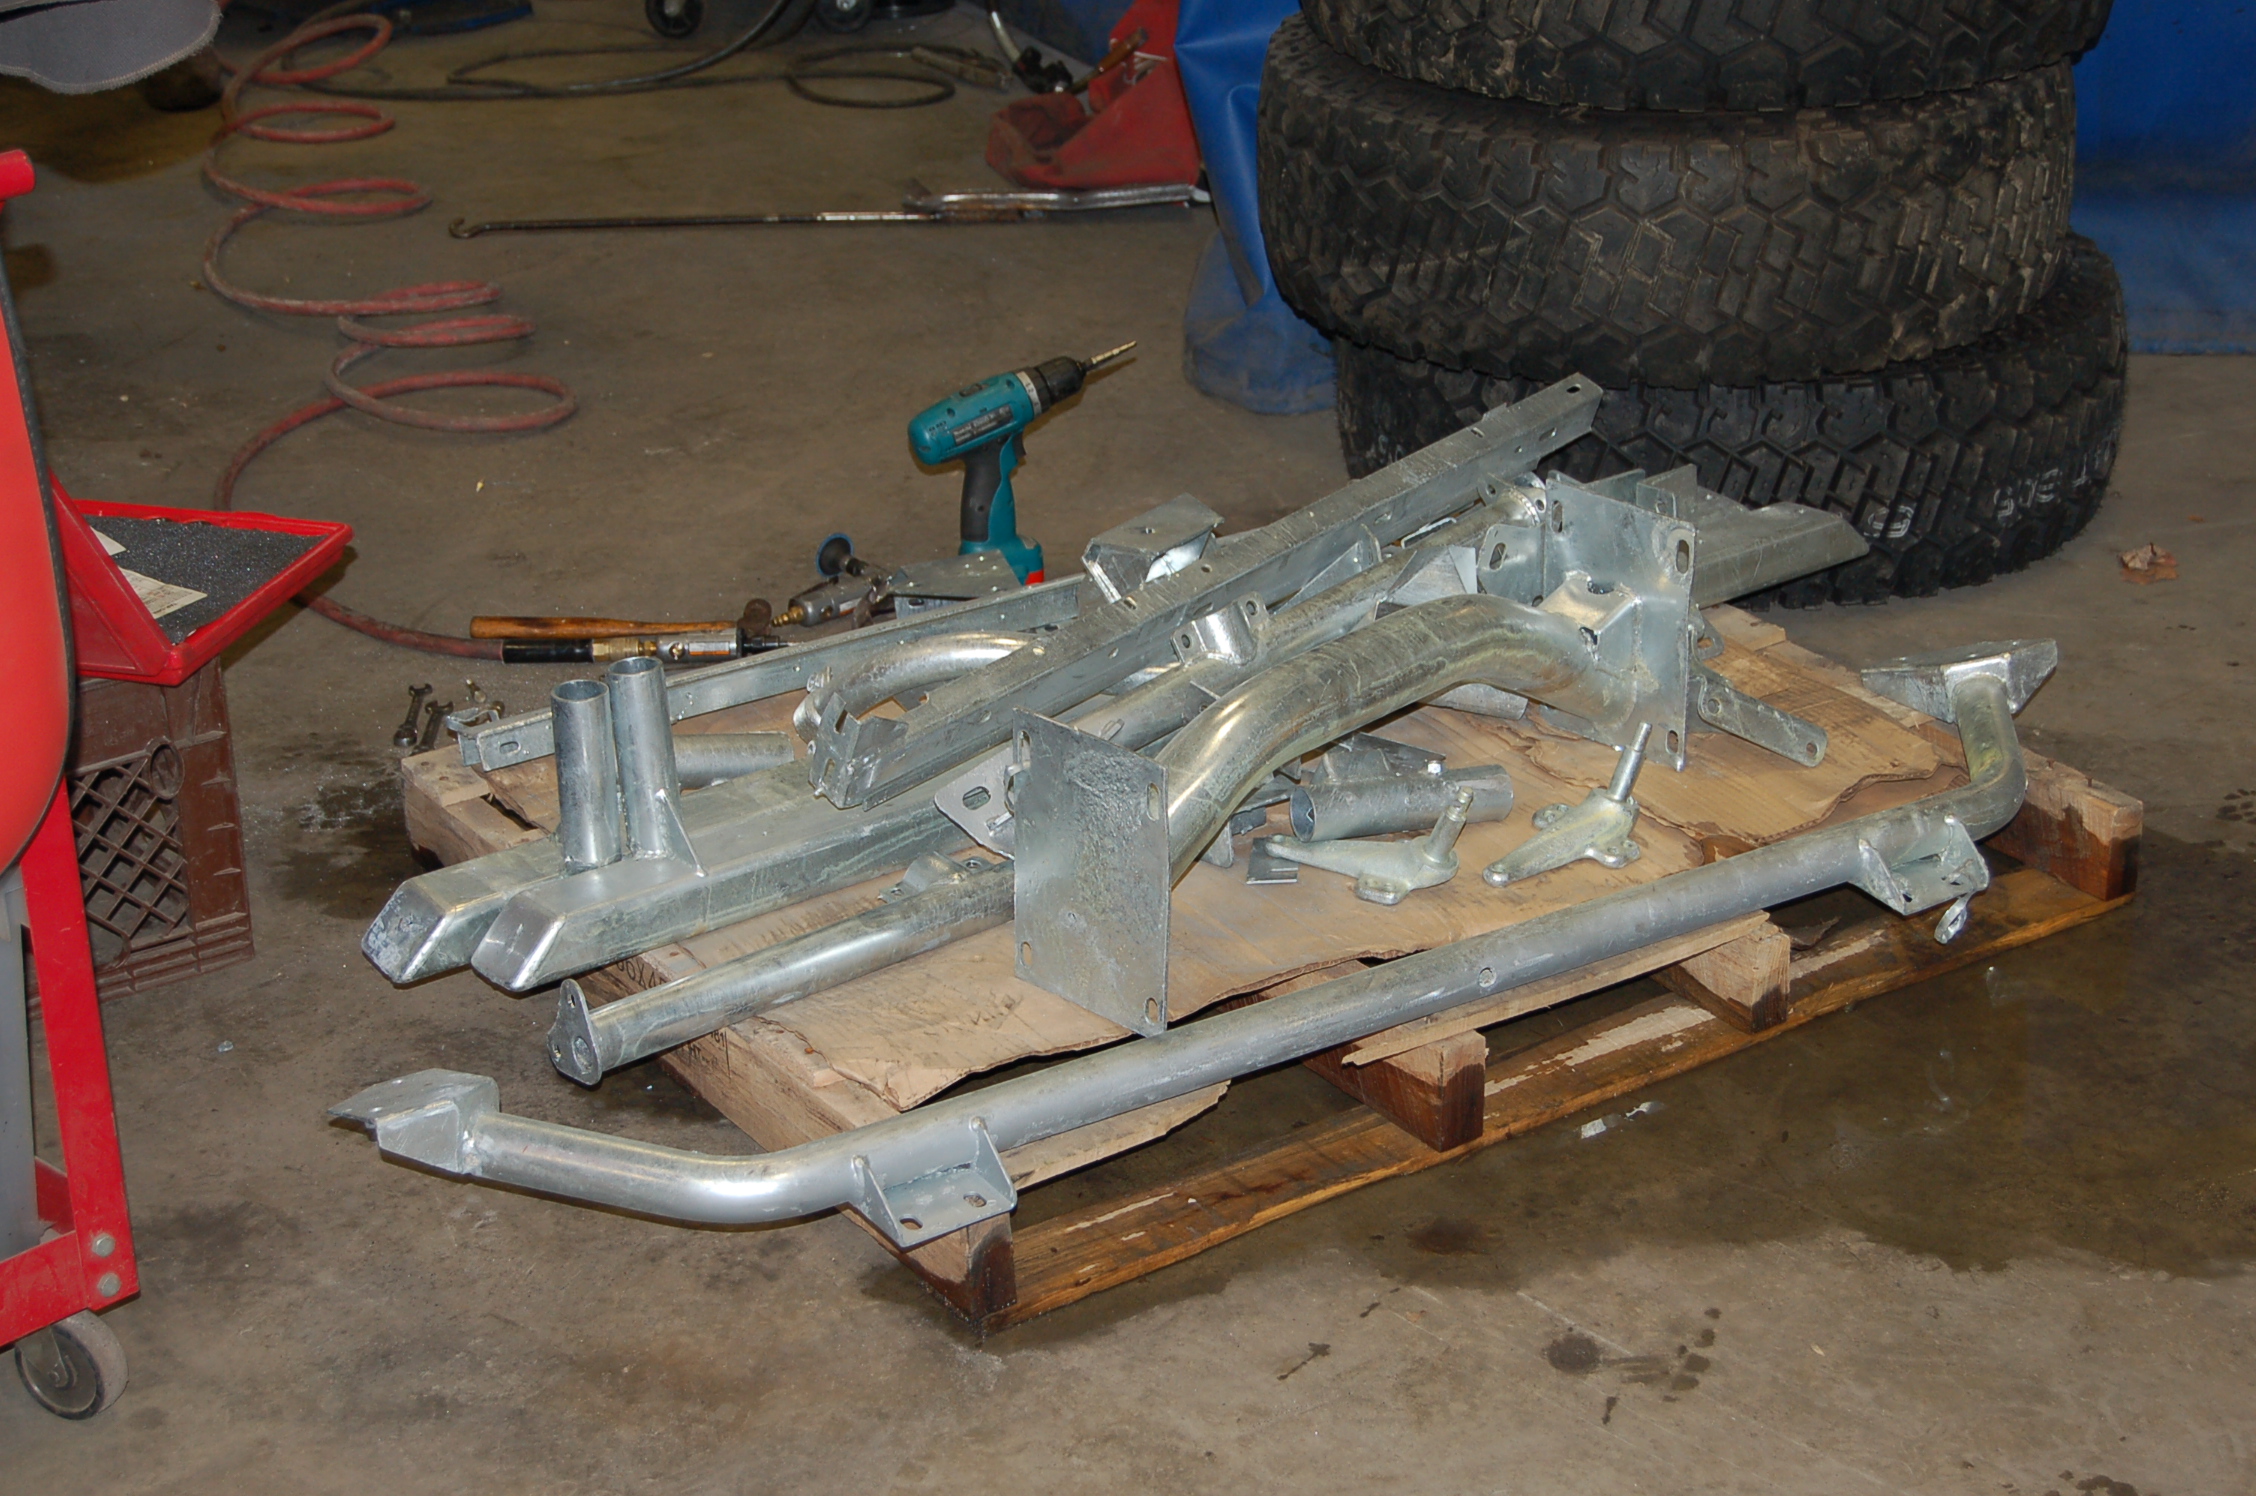
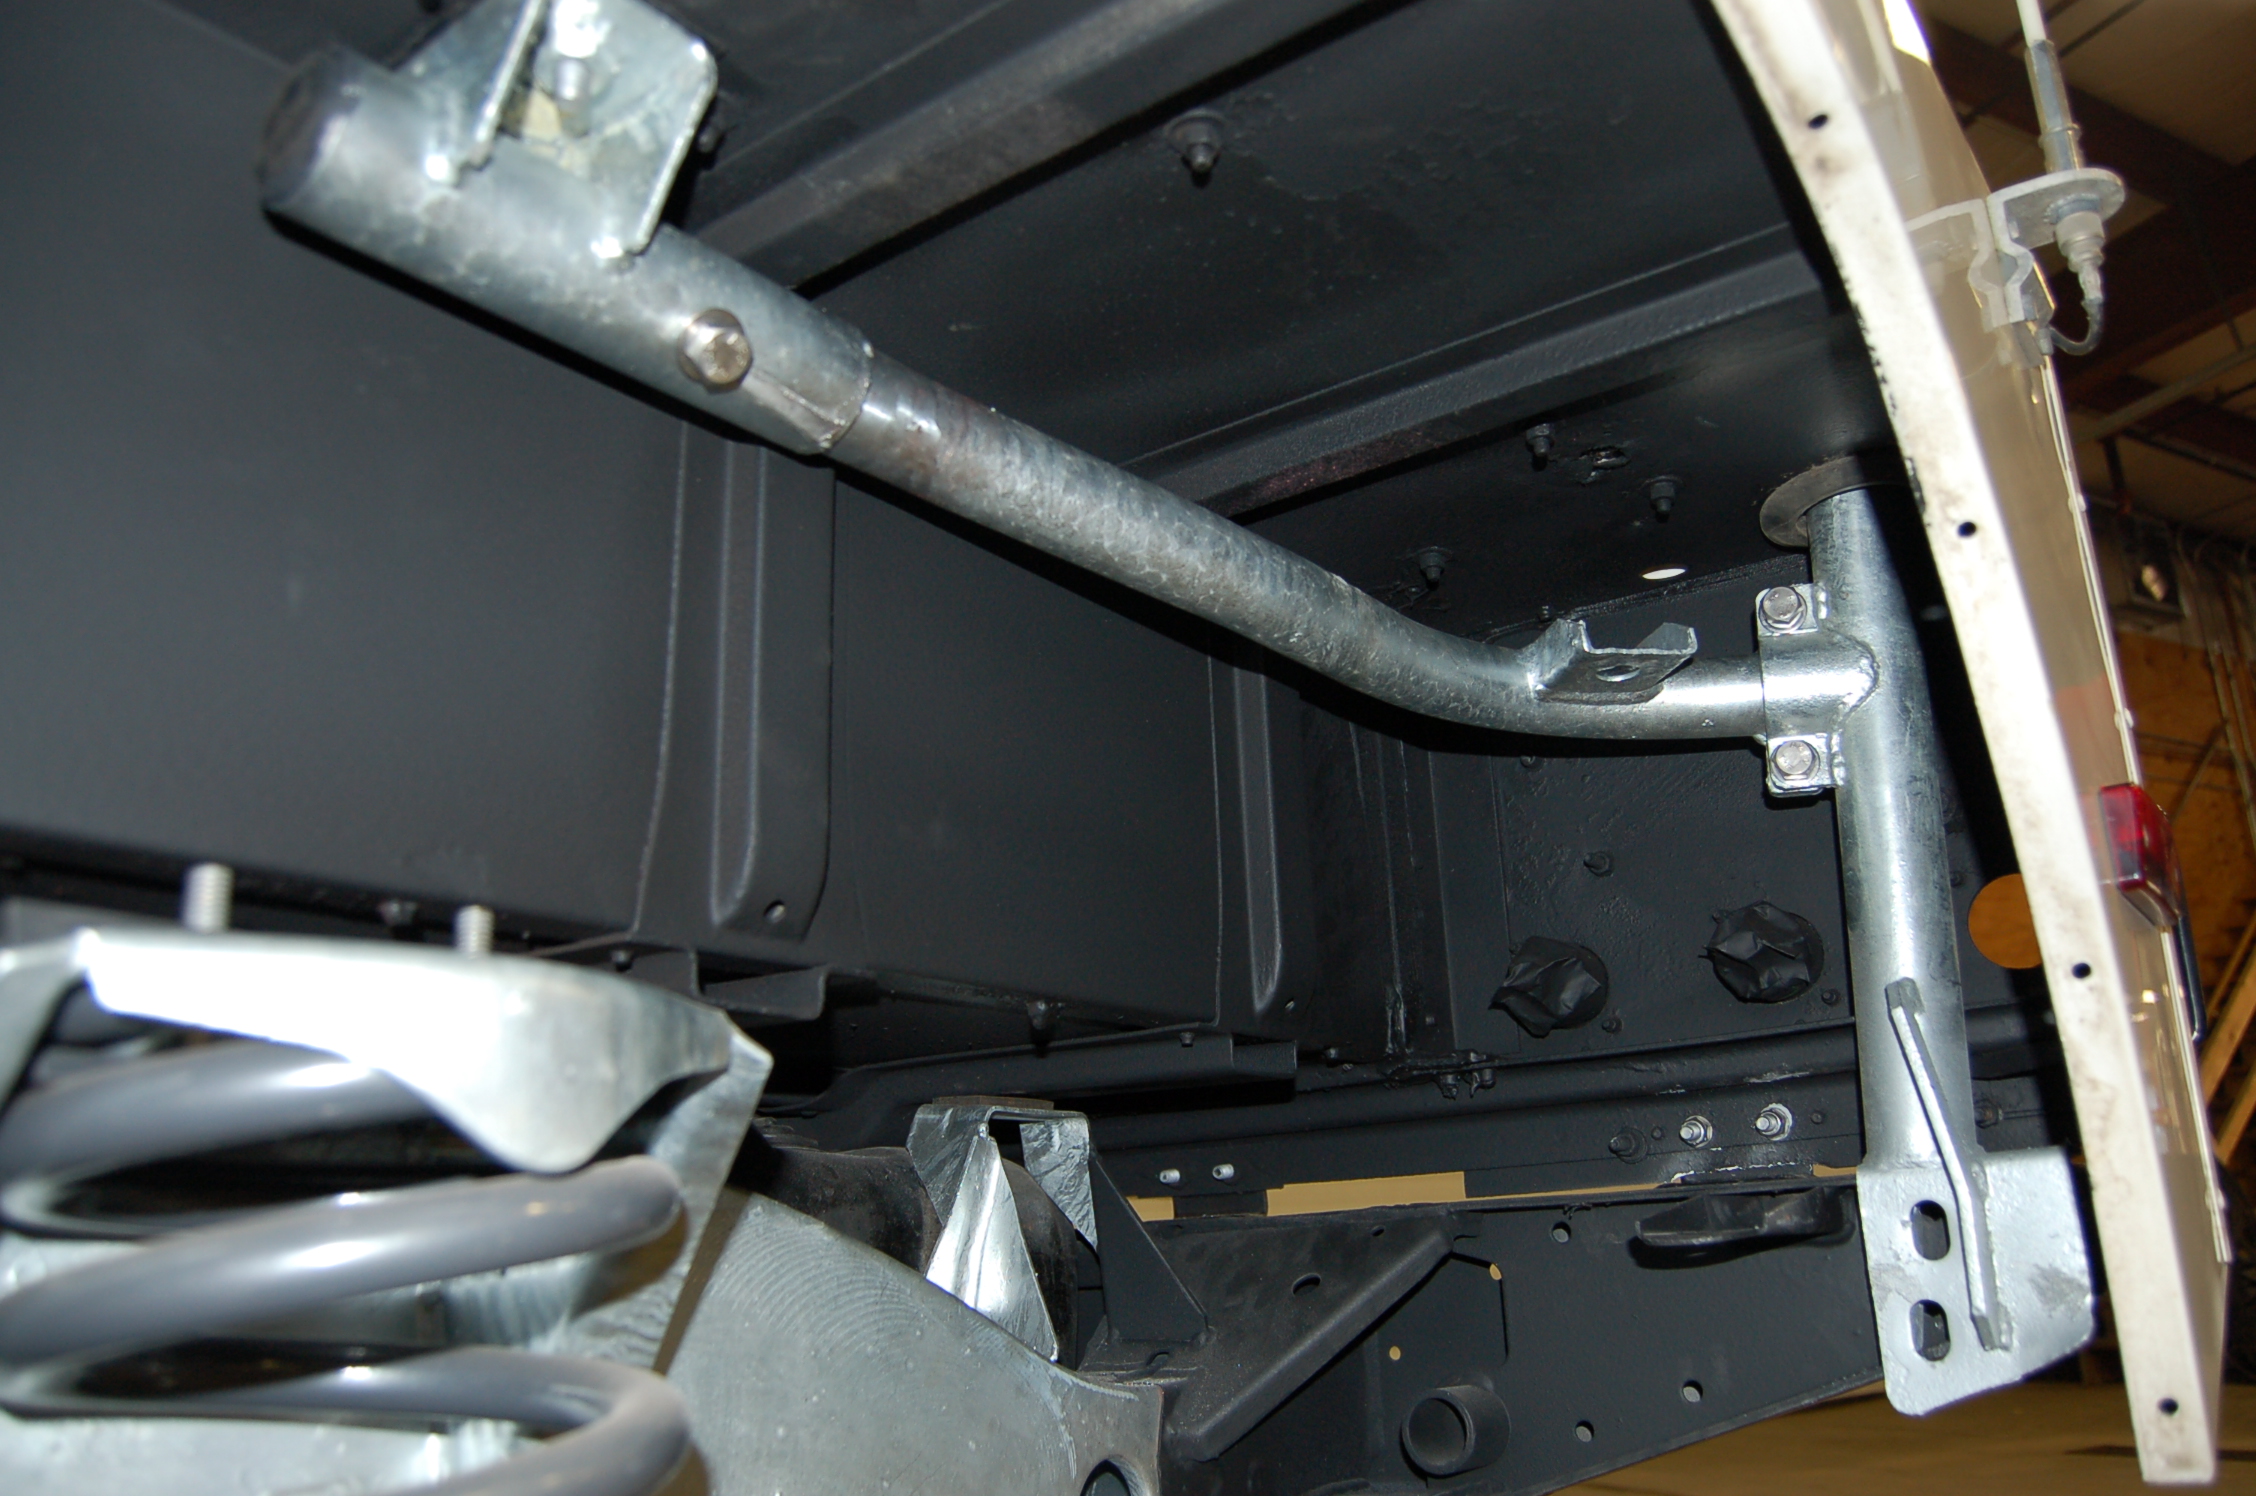
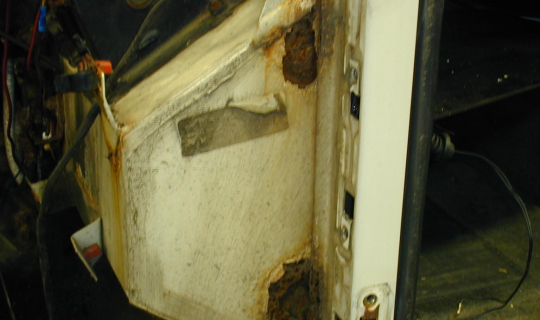
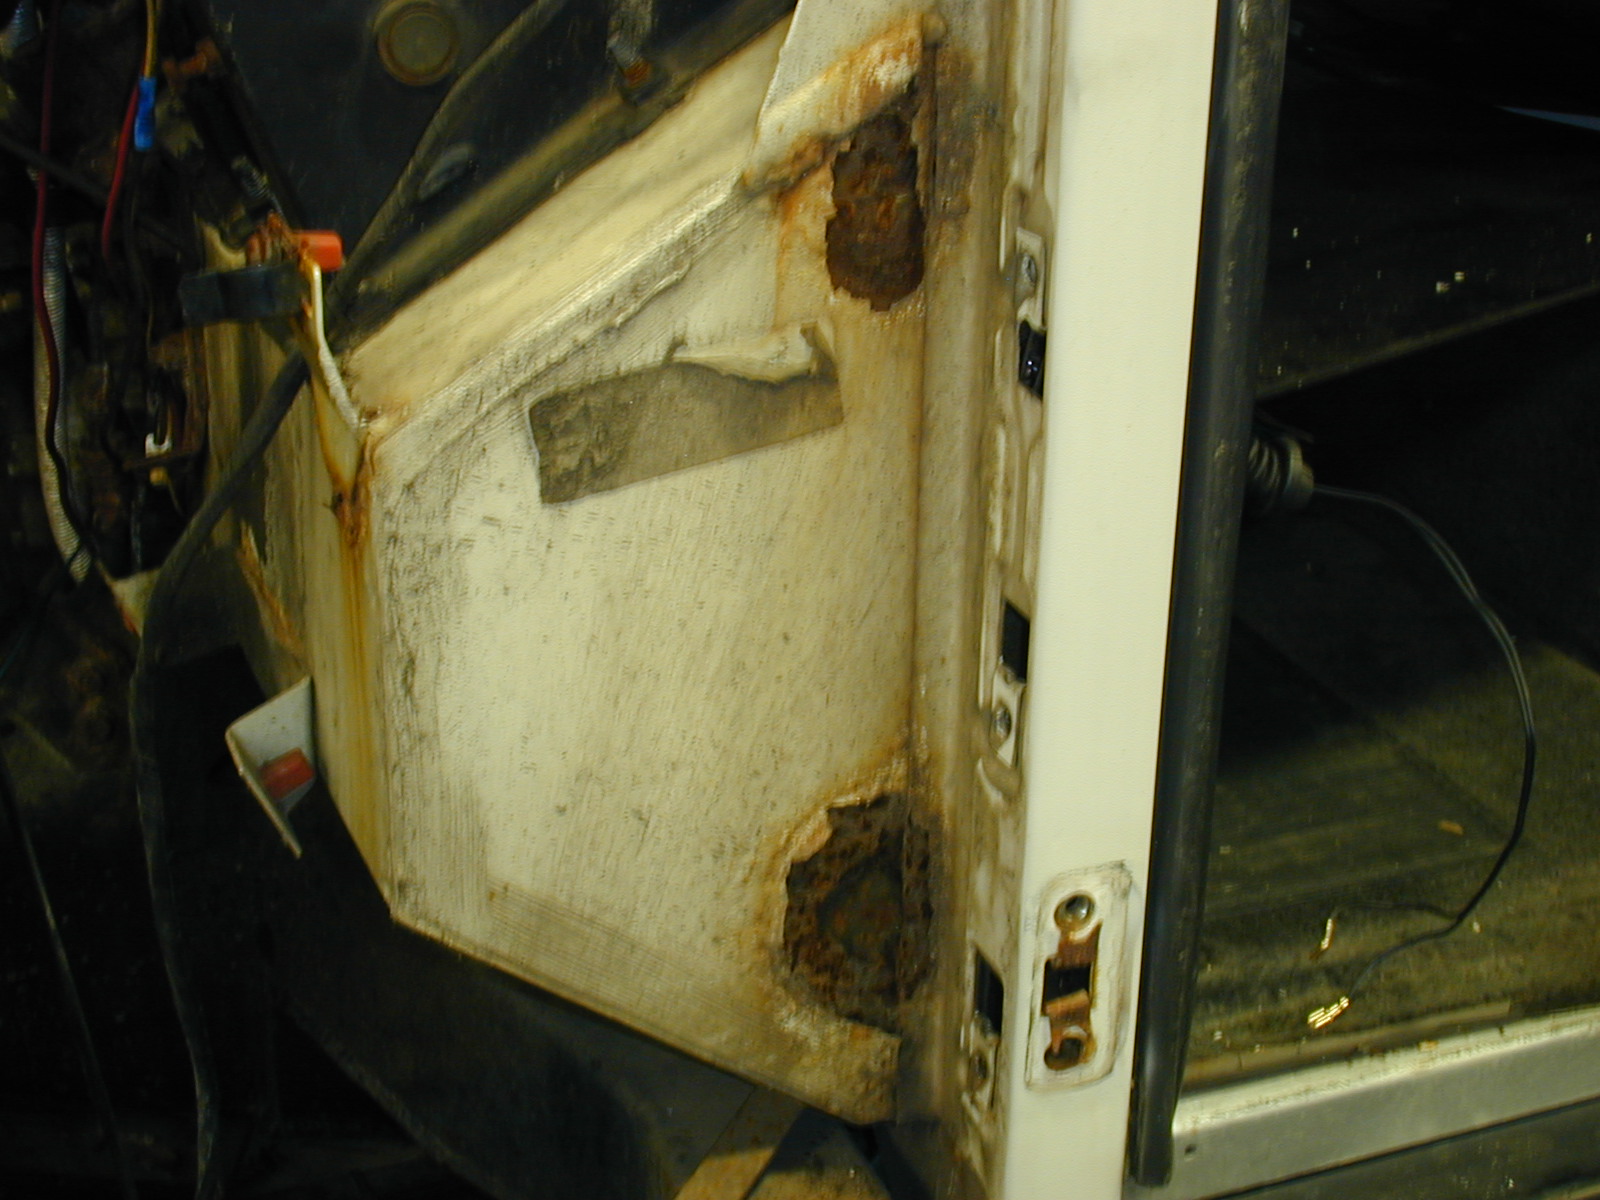
Whenever a rear body is removed from the chassis we recommend removing the bed rails, undercoating the floor & installing galvanized & painted bed rails. Land Rover installs bed rails that have a thin coat of poor quality primer & this soon causes corrosion where the aluminum of the rear body & the steel of the bed rail meet. This in turn causes holes in the floor. Putting several coats of paint & undercoat between the materials prevents the dissimilar metal corrosion.

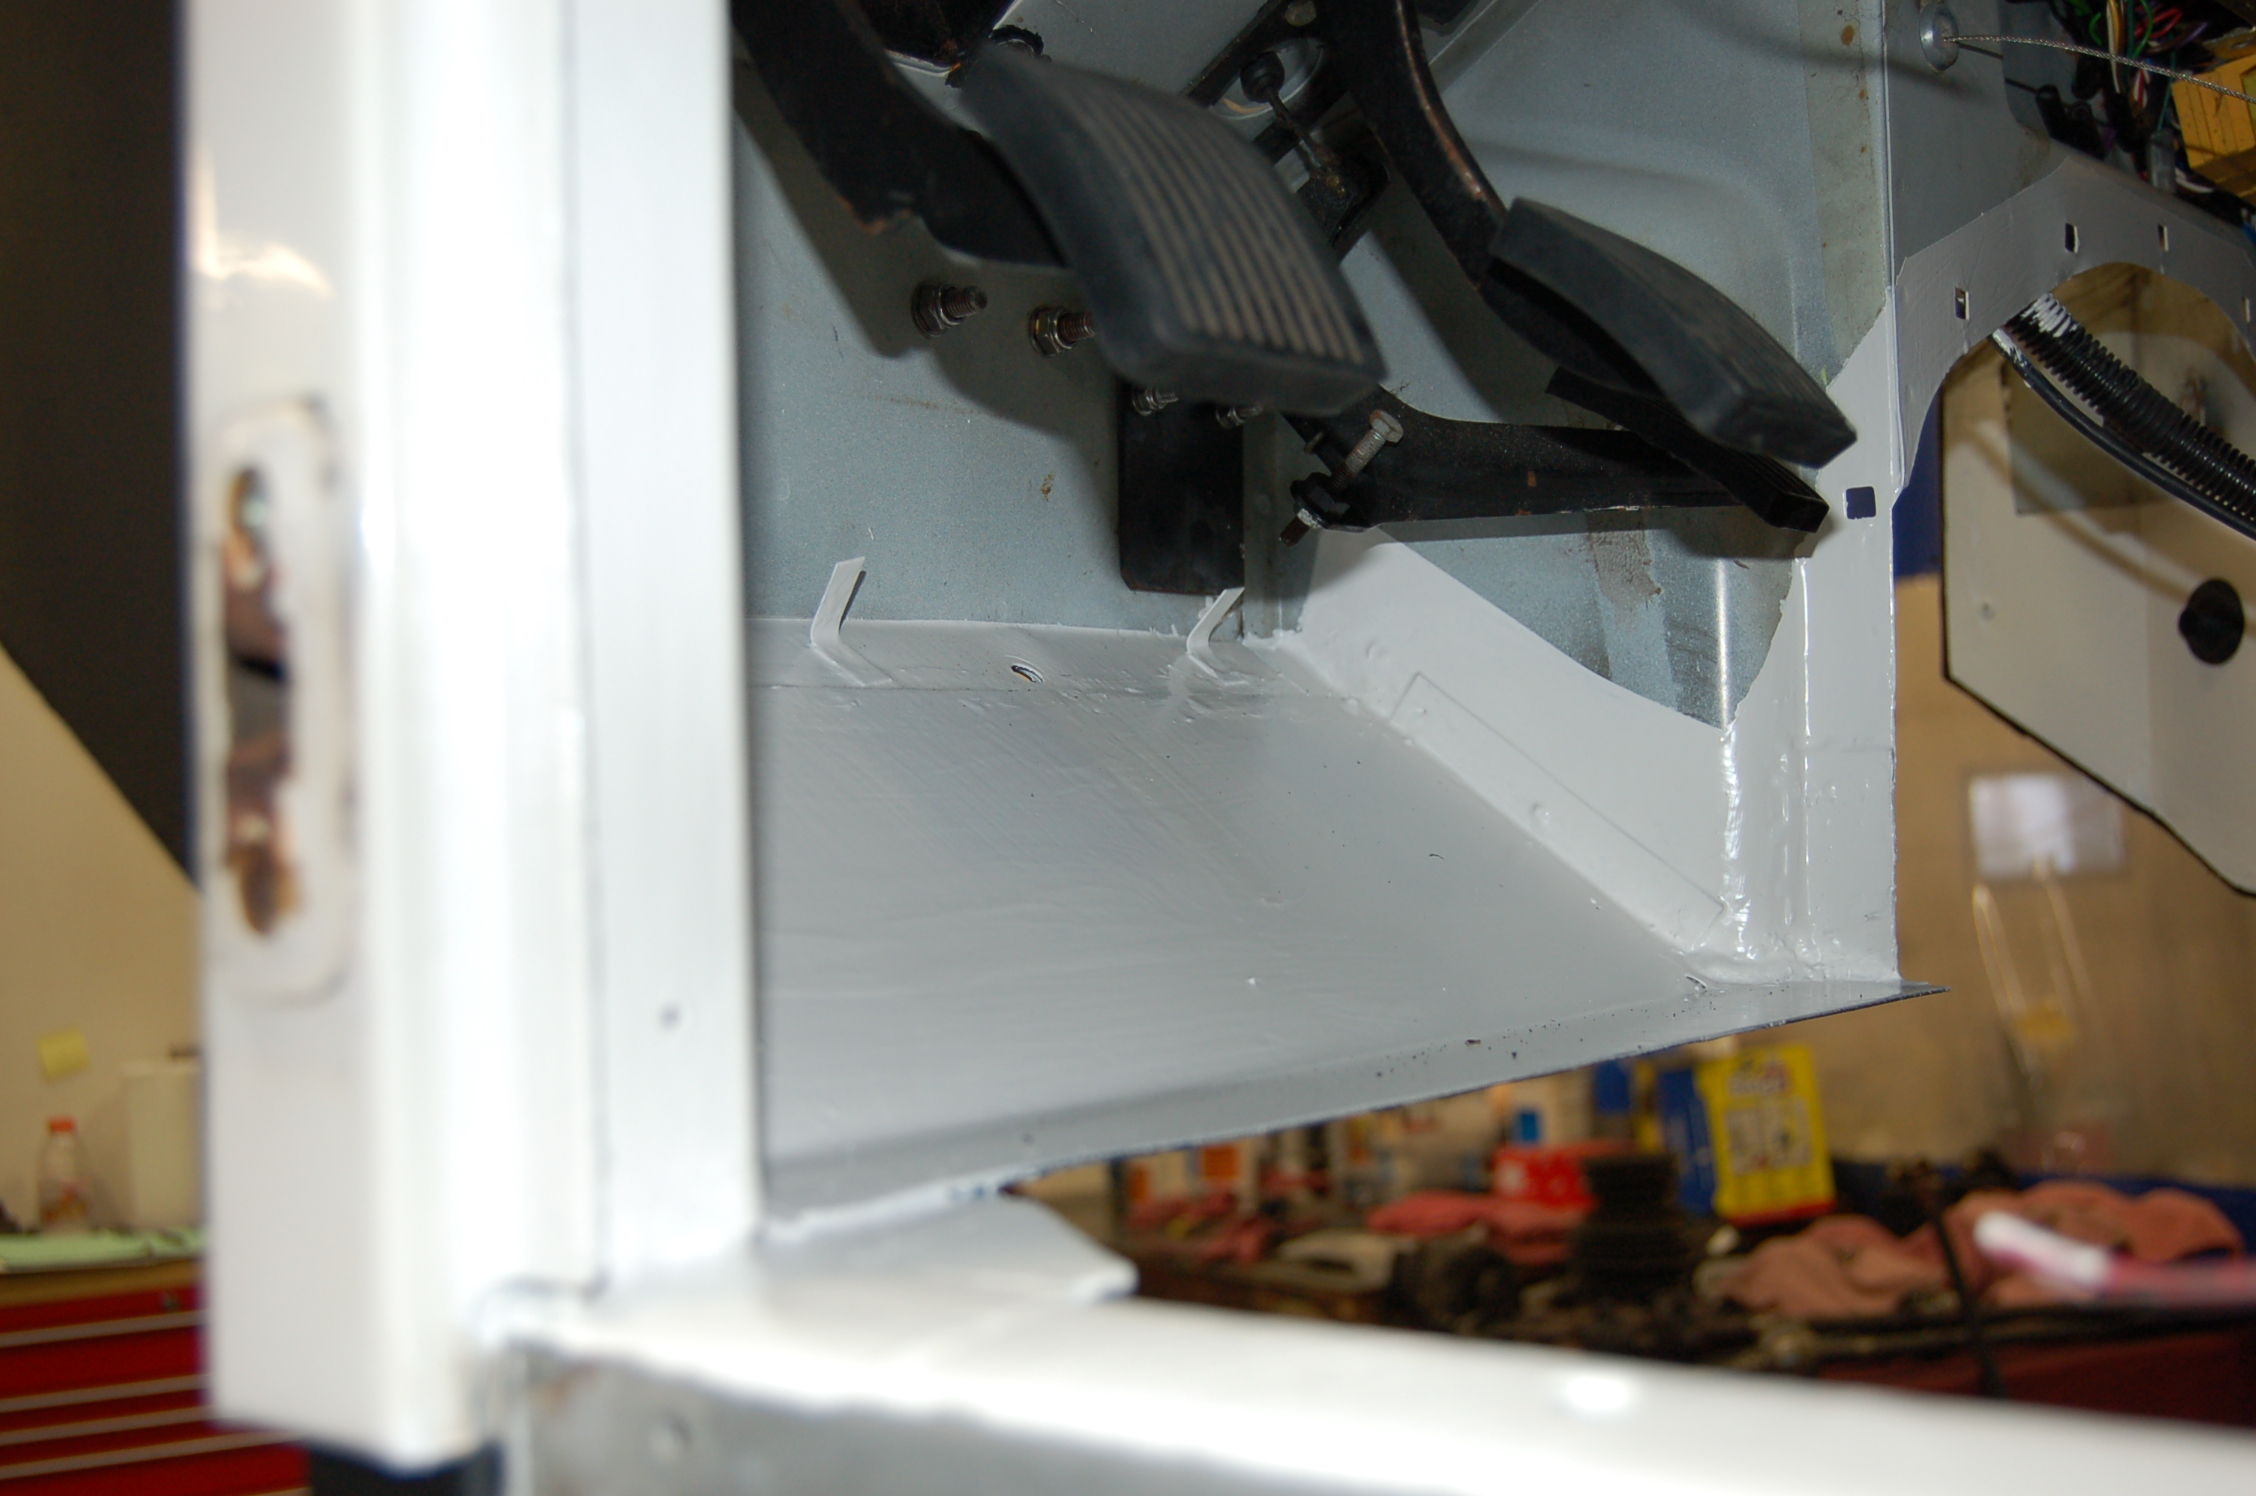
The firewall corrosion was repaired & painted as necessary.
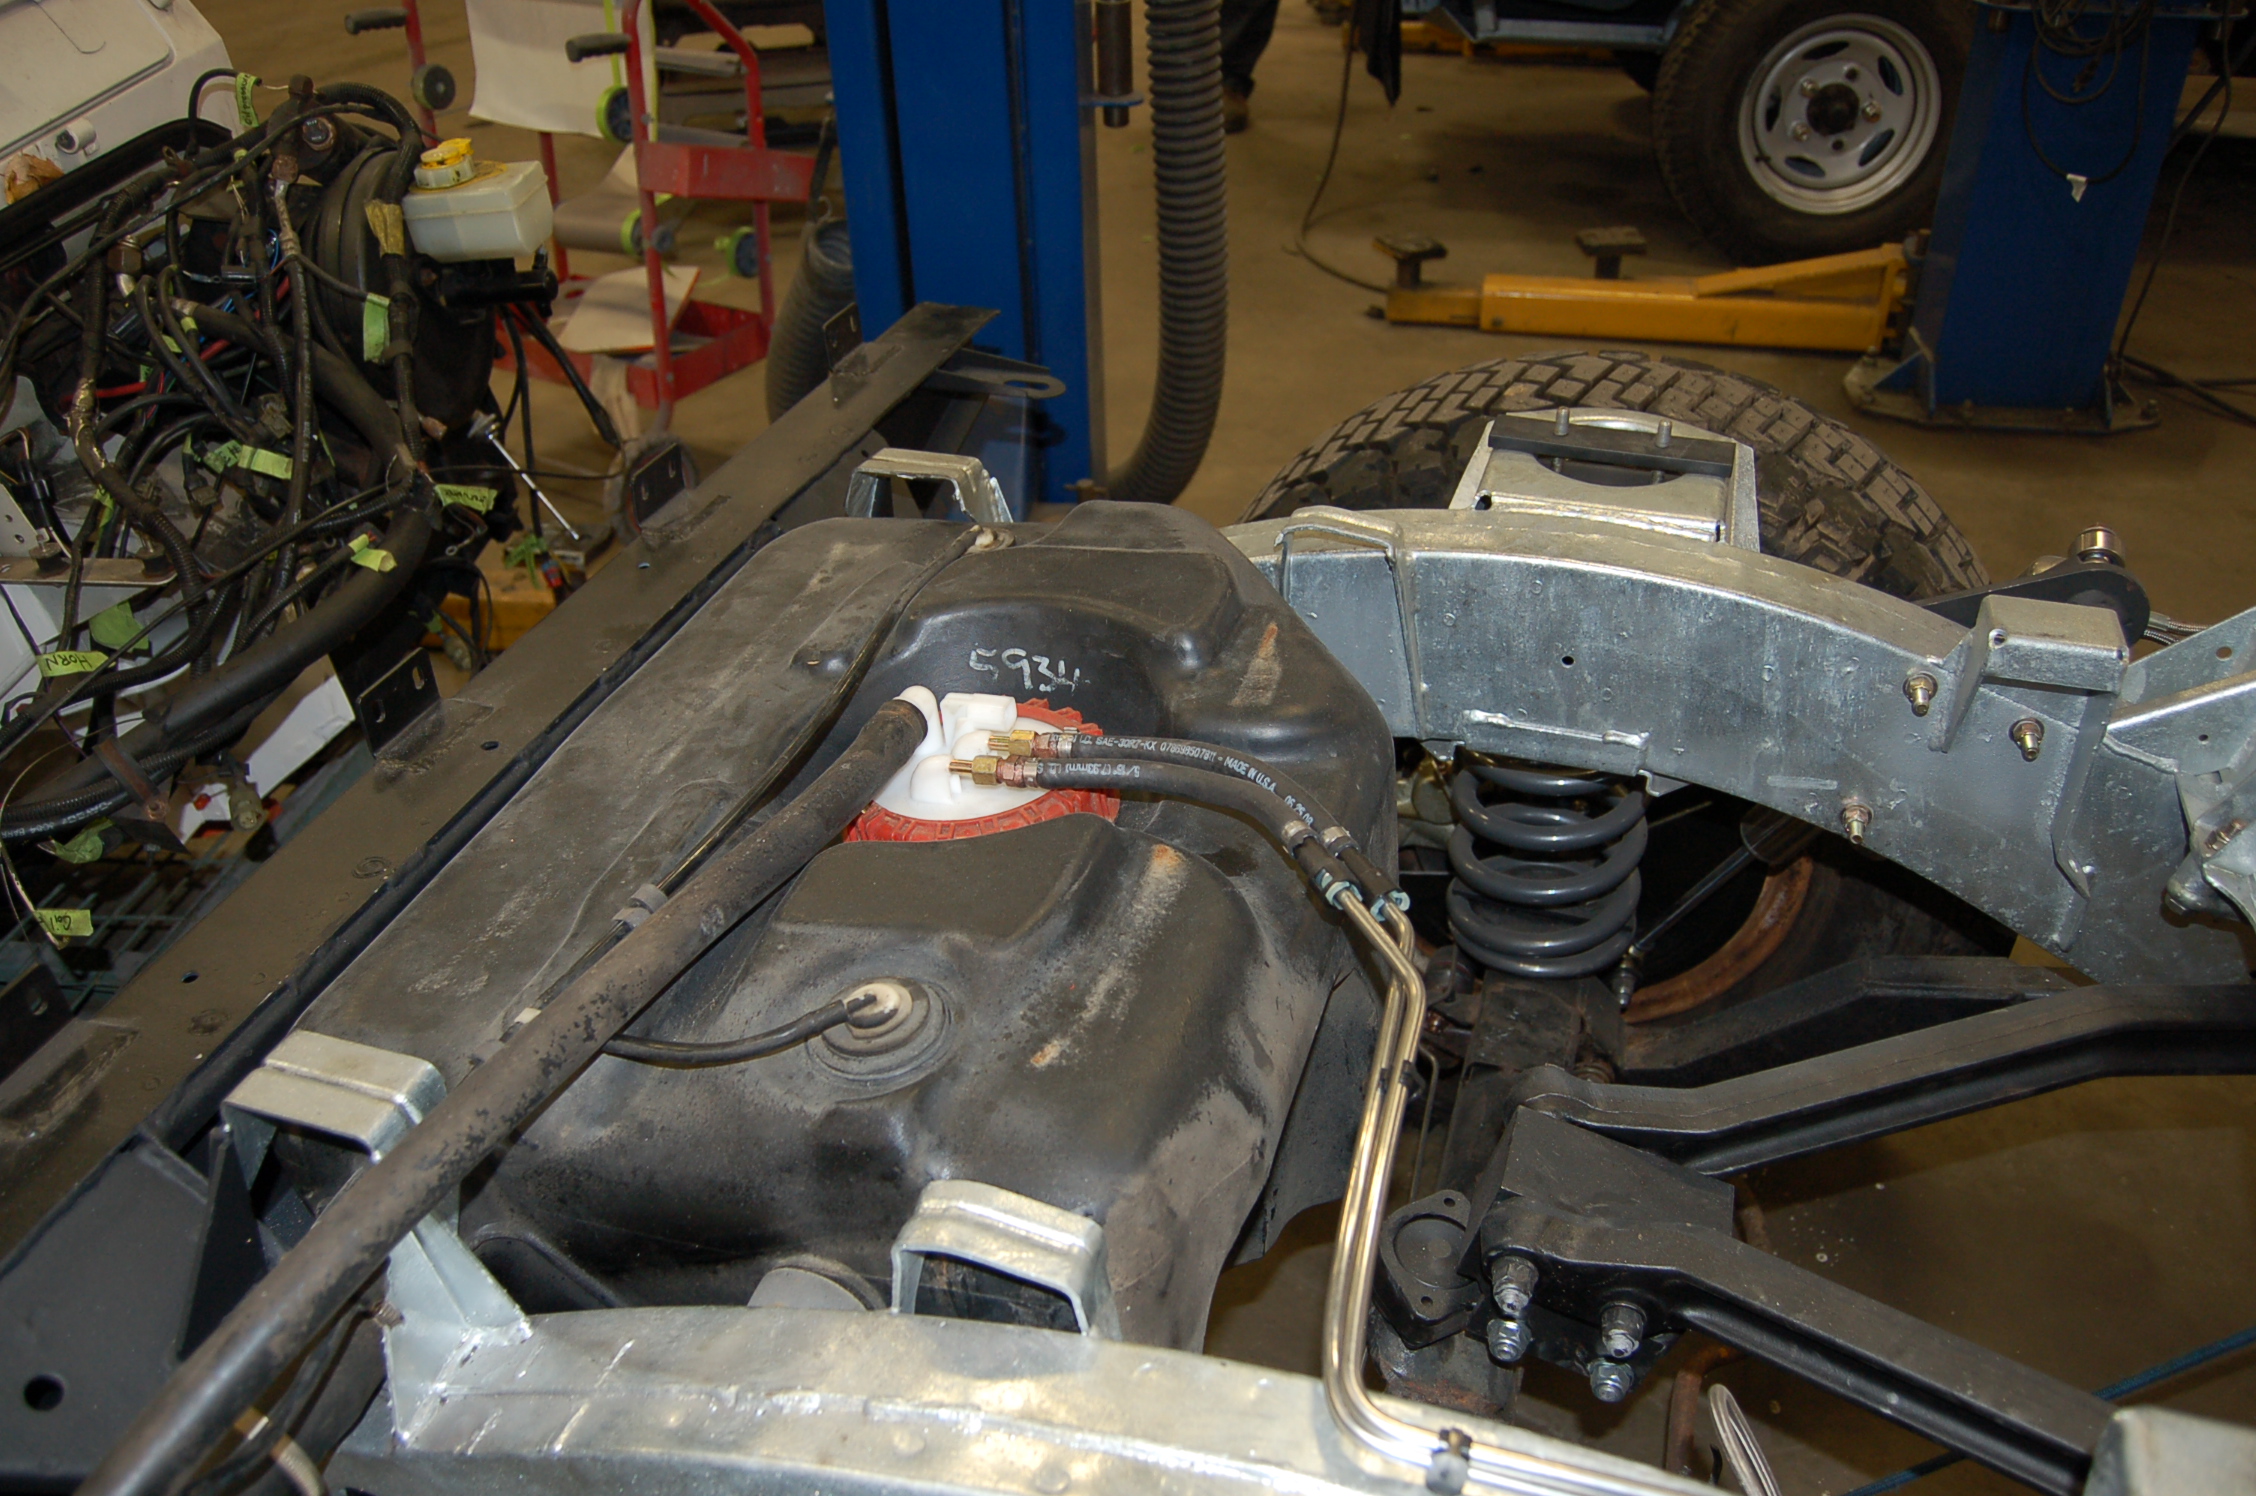
Stainless steel brake & fuel lines were installed along with a new fuel pump.
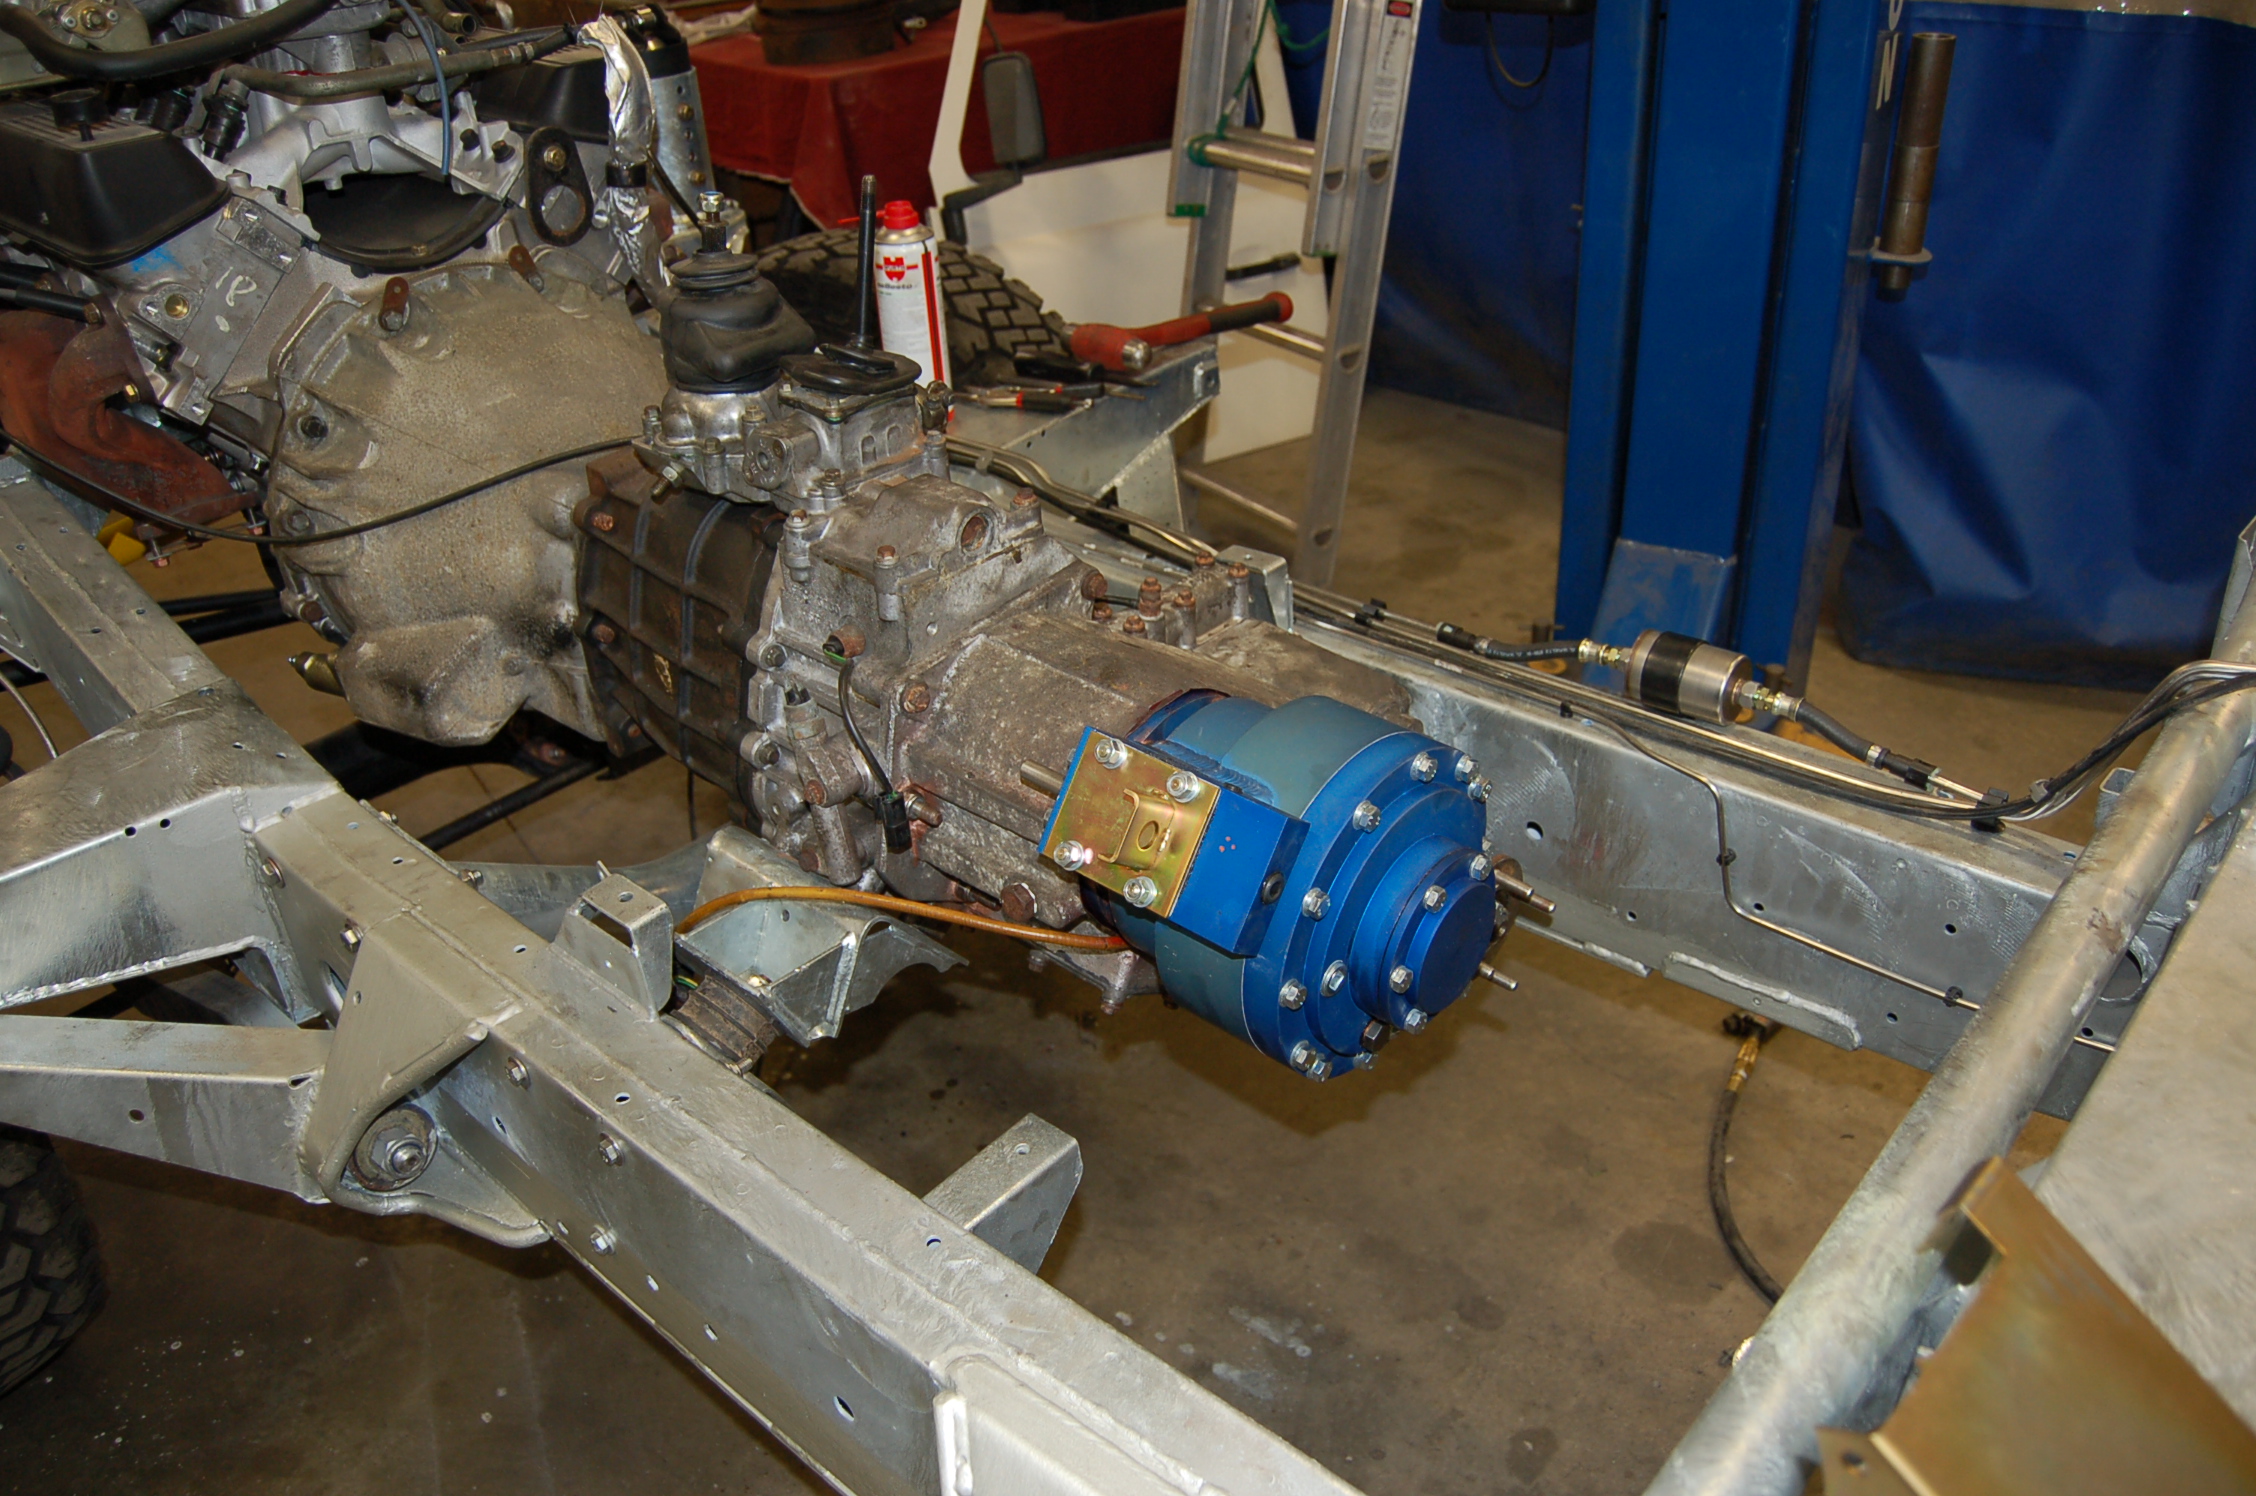
The underdrive was installed on the back of the transfer box. This effectively gives you a choice of 20 forward gears & 4 reverse gears. IN 1st gear low low you have a crawl ratio of about 80:1
The body was lowered onto the new frame & installed with plastic washers separating the galvanized frame from the aluminum.
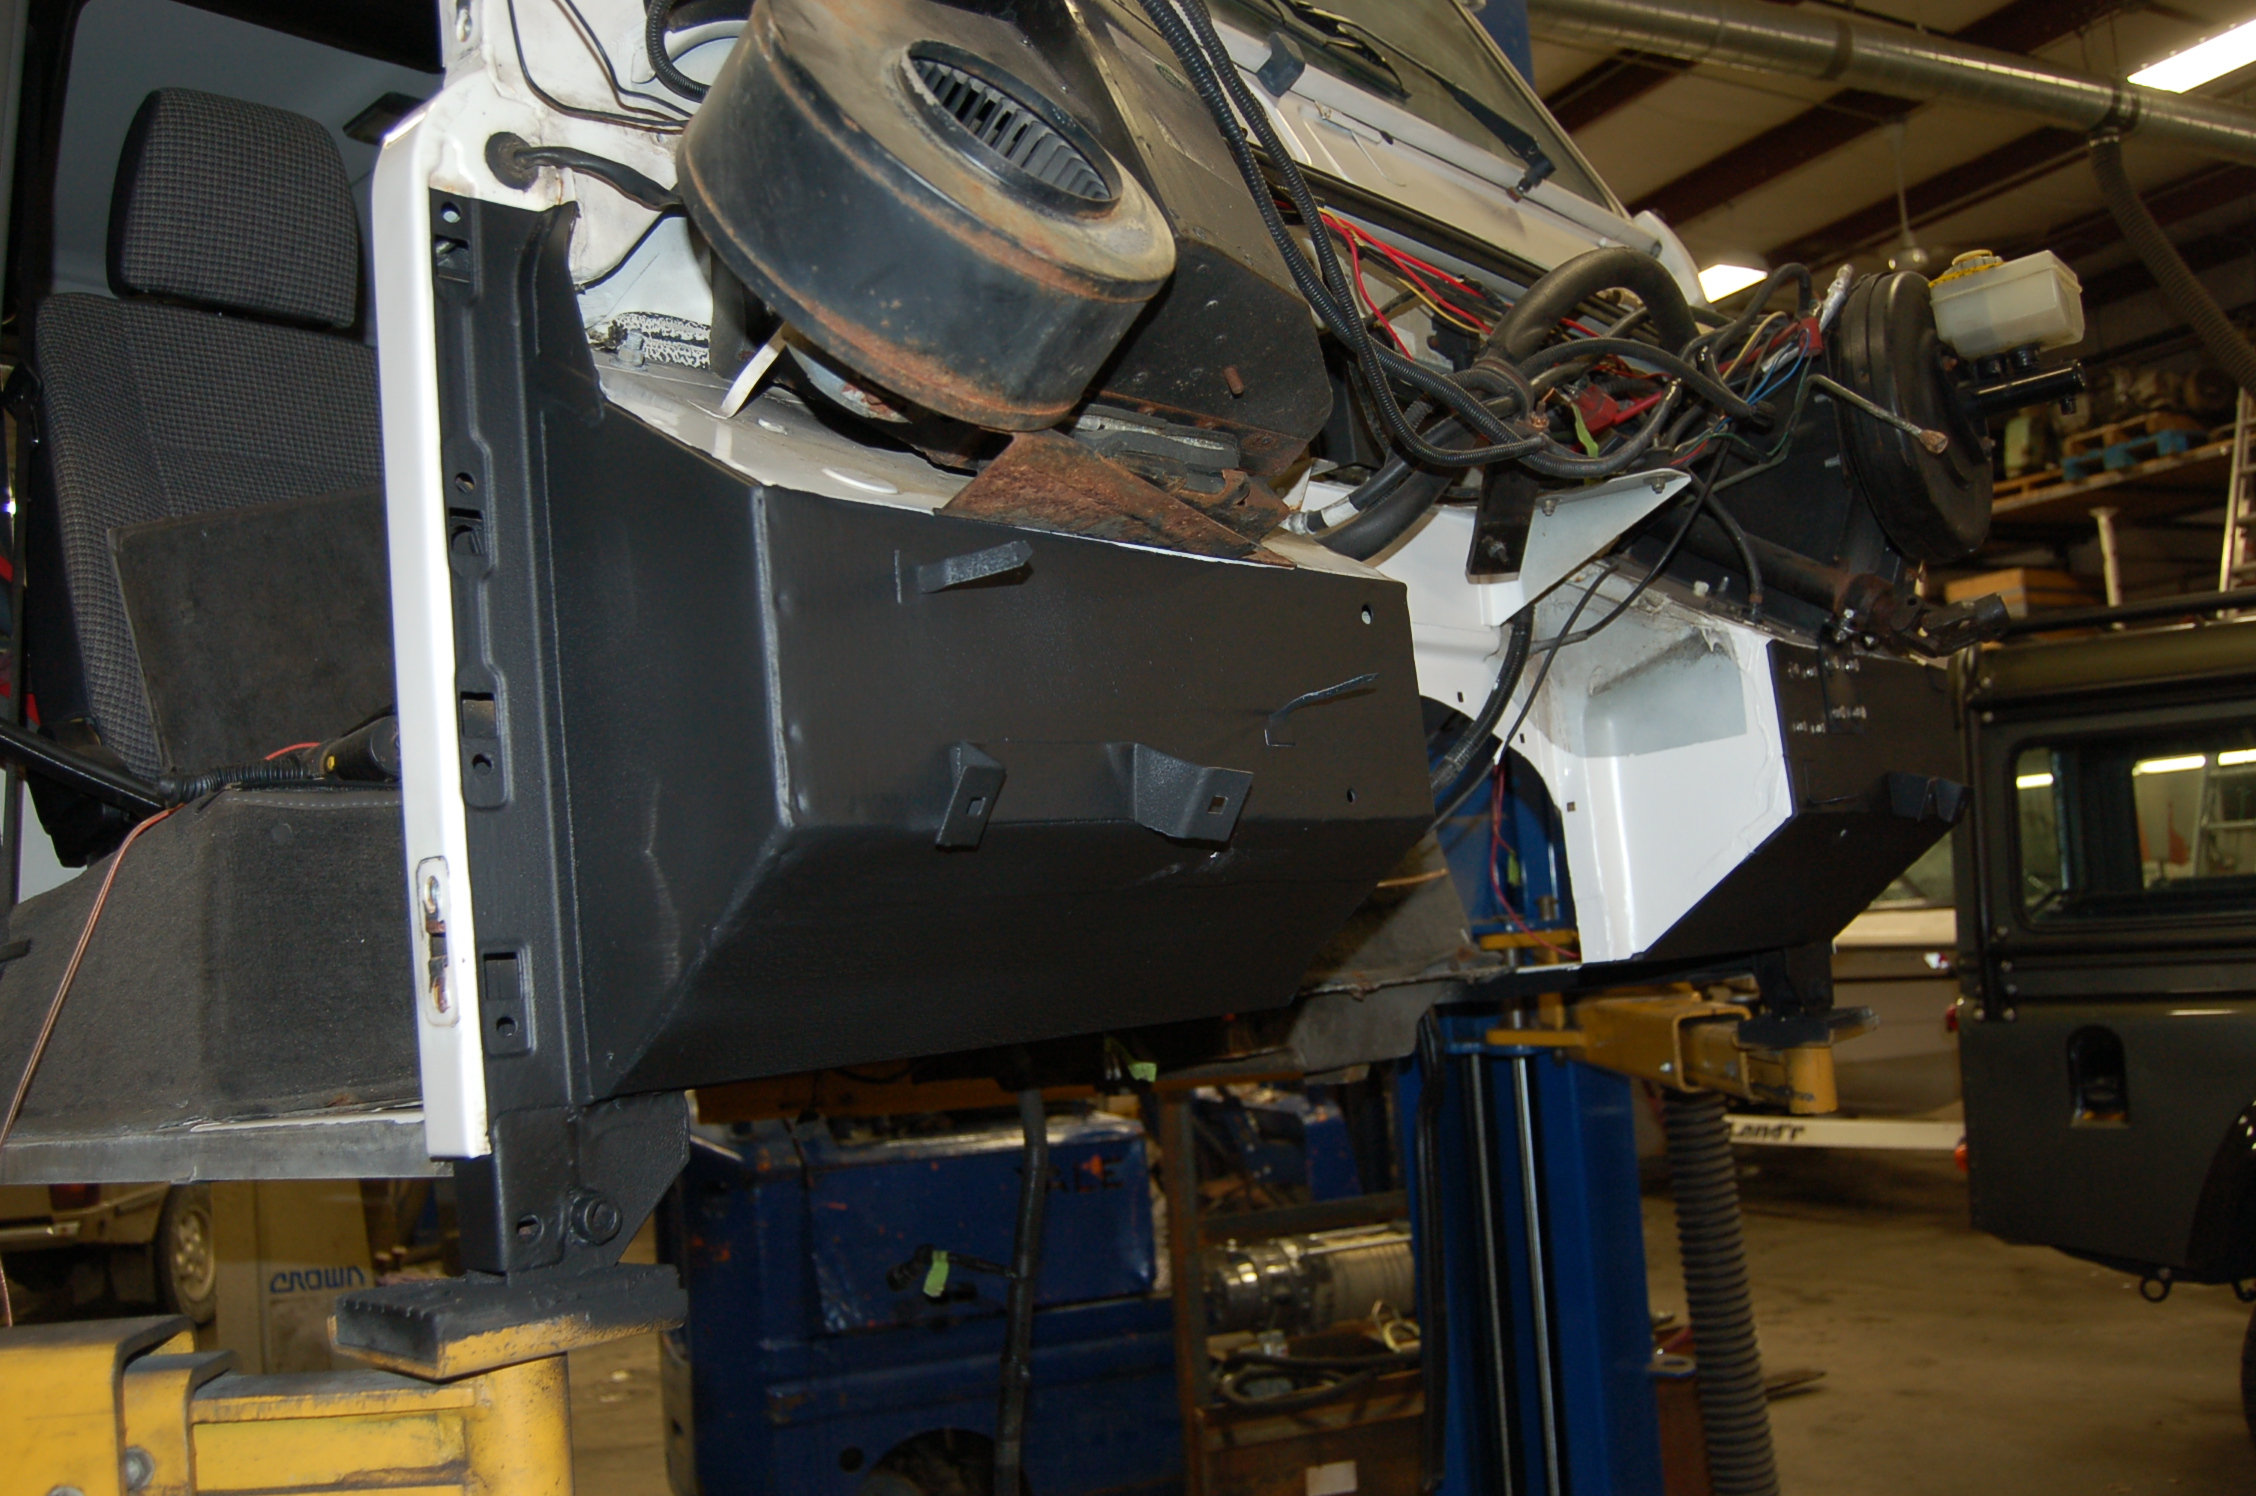
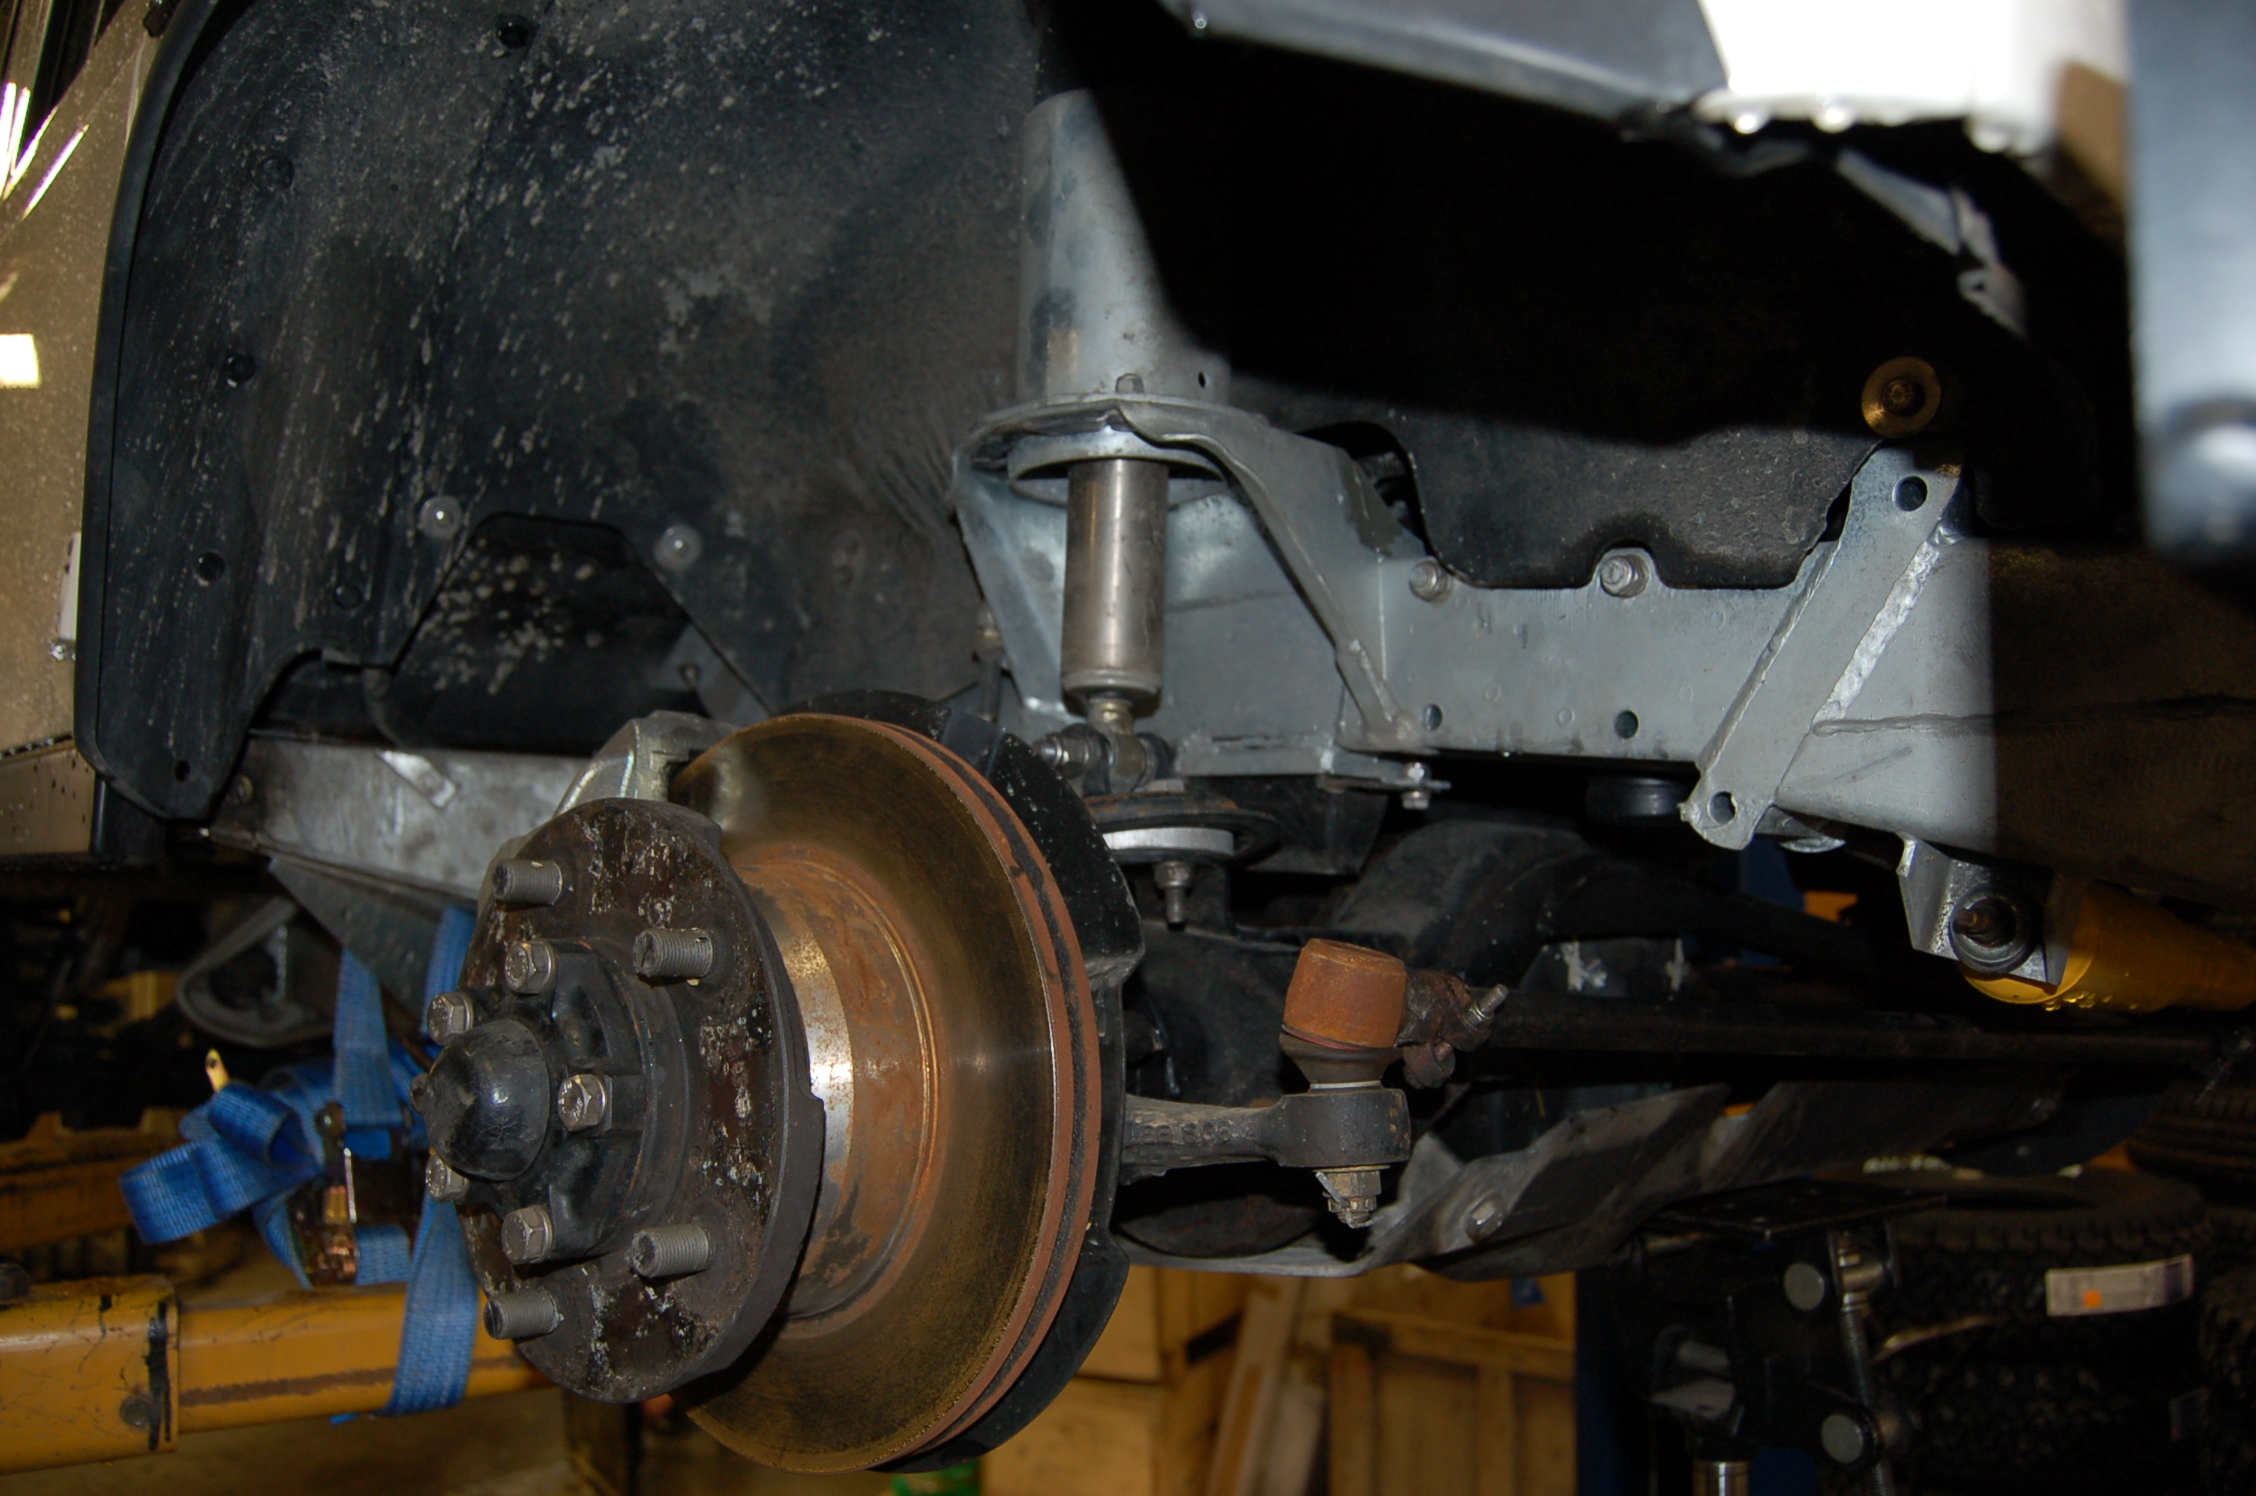
Underbody protection was provided by a front axle skid plate that protects both the differential & the track rod, rock sliders that protect the bottoms of the doors & body work & a galvanized heavy duty fuel tank skid plate.
When disconnecting the body from the frame it is common to find the AC fittings will not come apart without stripping the threads. These threads are usually aluminum & steel or just aluminum & aren’t put together with proper lubrication. AC condensers also take a beating from the elements.

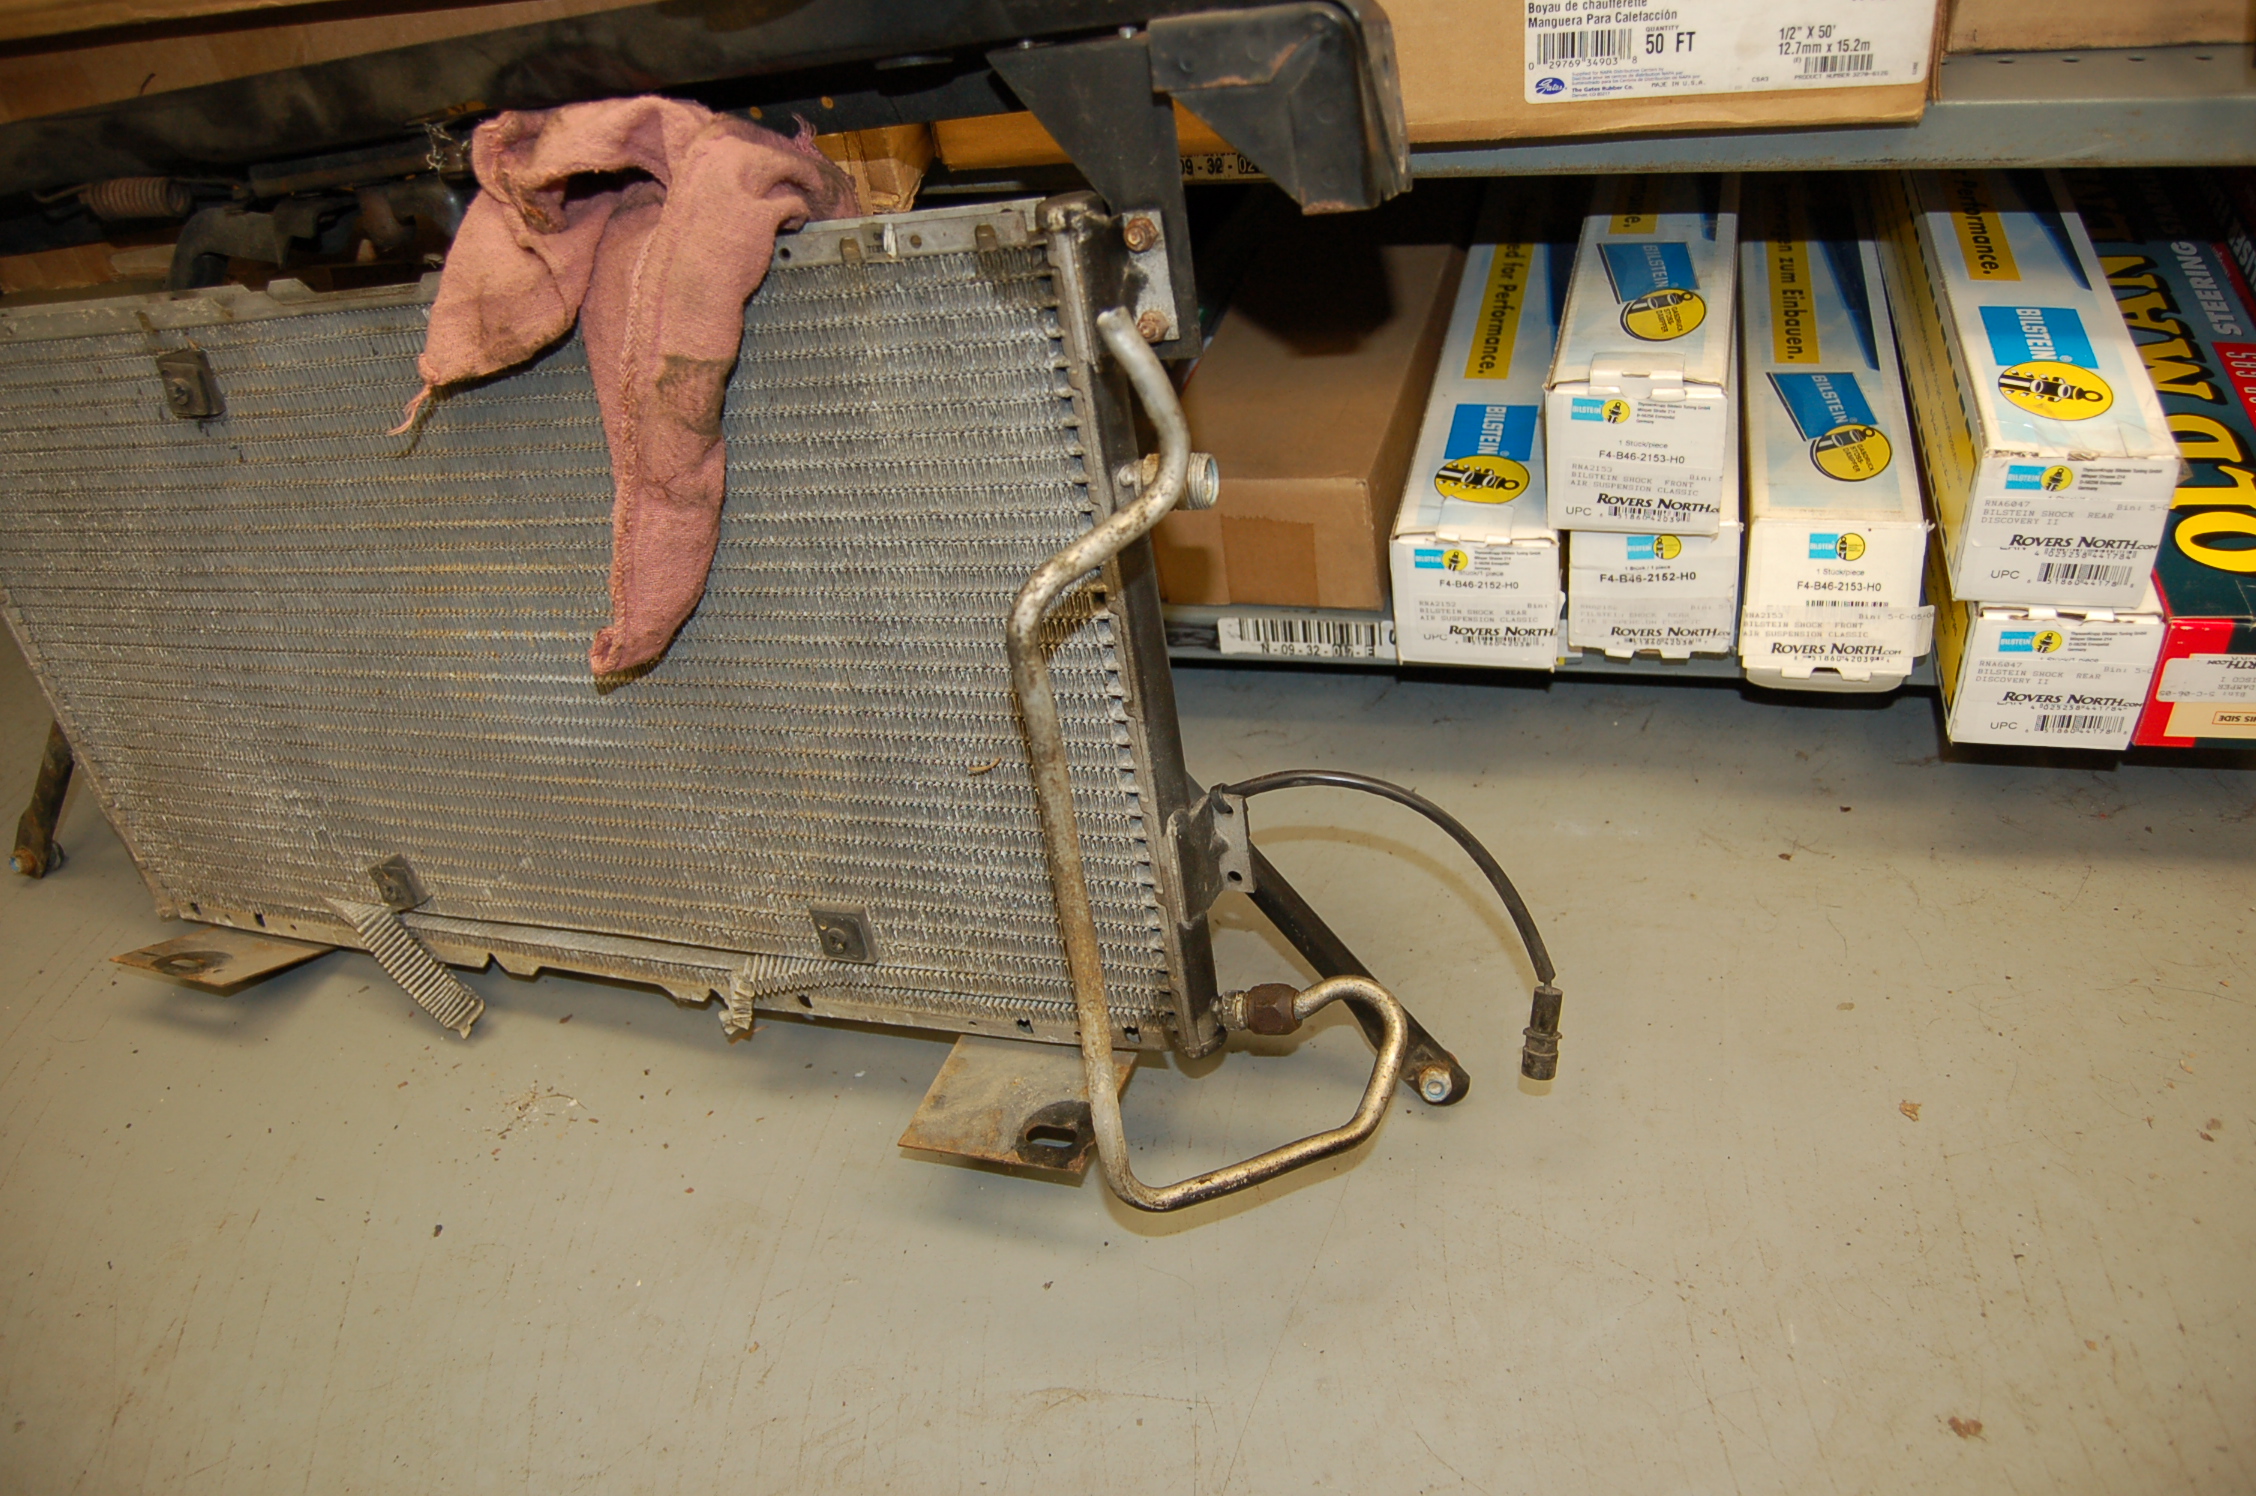
Some of the parts for earlier Defender AC kits are no longer available. We installed a condenser of the same size & made brackets to fit the original land rover mounting points.
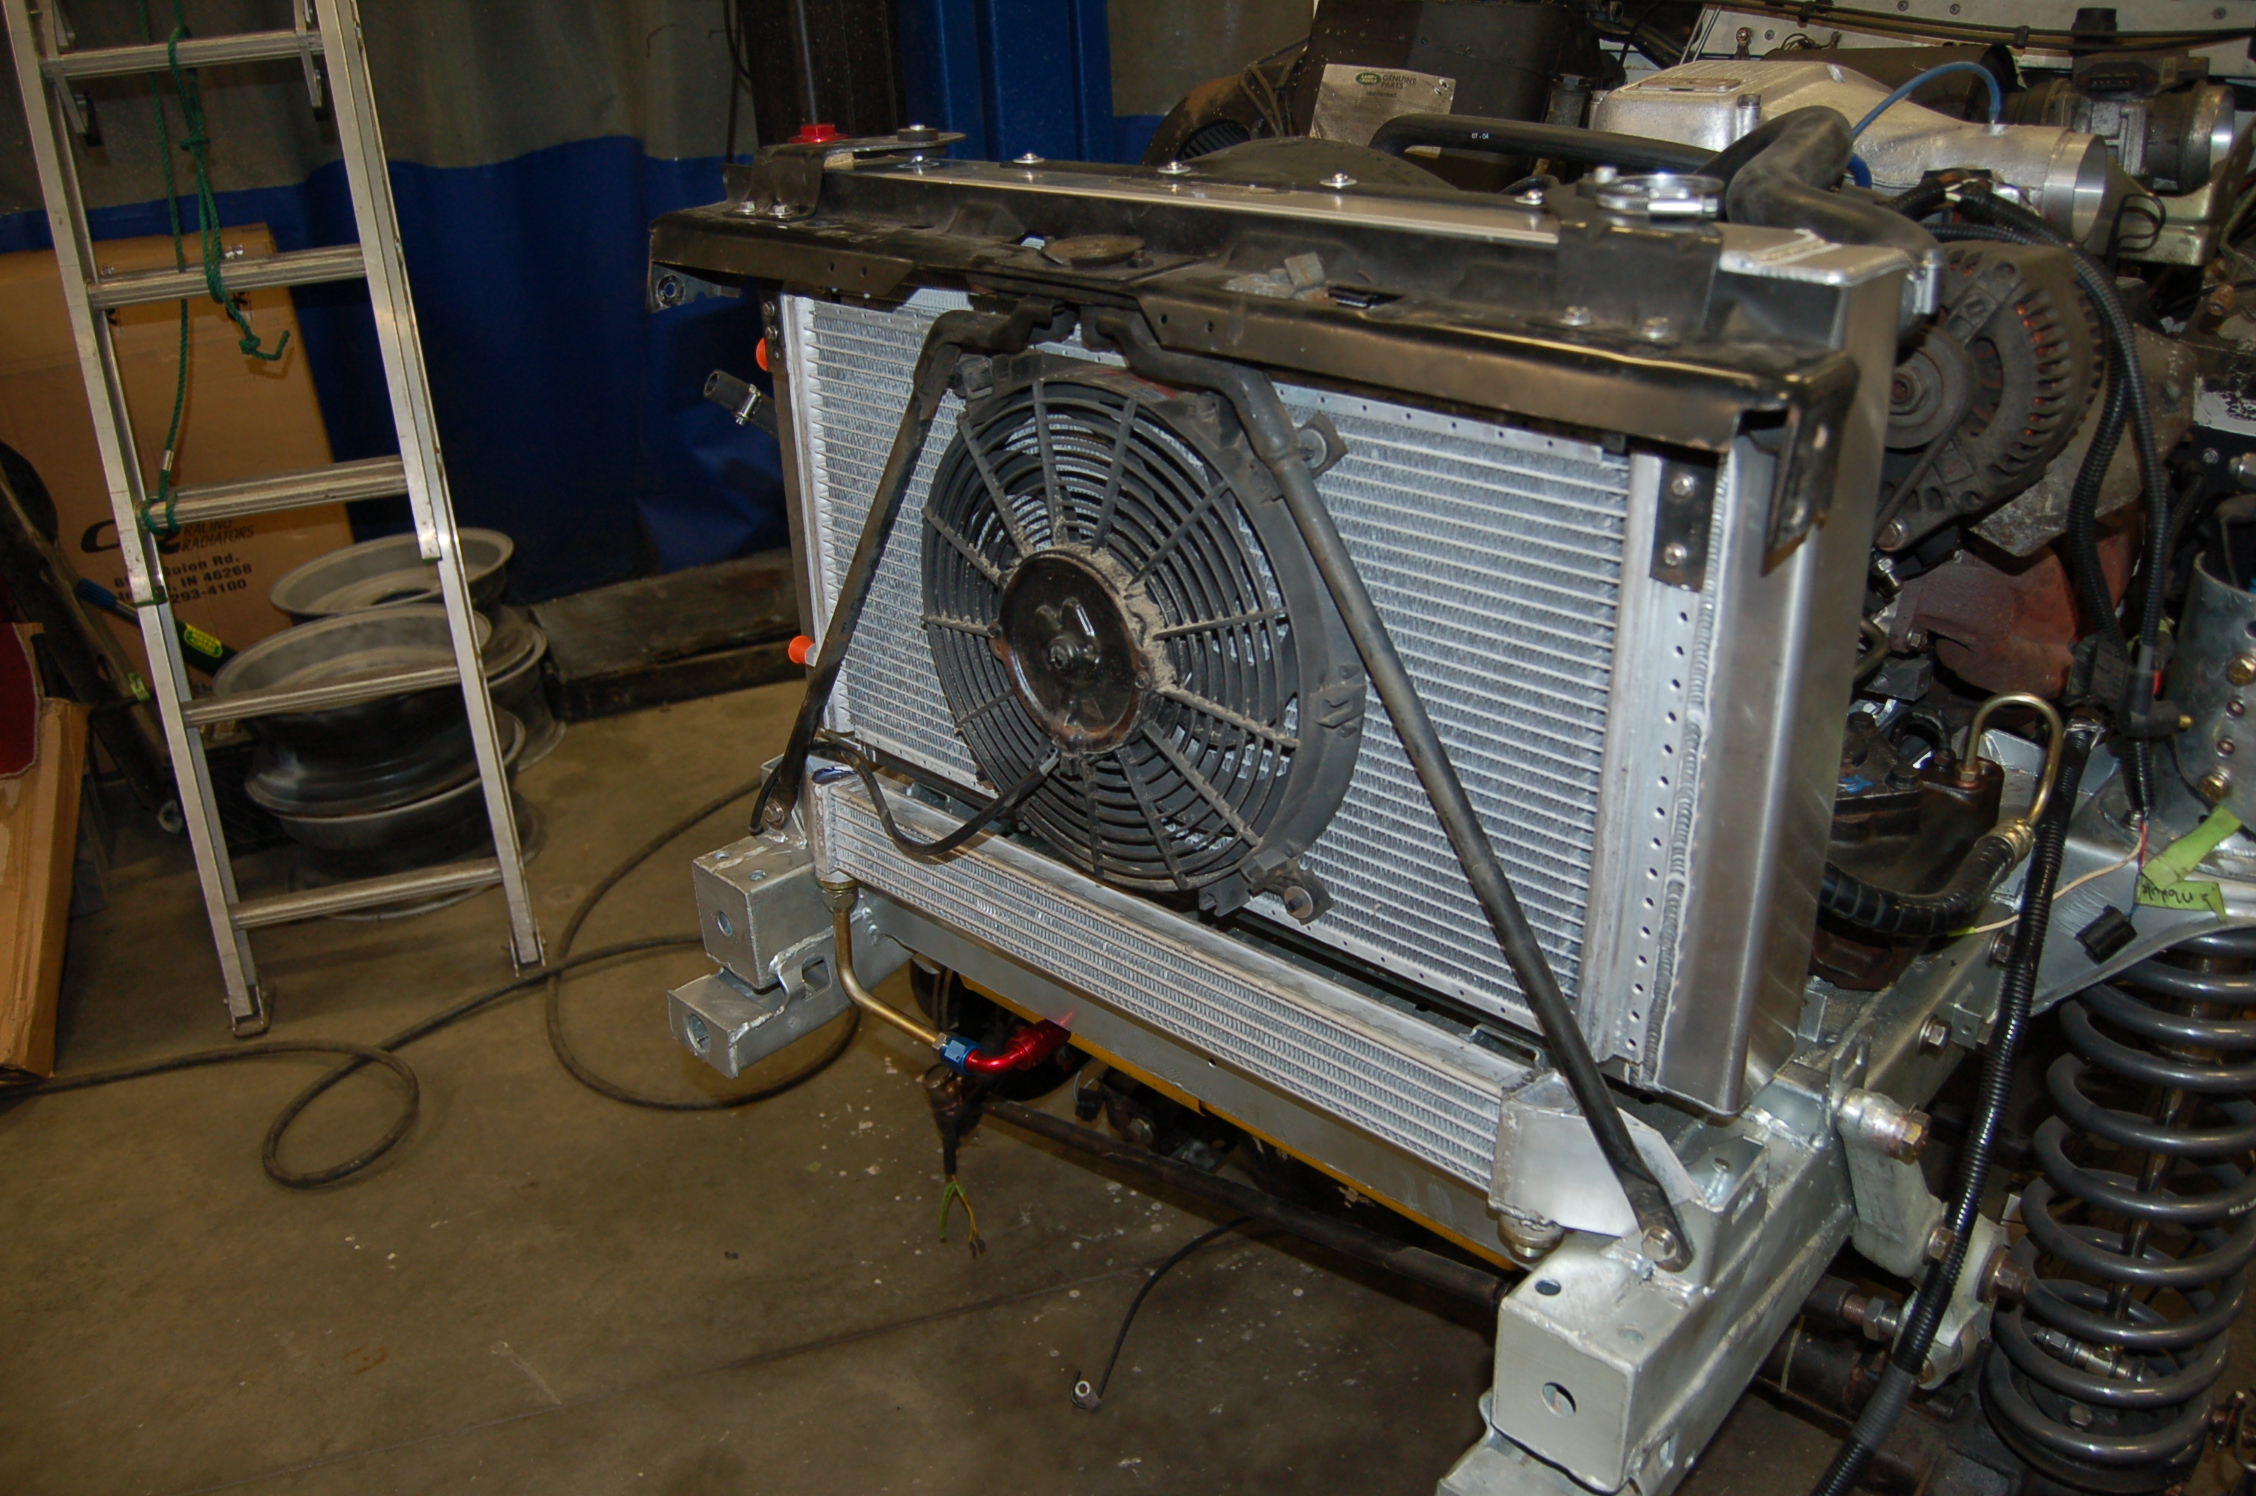
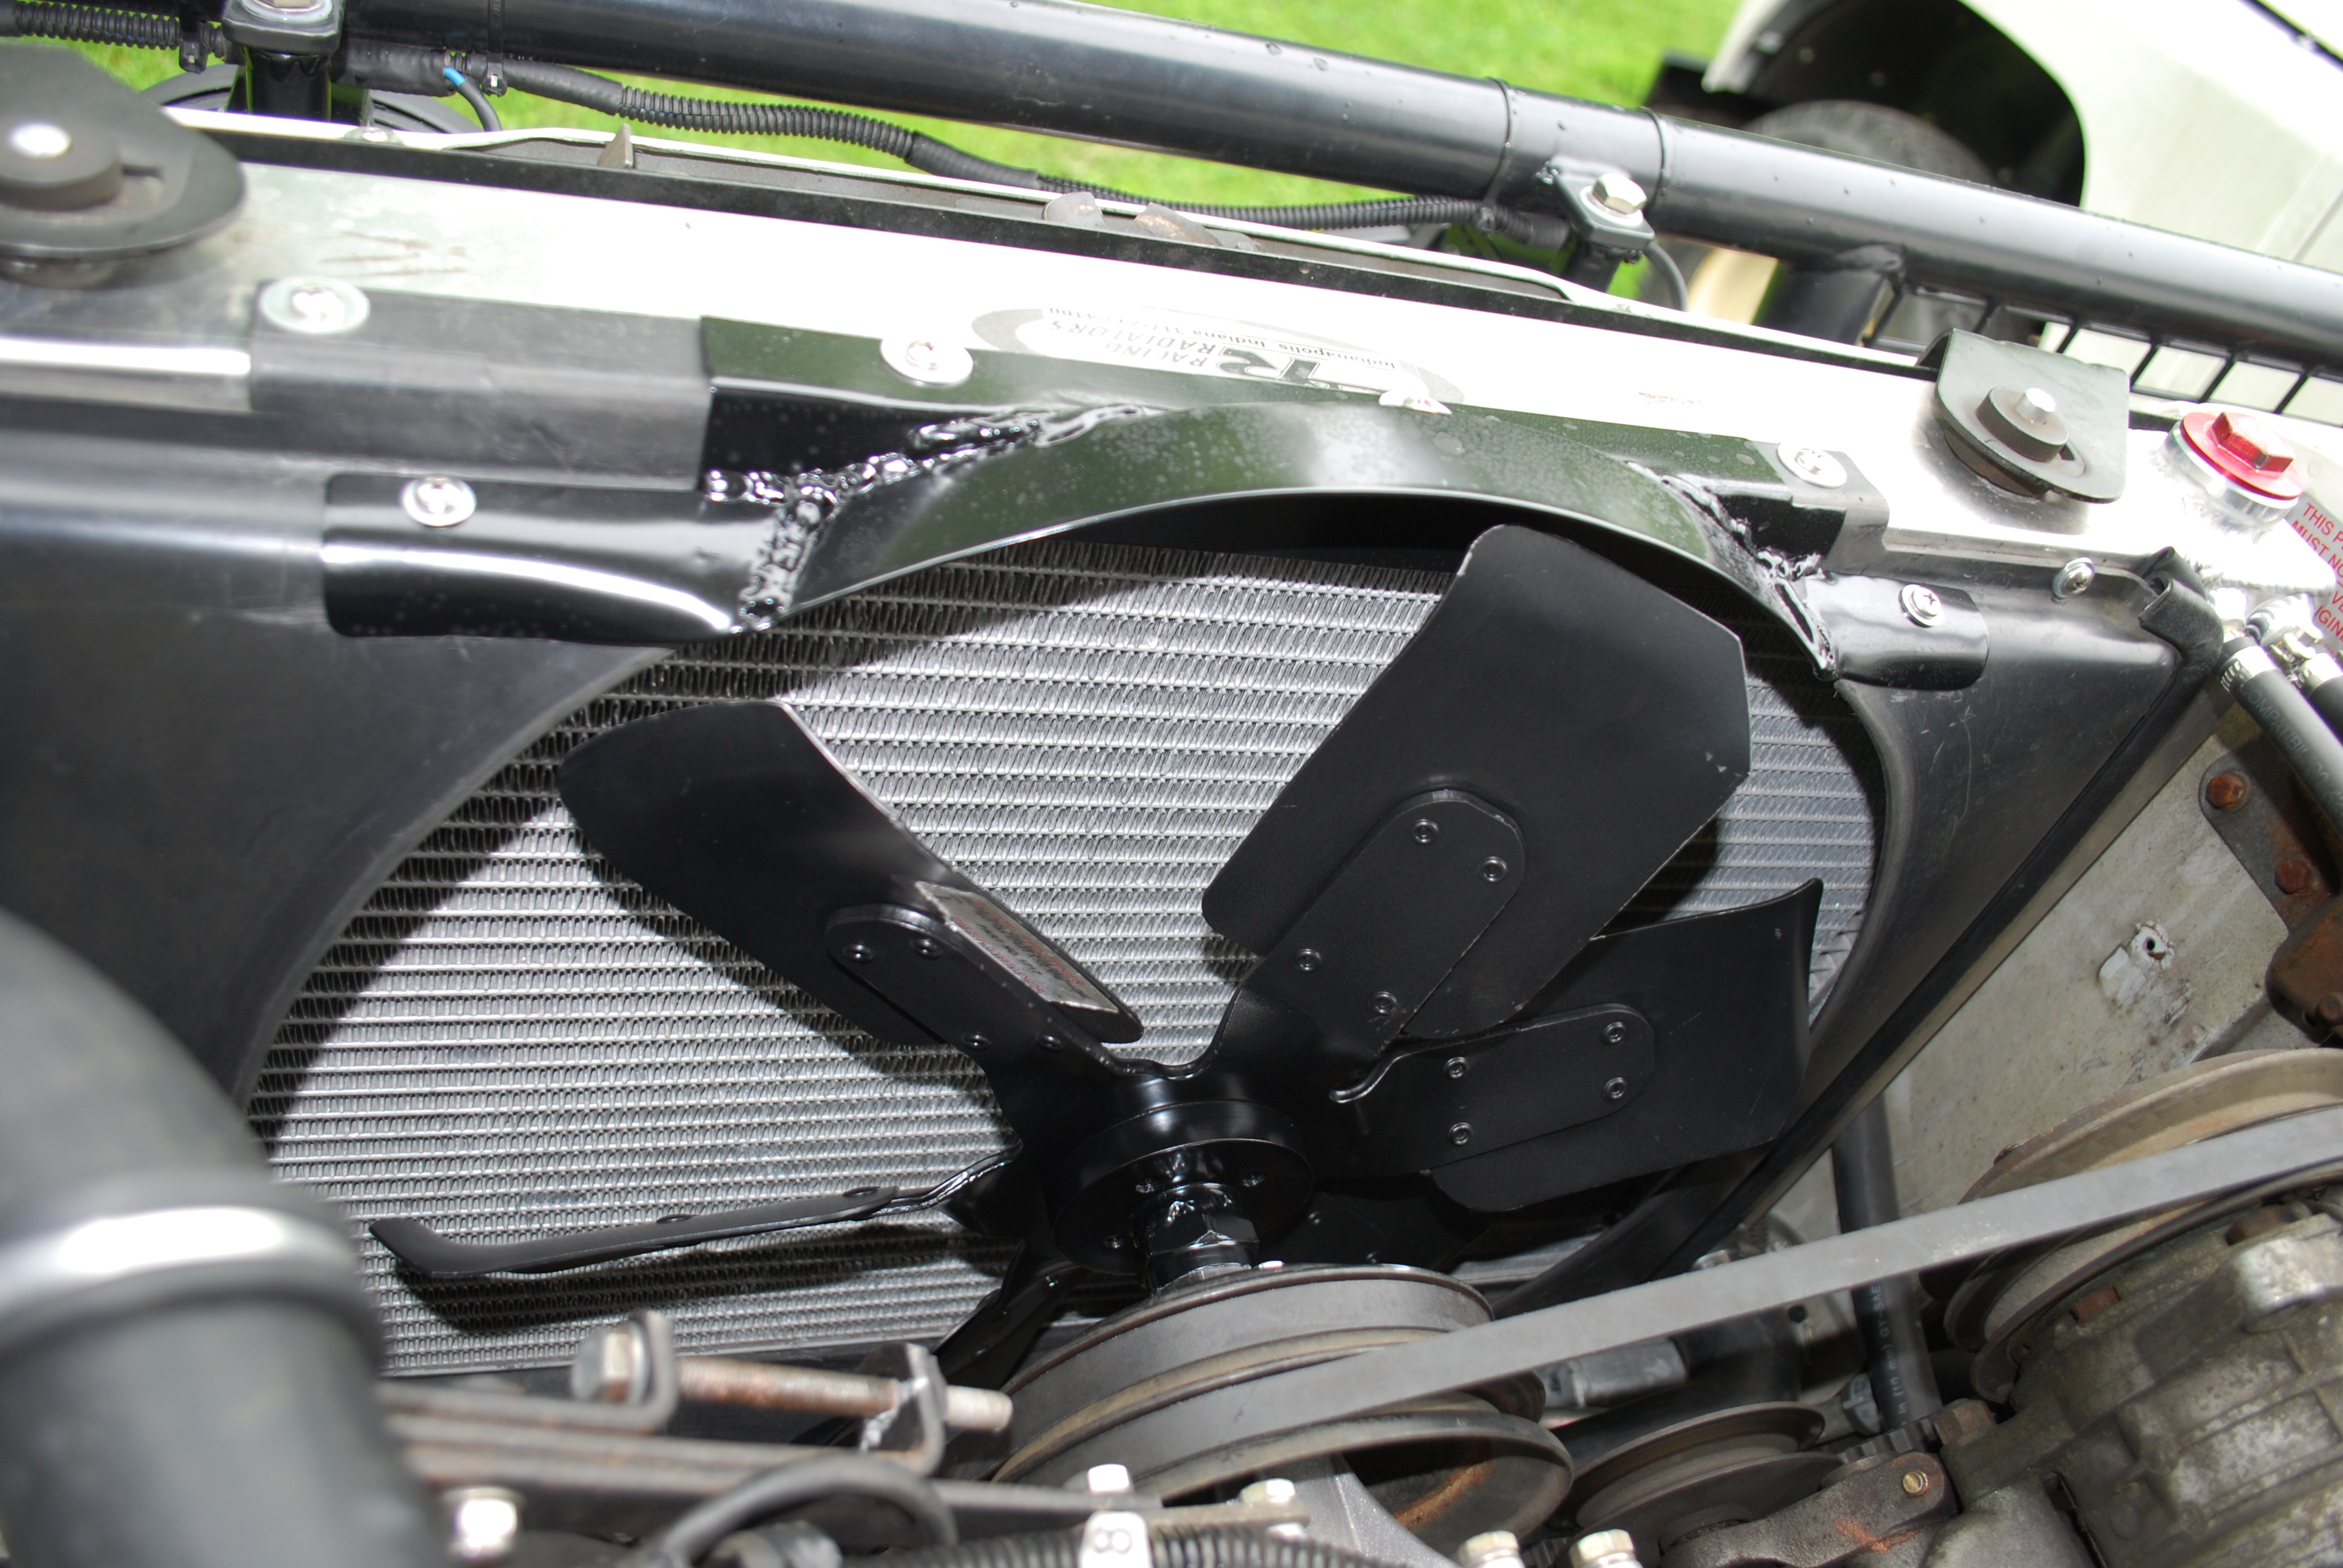
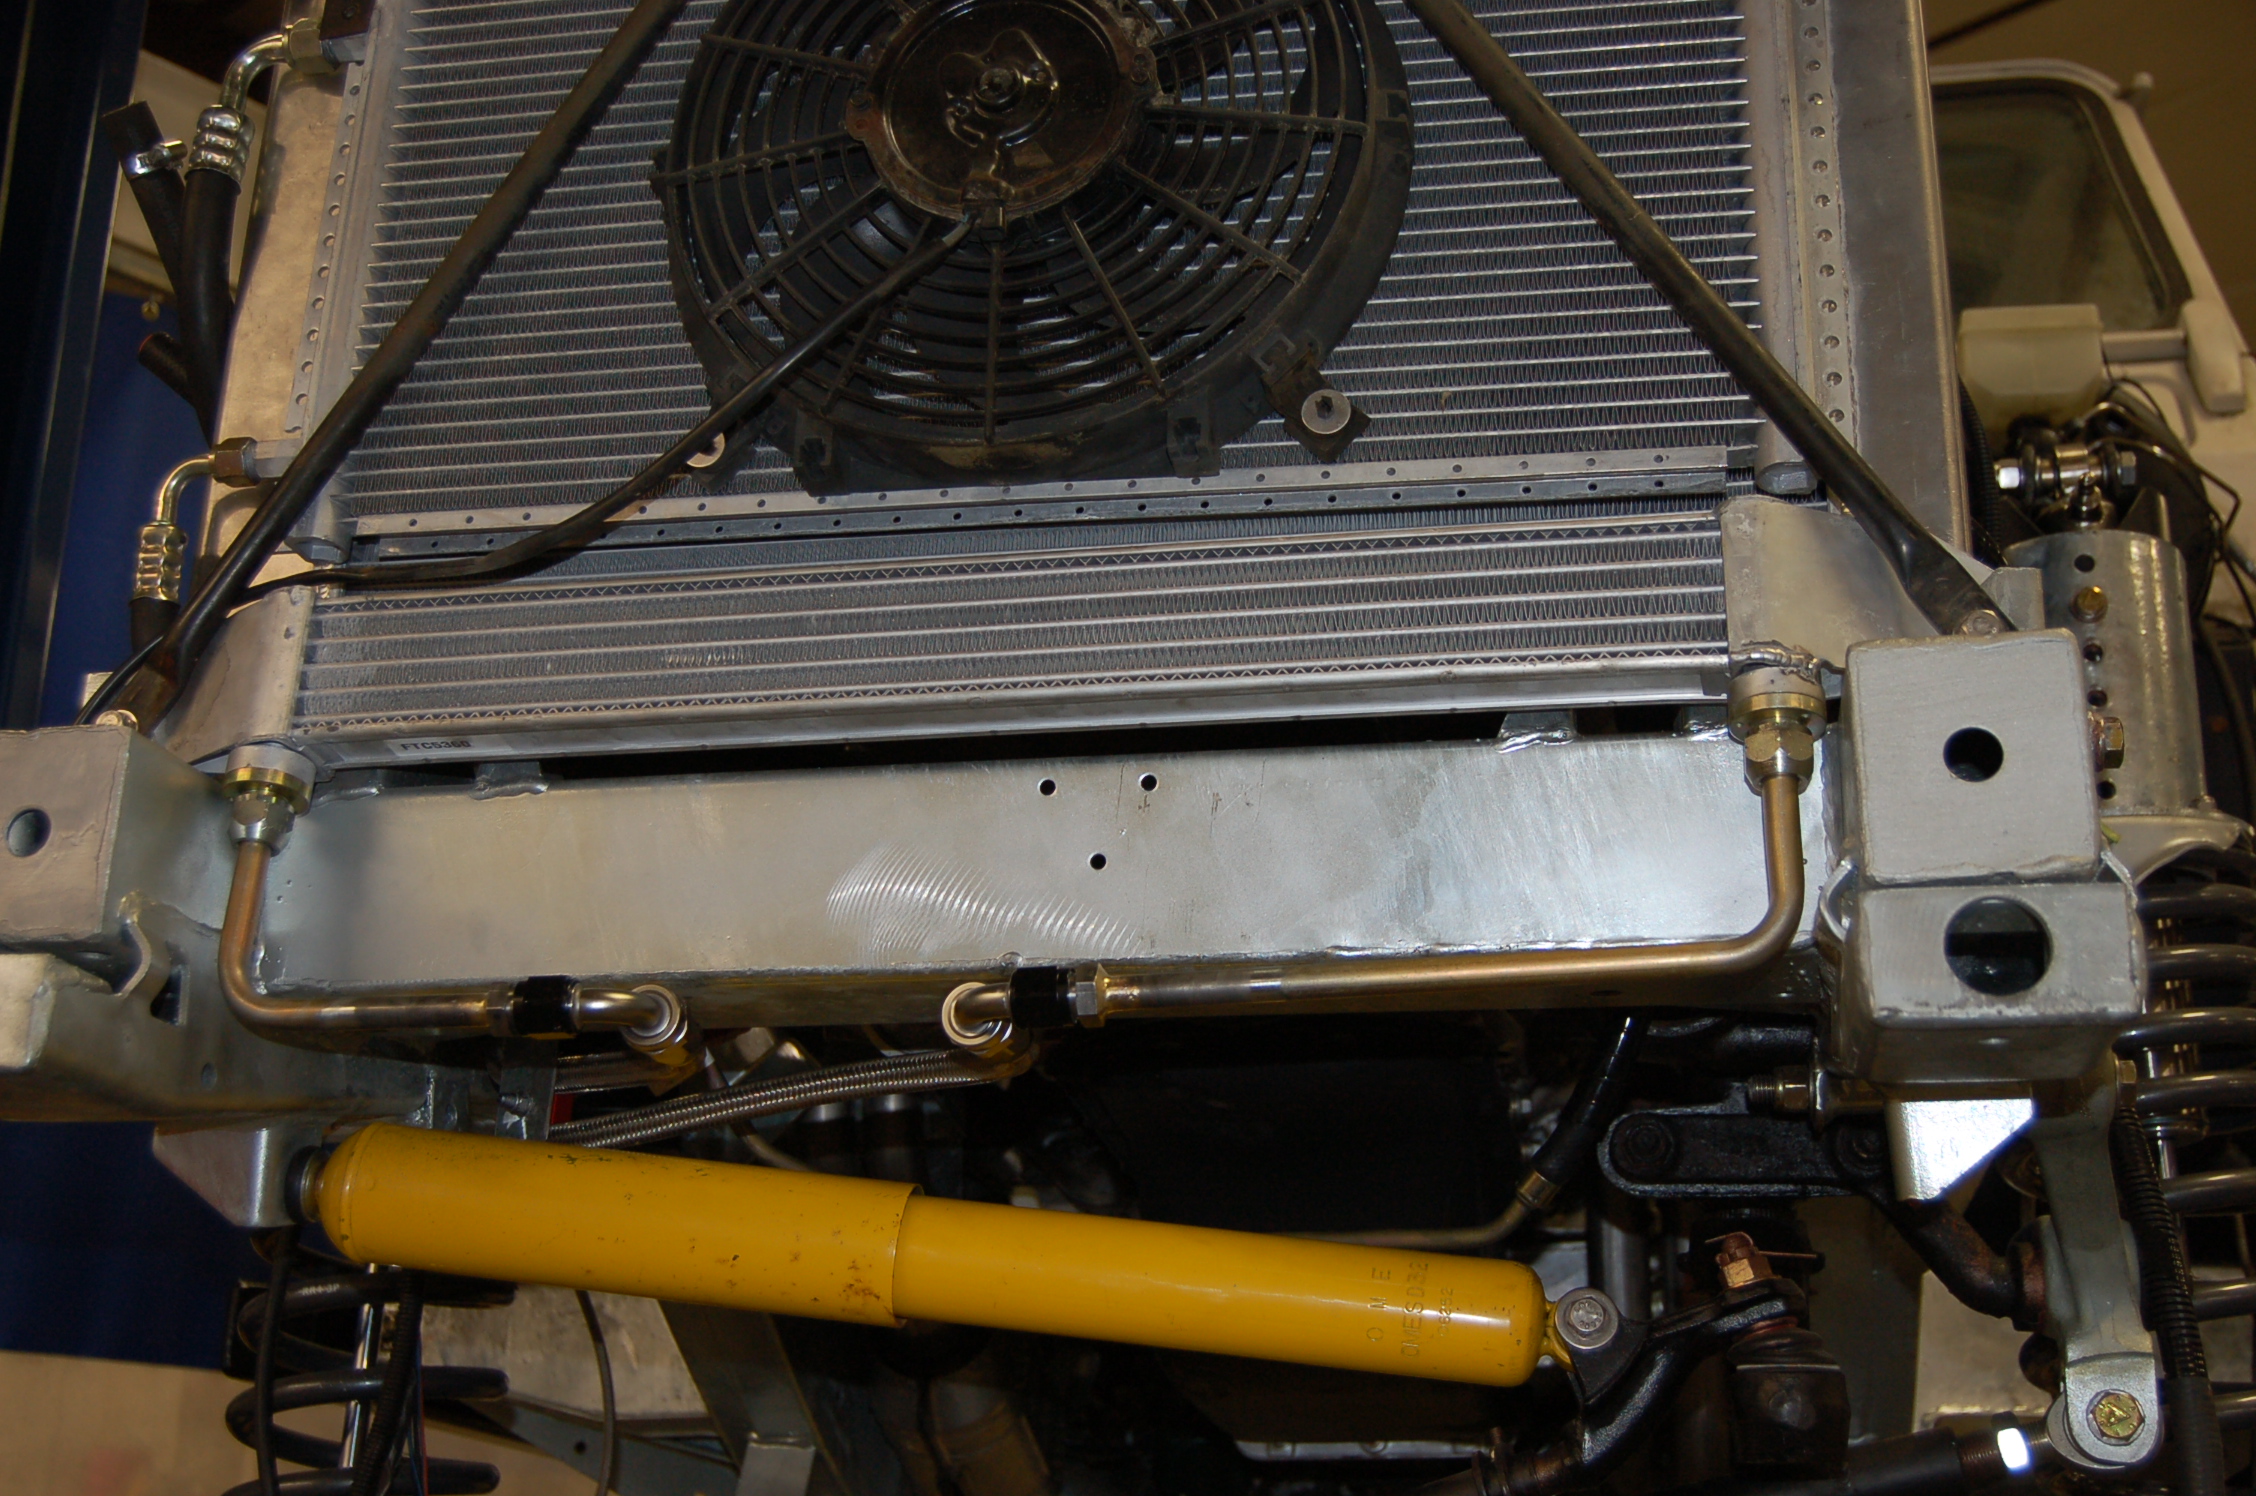
The 4.6 motor runs warmer than the 3.9. Depending on the configuration of the defender & the environment it is going to be used in dictates whether or not this will be an issue. Having AC always produces more heat & restricts air flow. The worst case scenario is hot environment, slow travel with AC on. This is exactly how this defender was destined to operate. It got a full package of cooling system up grades. A big mechanical fan with carefully reshaped fan cowl dramatically increased air flow, especially at lower engine speeds. An aluminum radiator provided better heat transfer. Separating the engine oil cooler away from the radiator helped reduce oil temp. Finally the holes in the back of the bonnet allowed the extra air to escape. A mechanical fan is not appropriate for all applications as it is a lot noisier & uses more power to drive it, but it does flow a lot more air if properly combined with a cowl.
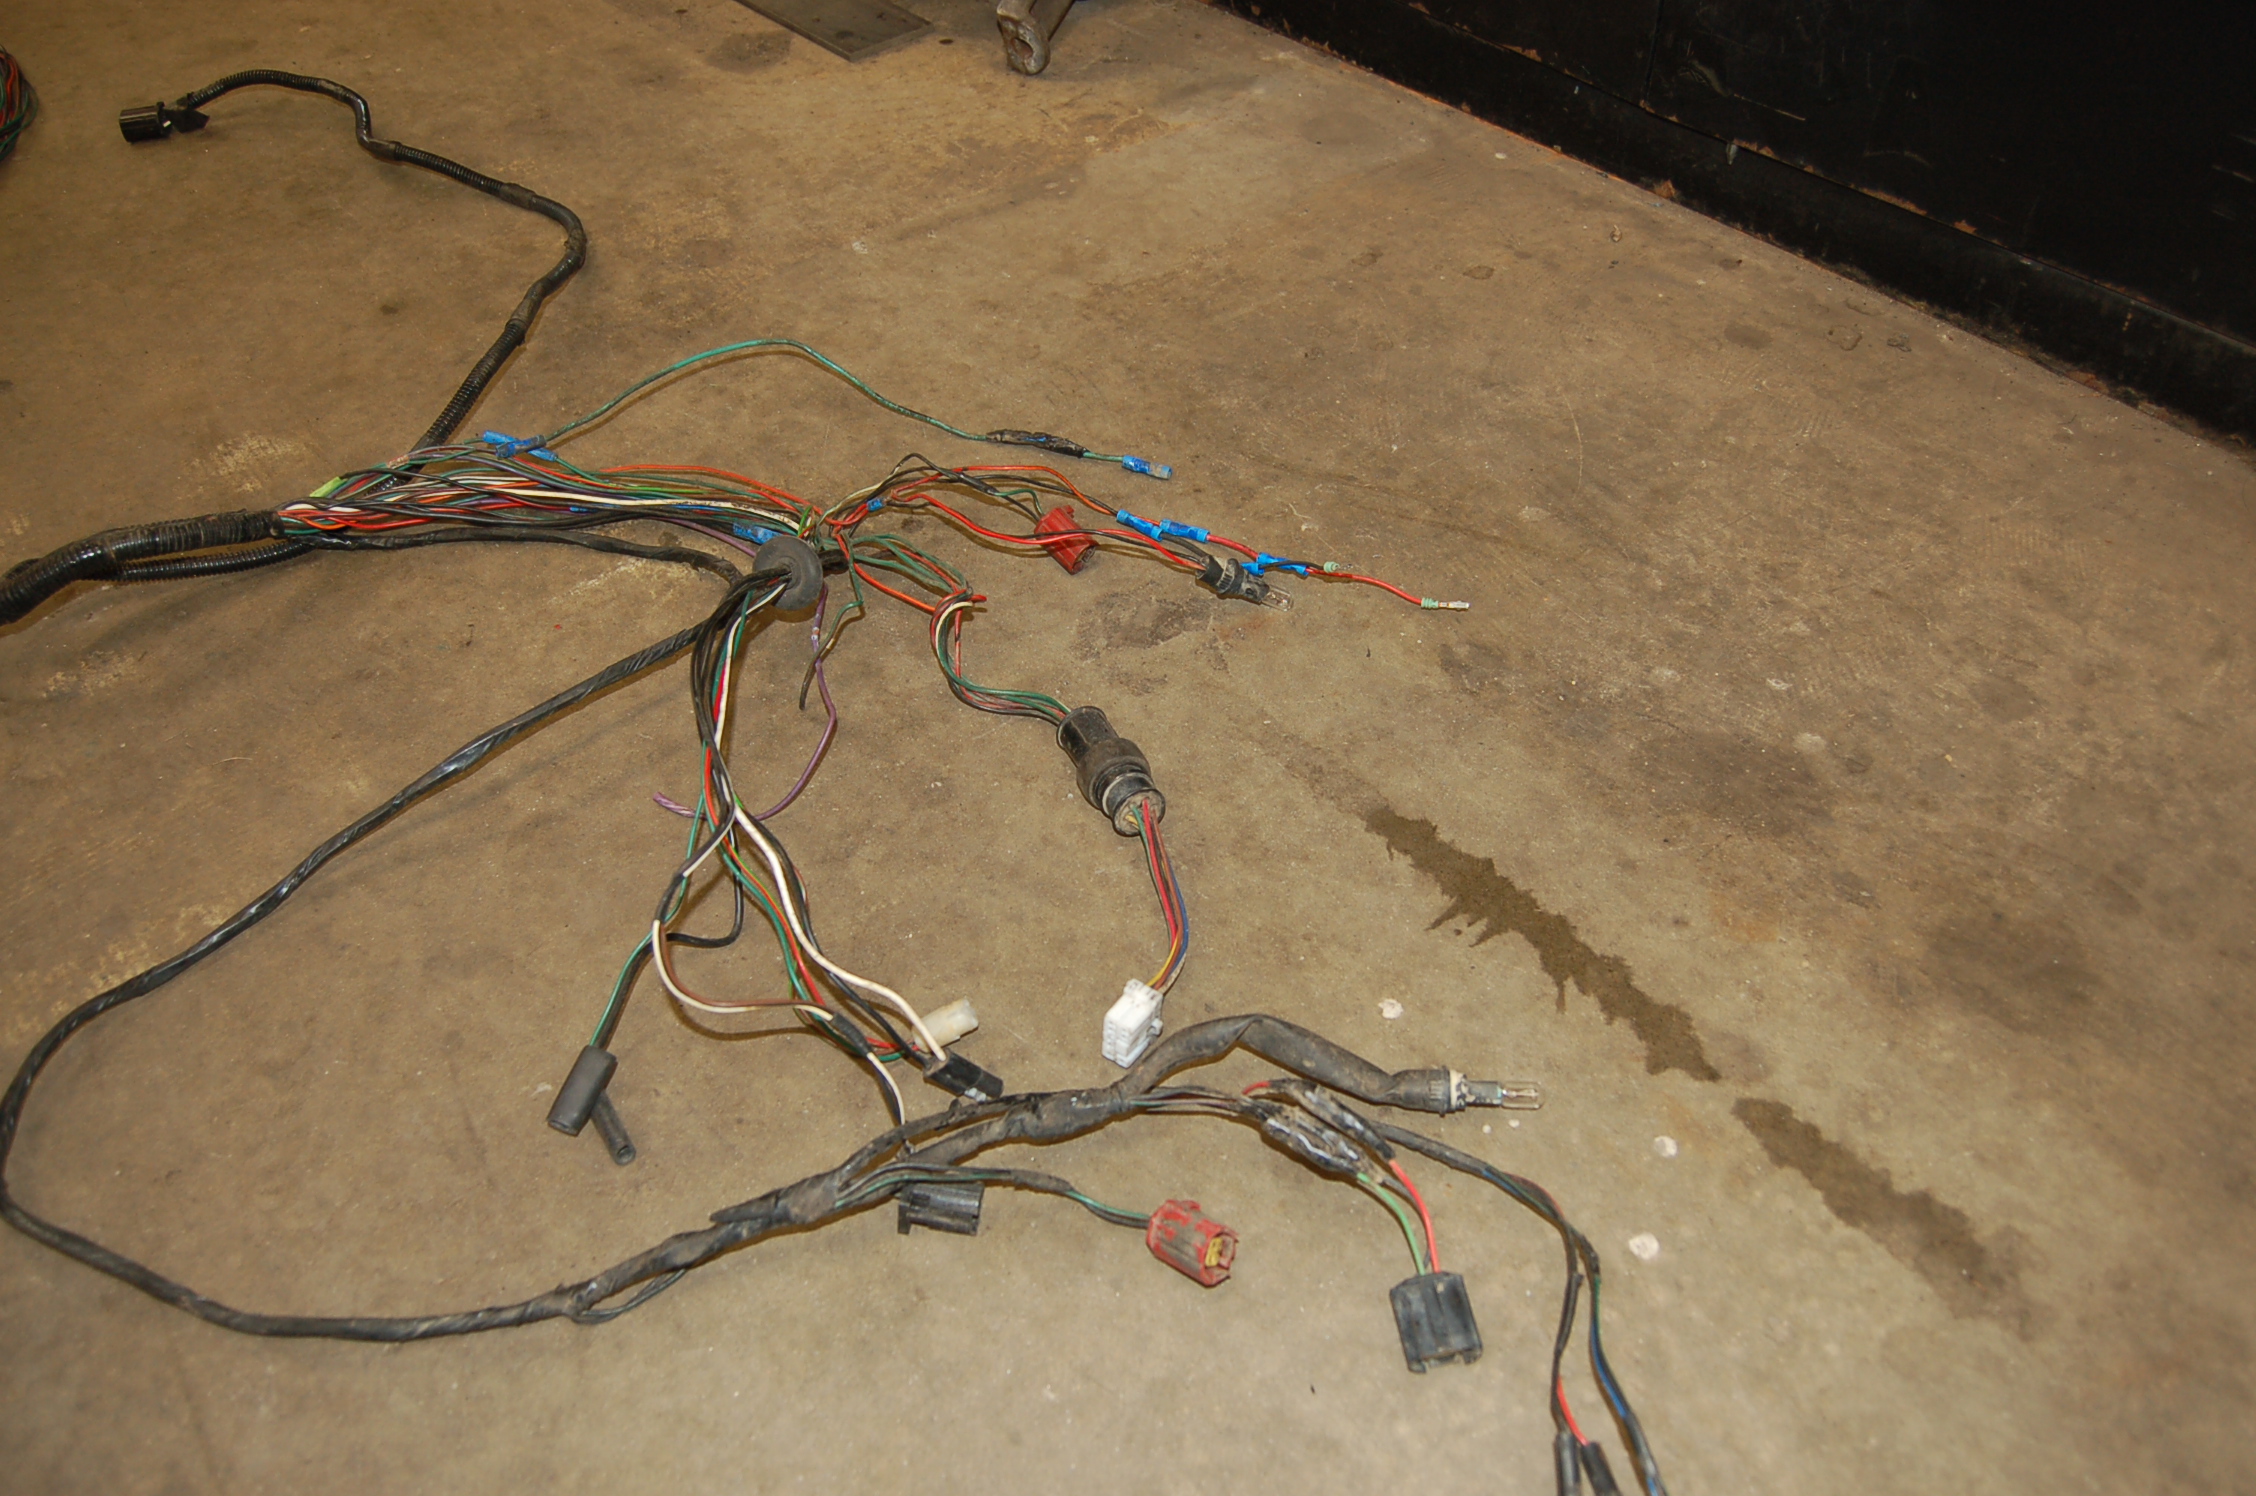
When the rear wiring harness was out of the chassis it had to be repaired prior to being installed in the new frame due to all the poor crimp splicing that had happened in the past. Picture shows poor splicing that will lead to corrosion & wiring failure.
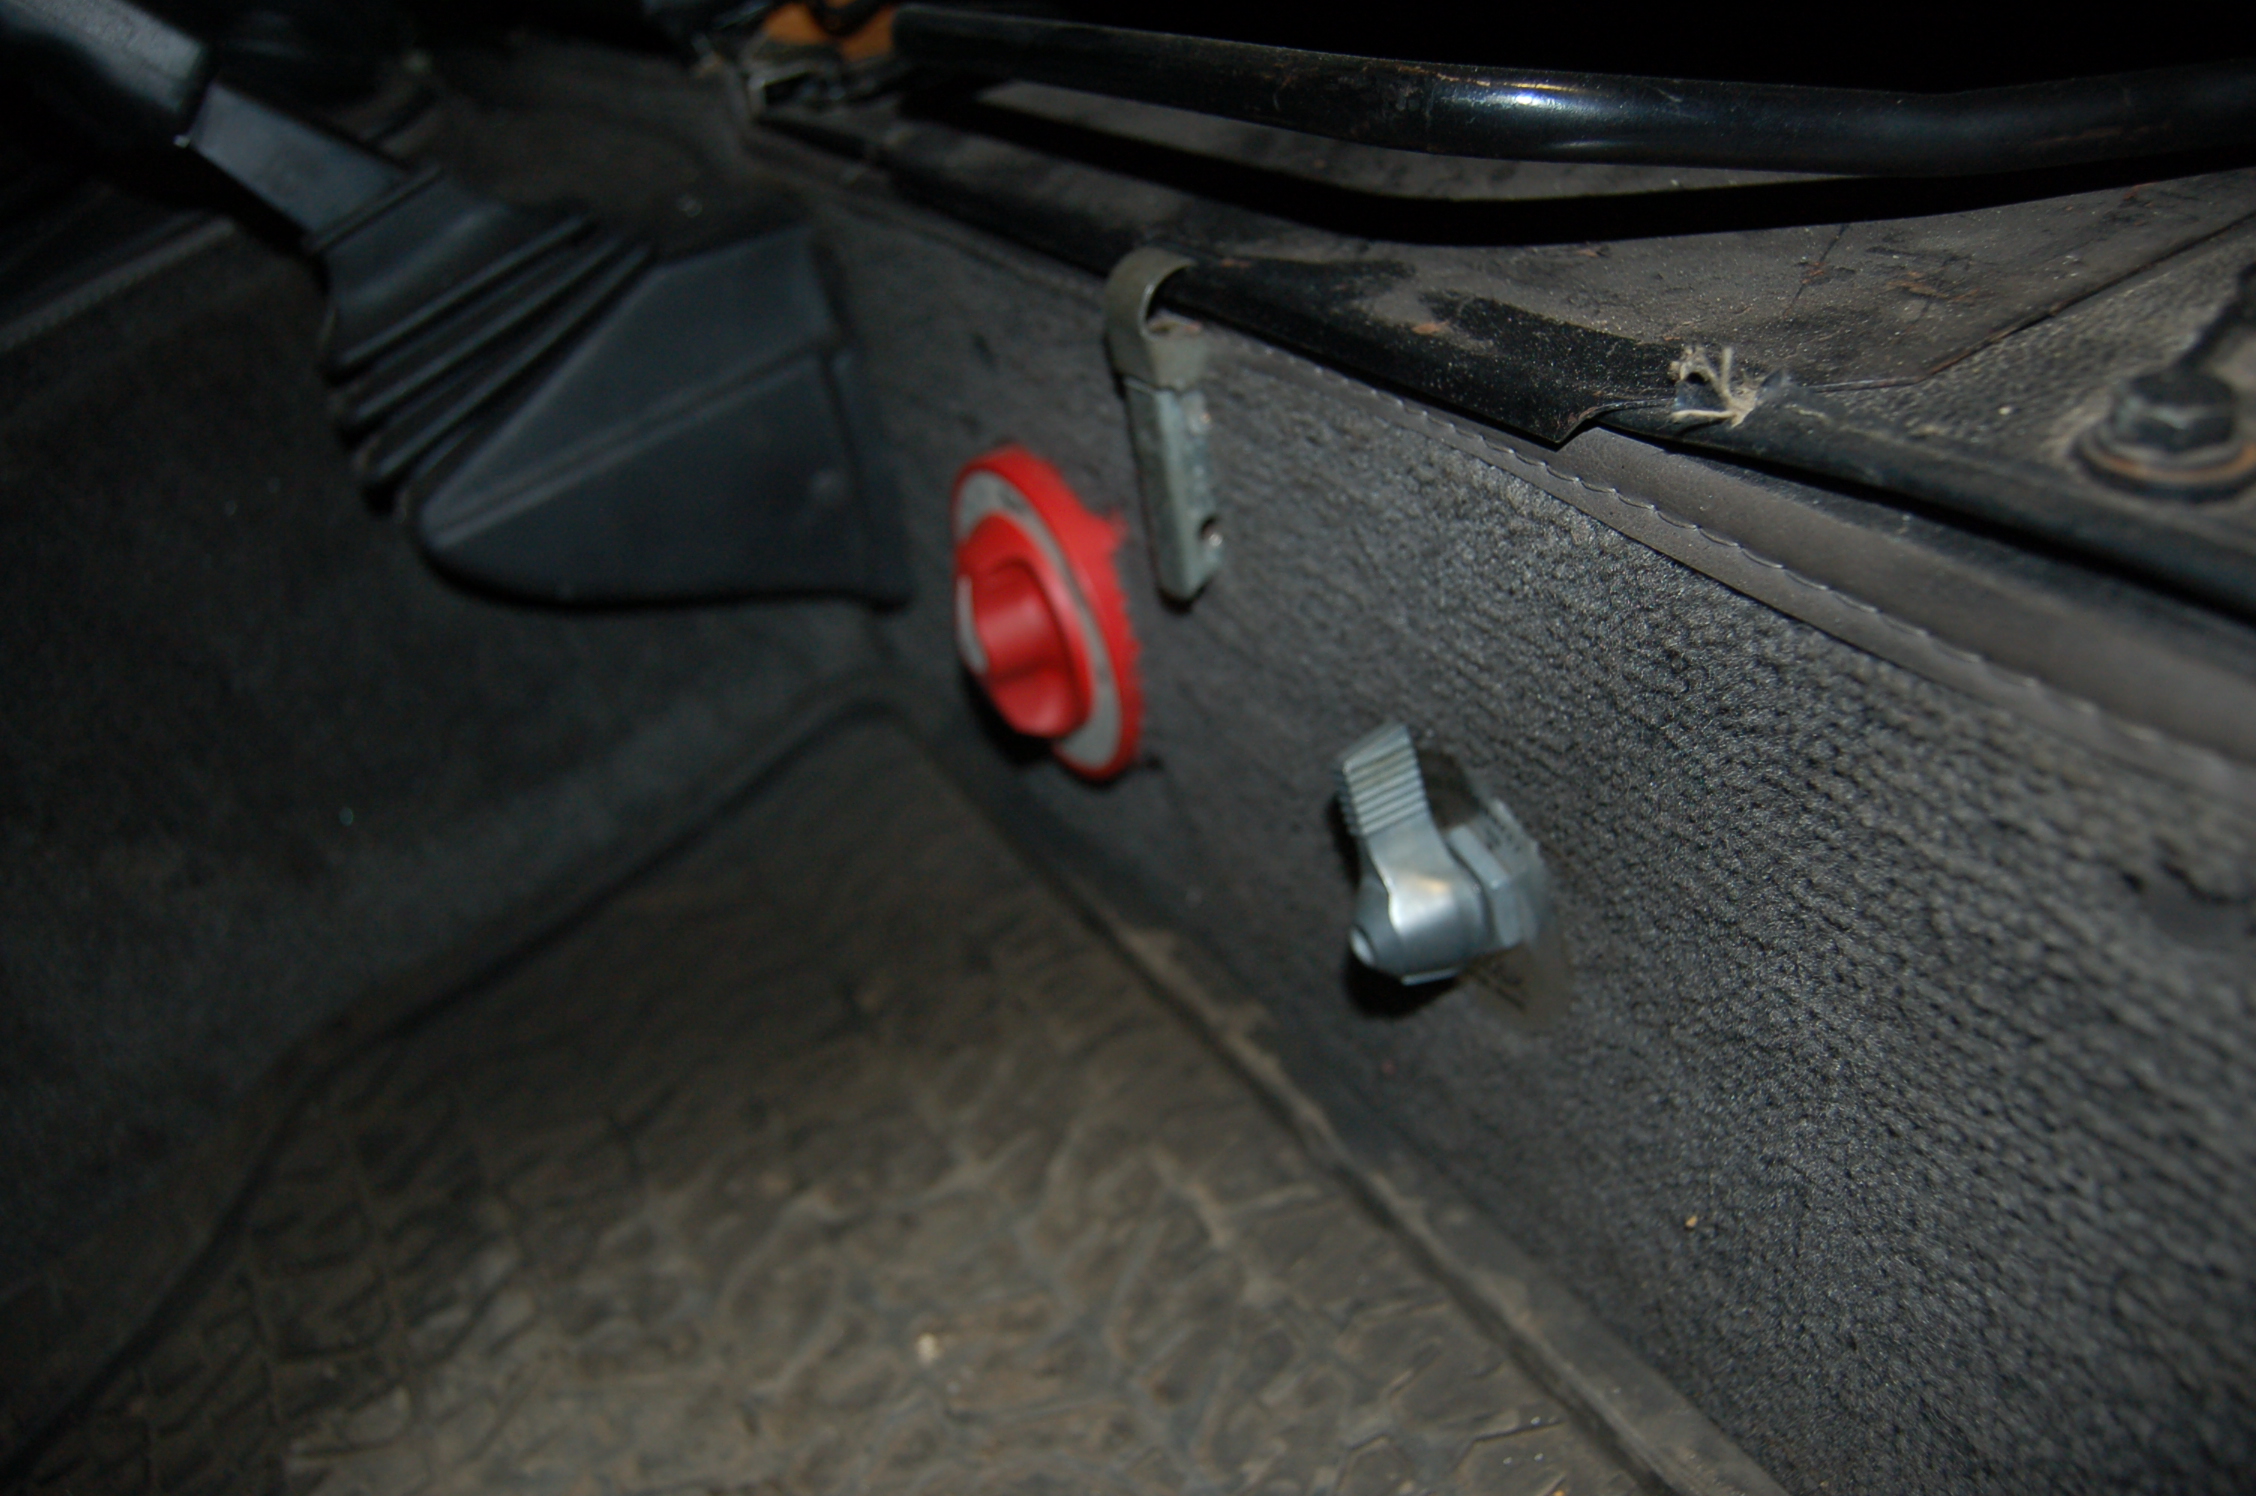
Dual batteries were installed. They are controlled by a manual switch. The winch also has its own cut off switch.
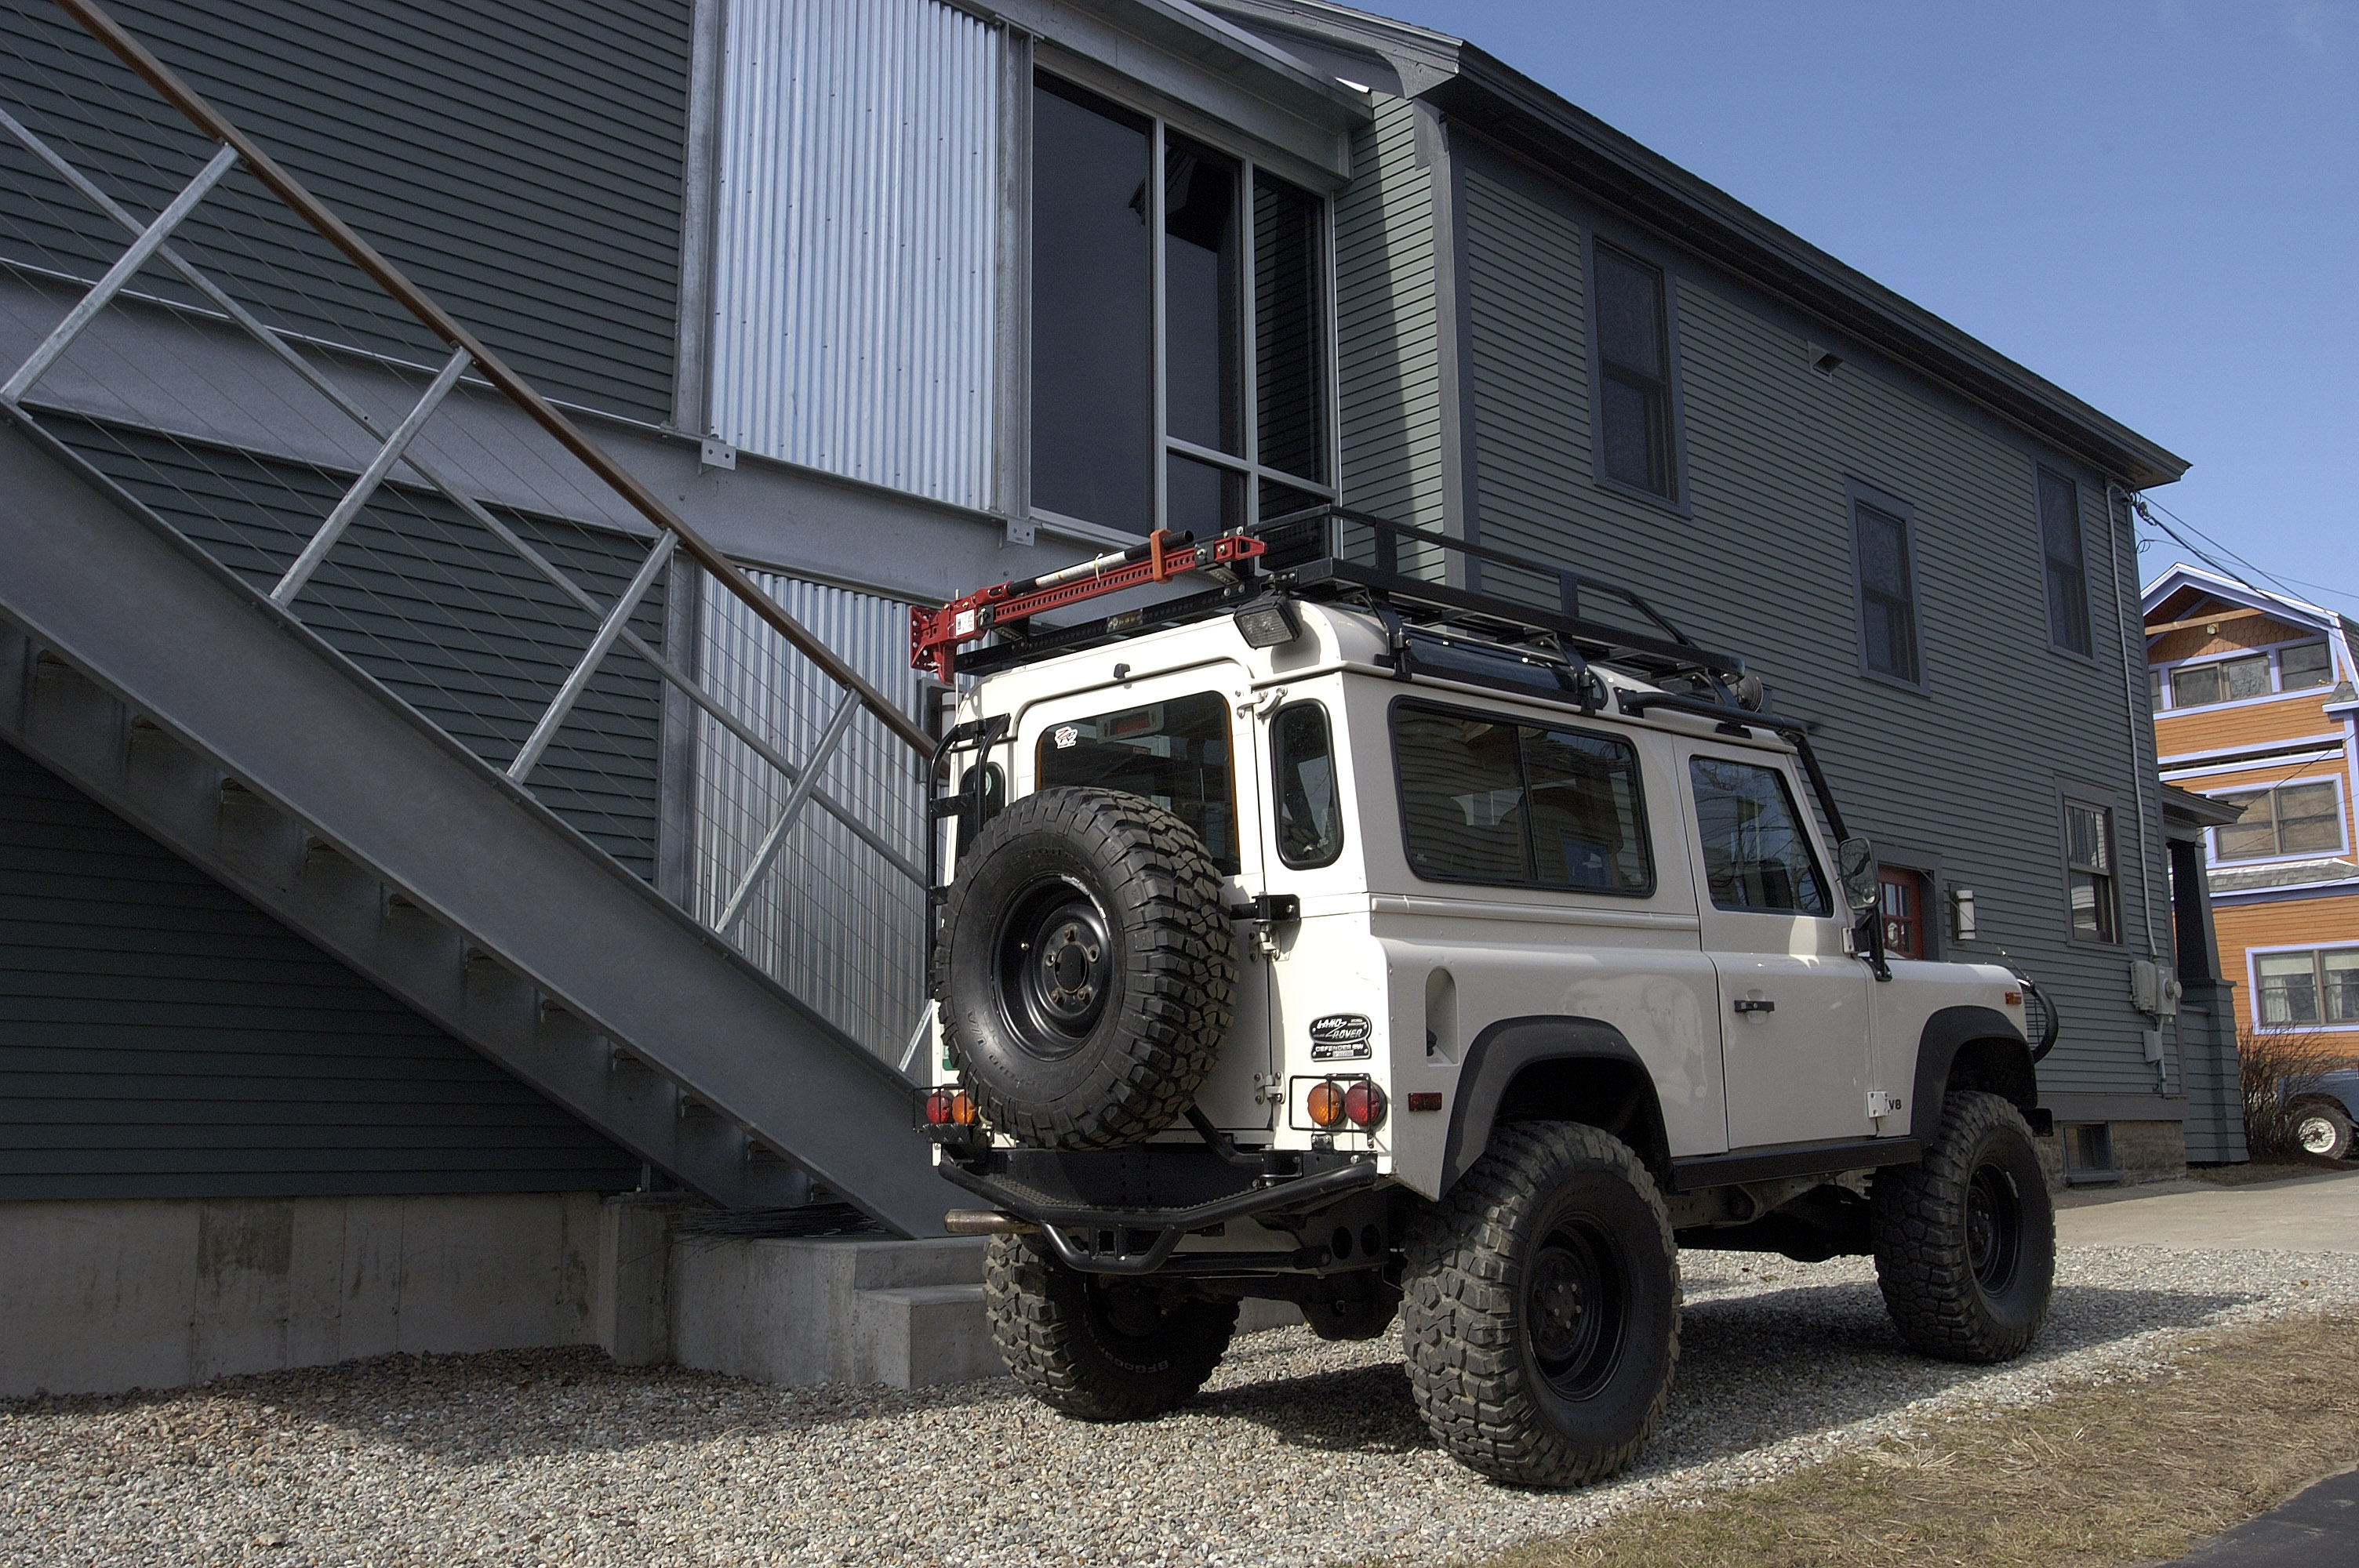
Limb risers were made to fit this specific application which relates to the roof rack & brush bar set up. They were made from stainless steel cable, tensioners & fixings. Limb risers guide branches up & over the vehicle. The closer they are to the maximum height, the more effective they are.
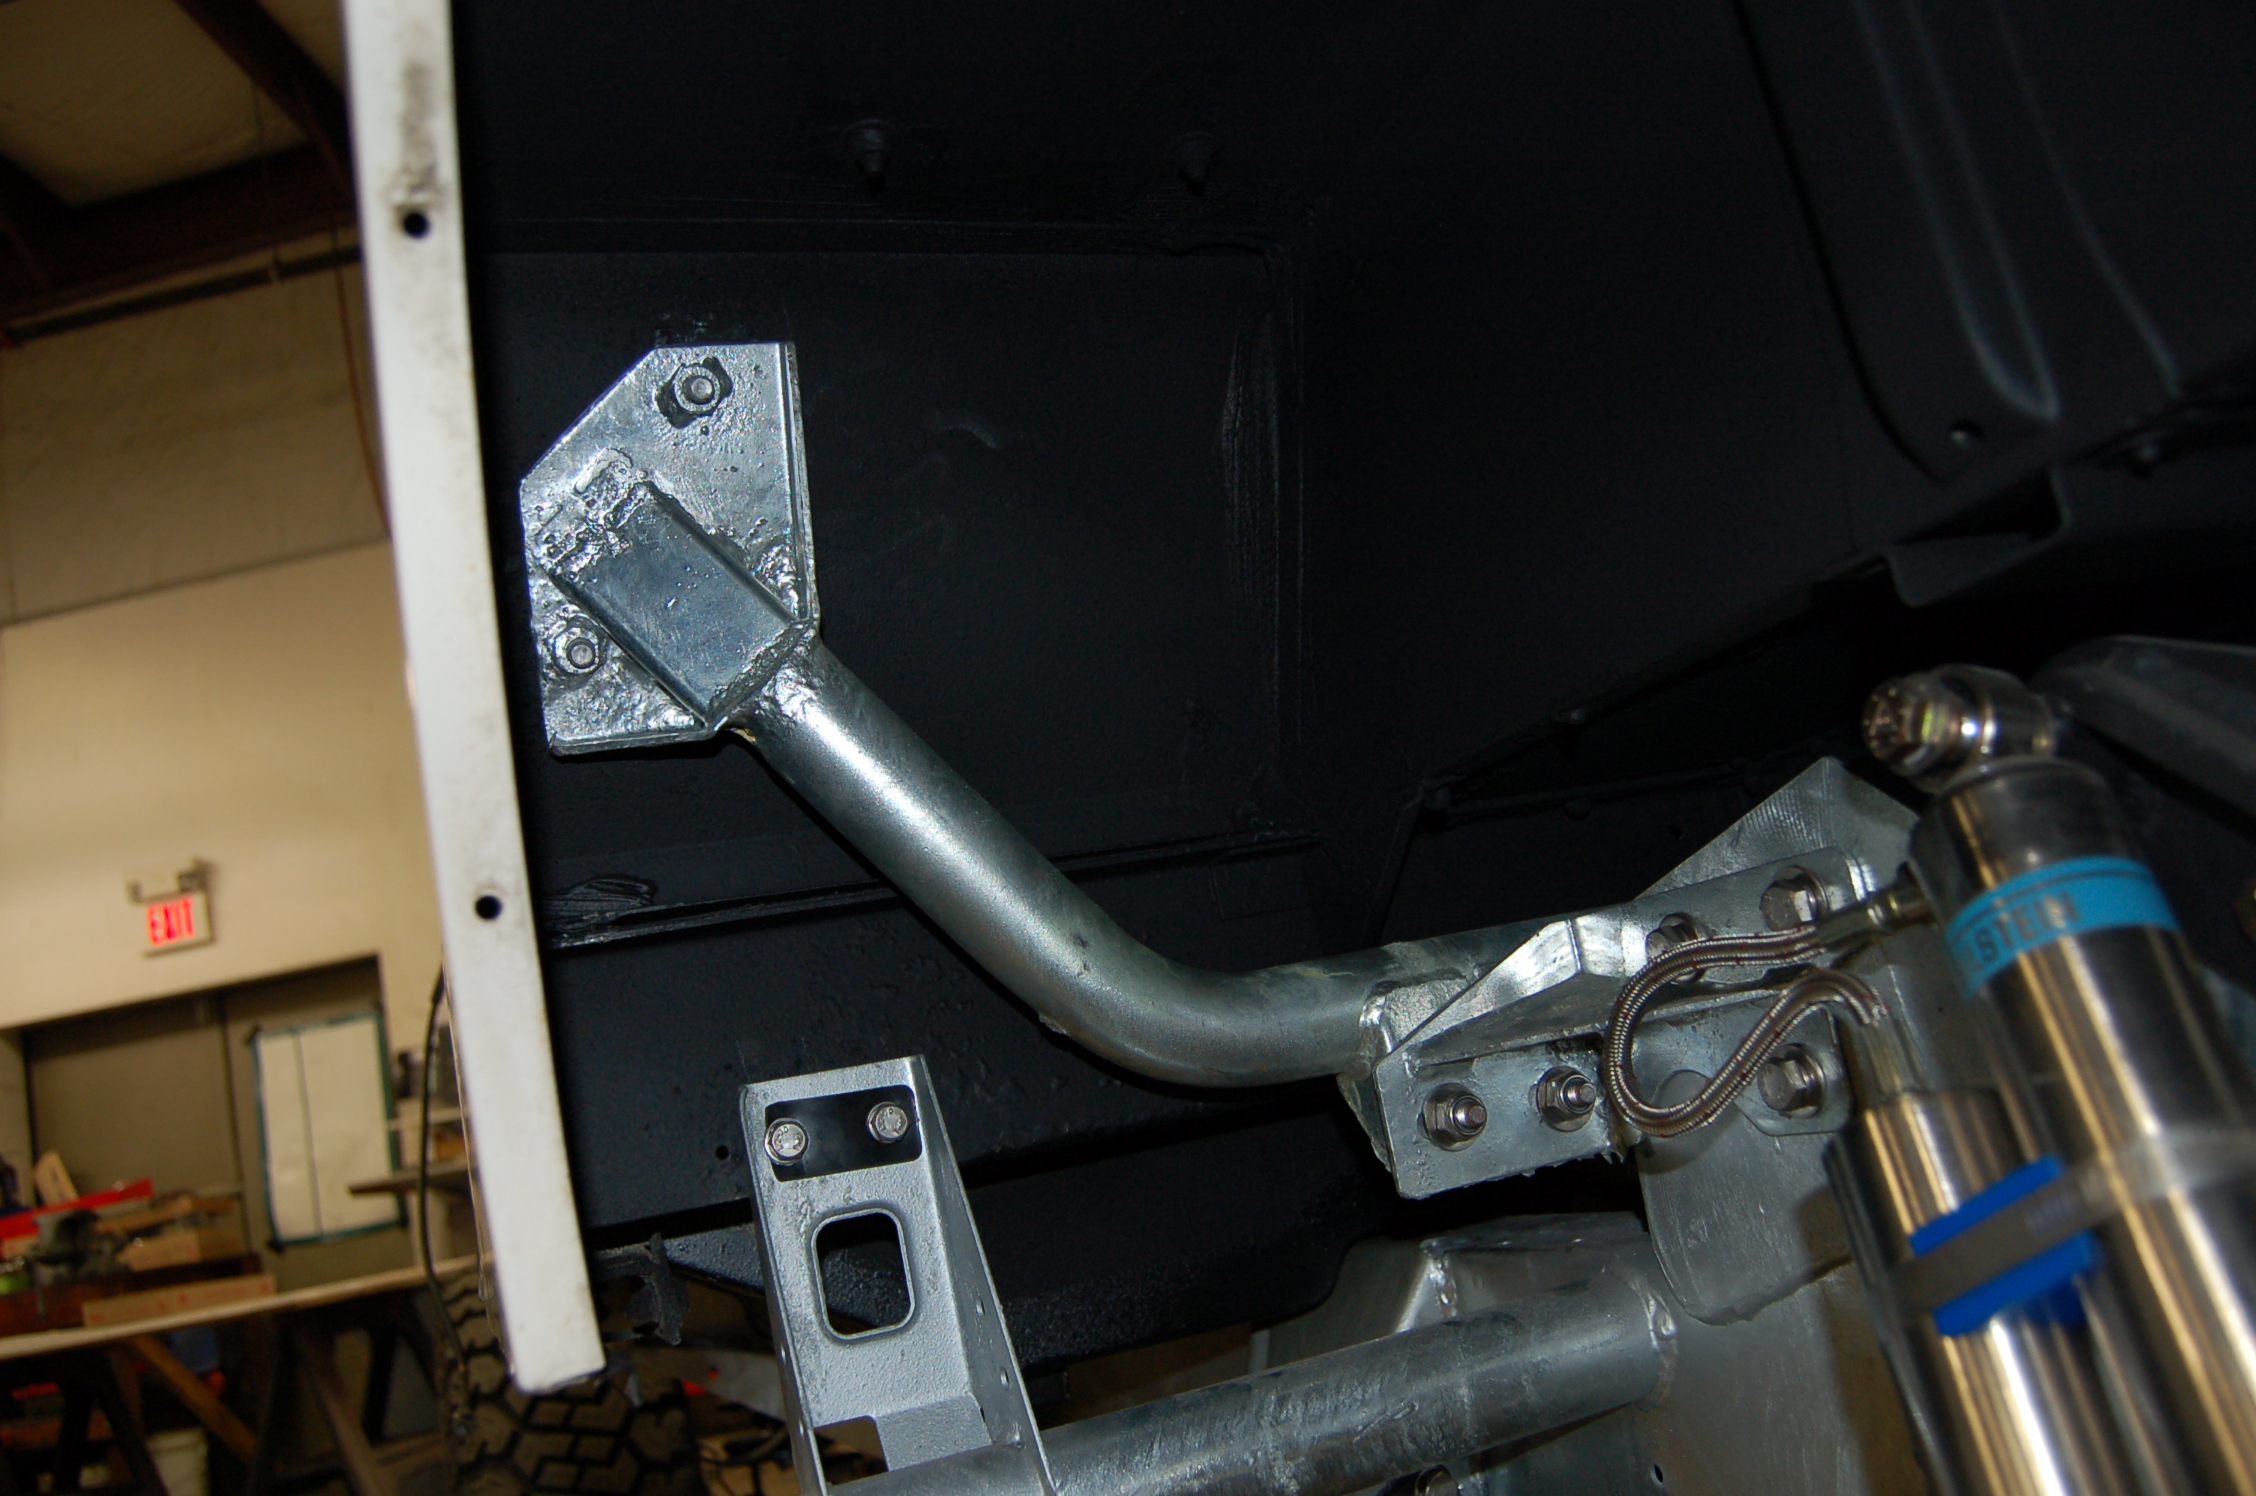
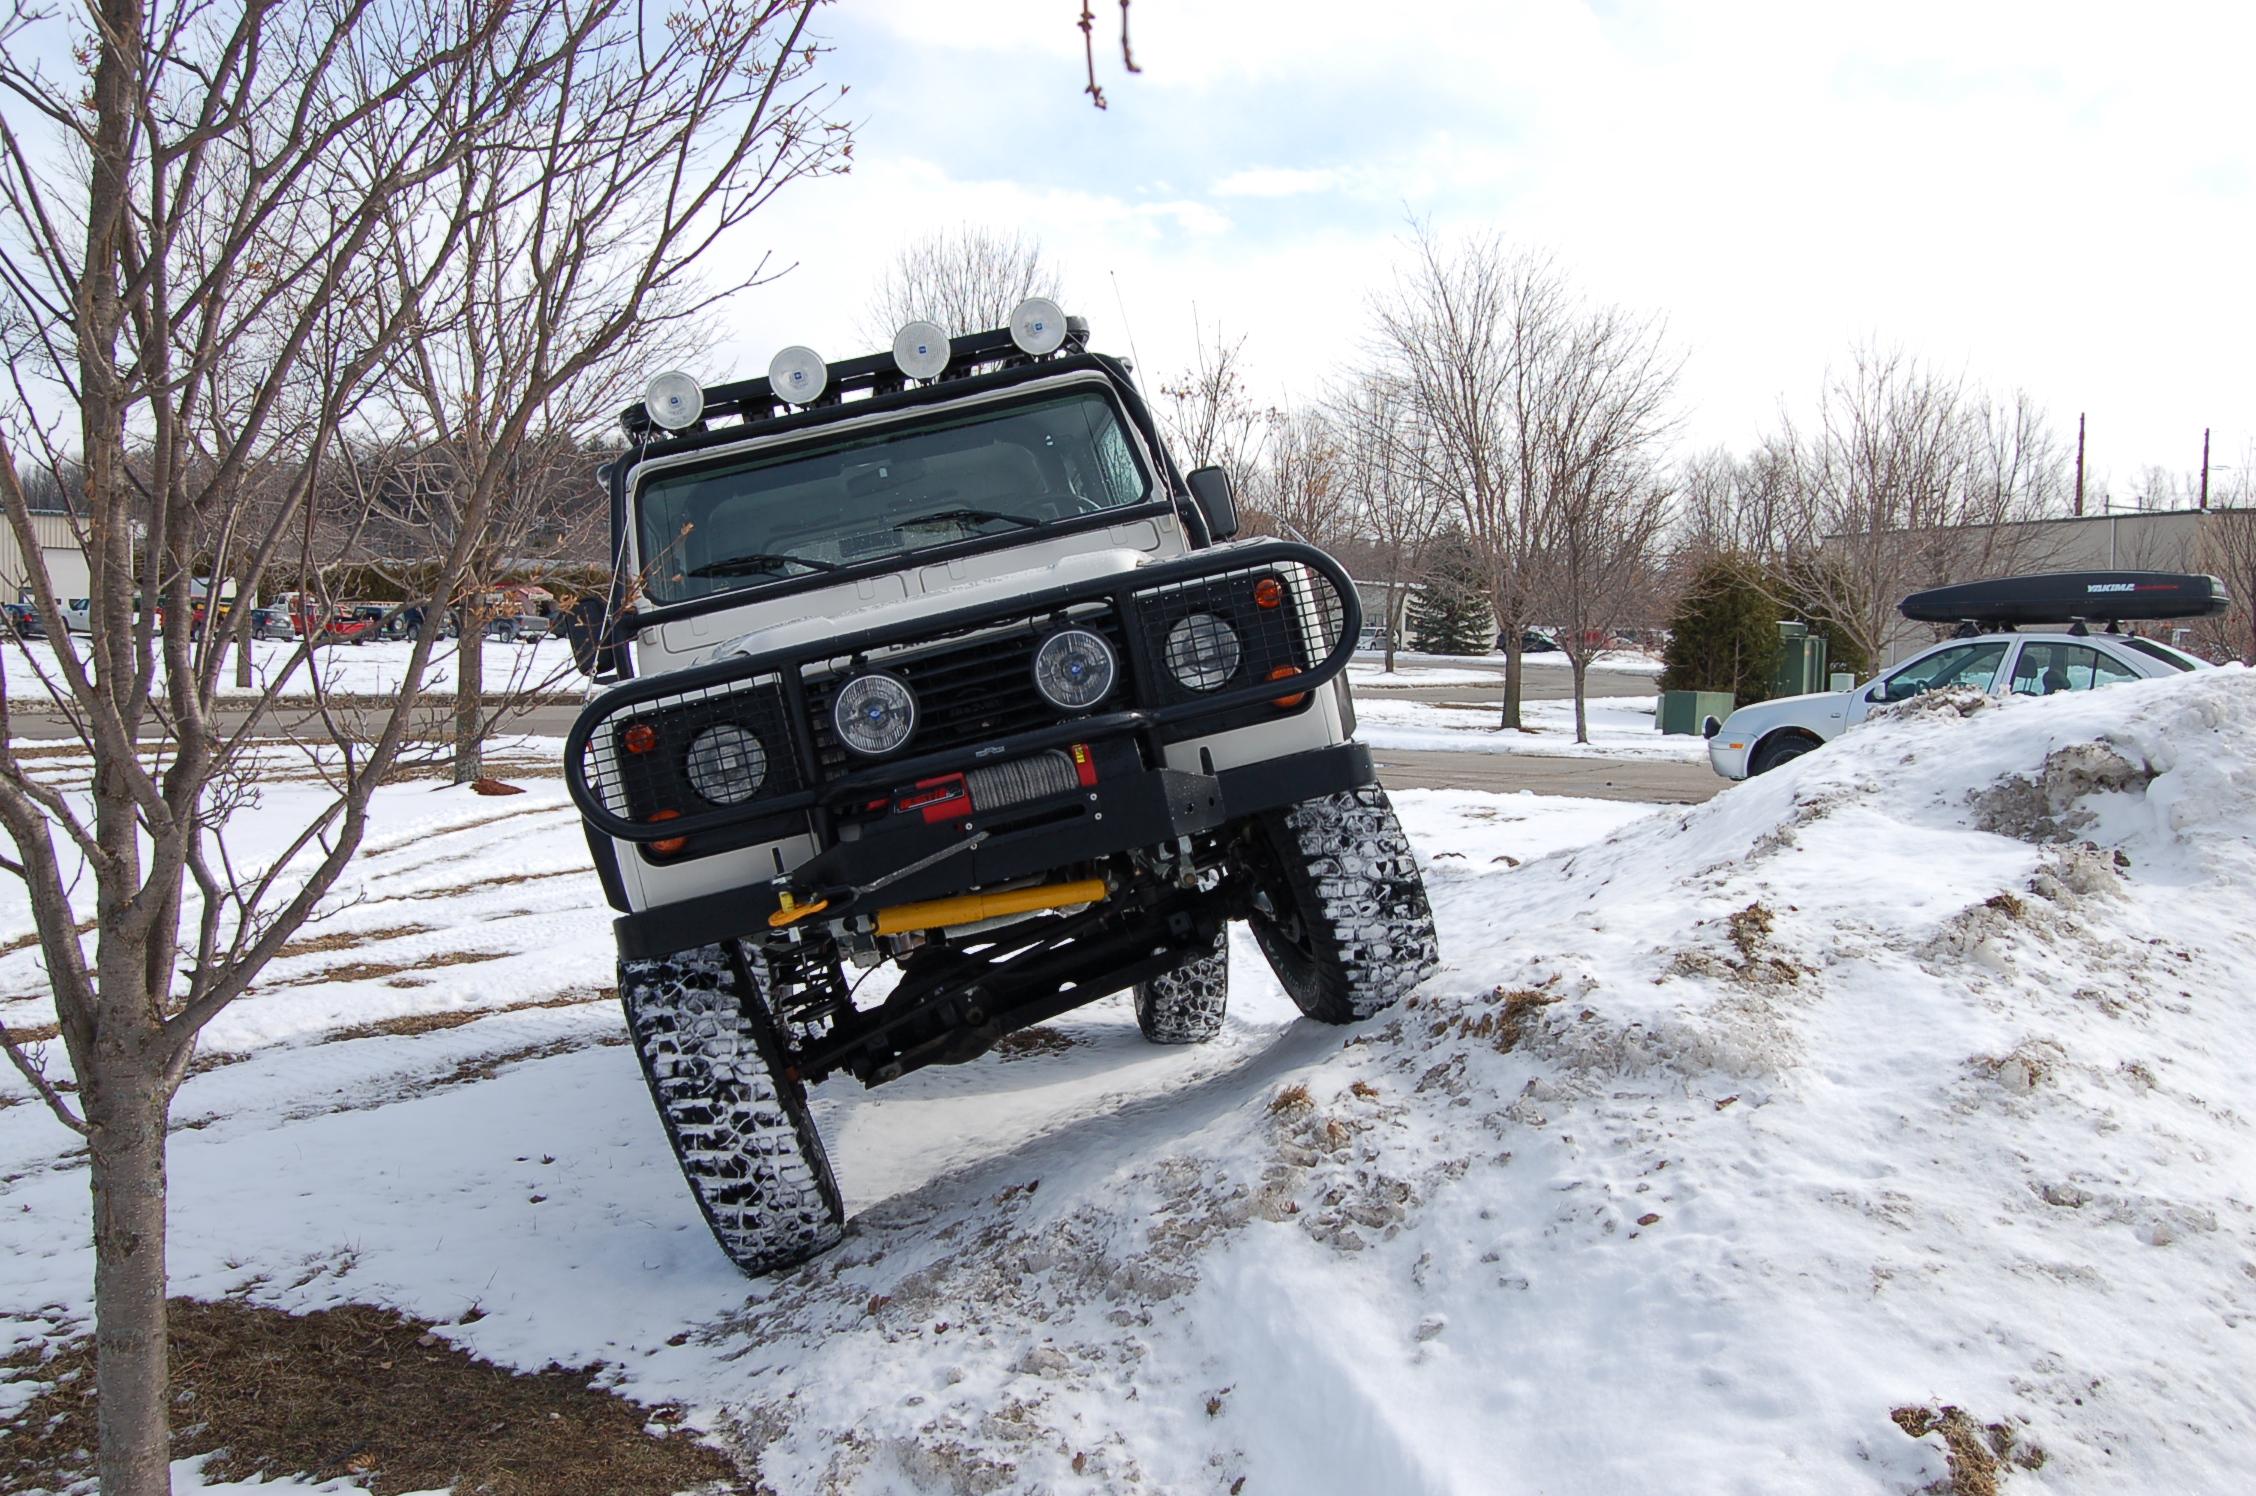
When changing suspension or installing a lift putting all the pieces on is only half the job. Carefully setting it up & adjusting it properly is time consuming but makes a huge difference to making it work properly. This suspension not only adds a lift but more travel as well.
A husky winch was installed with a dyneema rope.
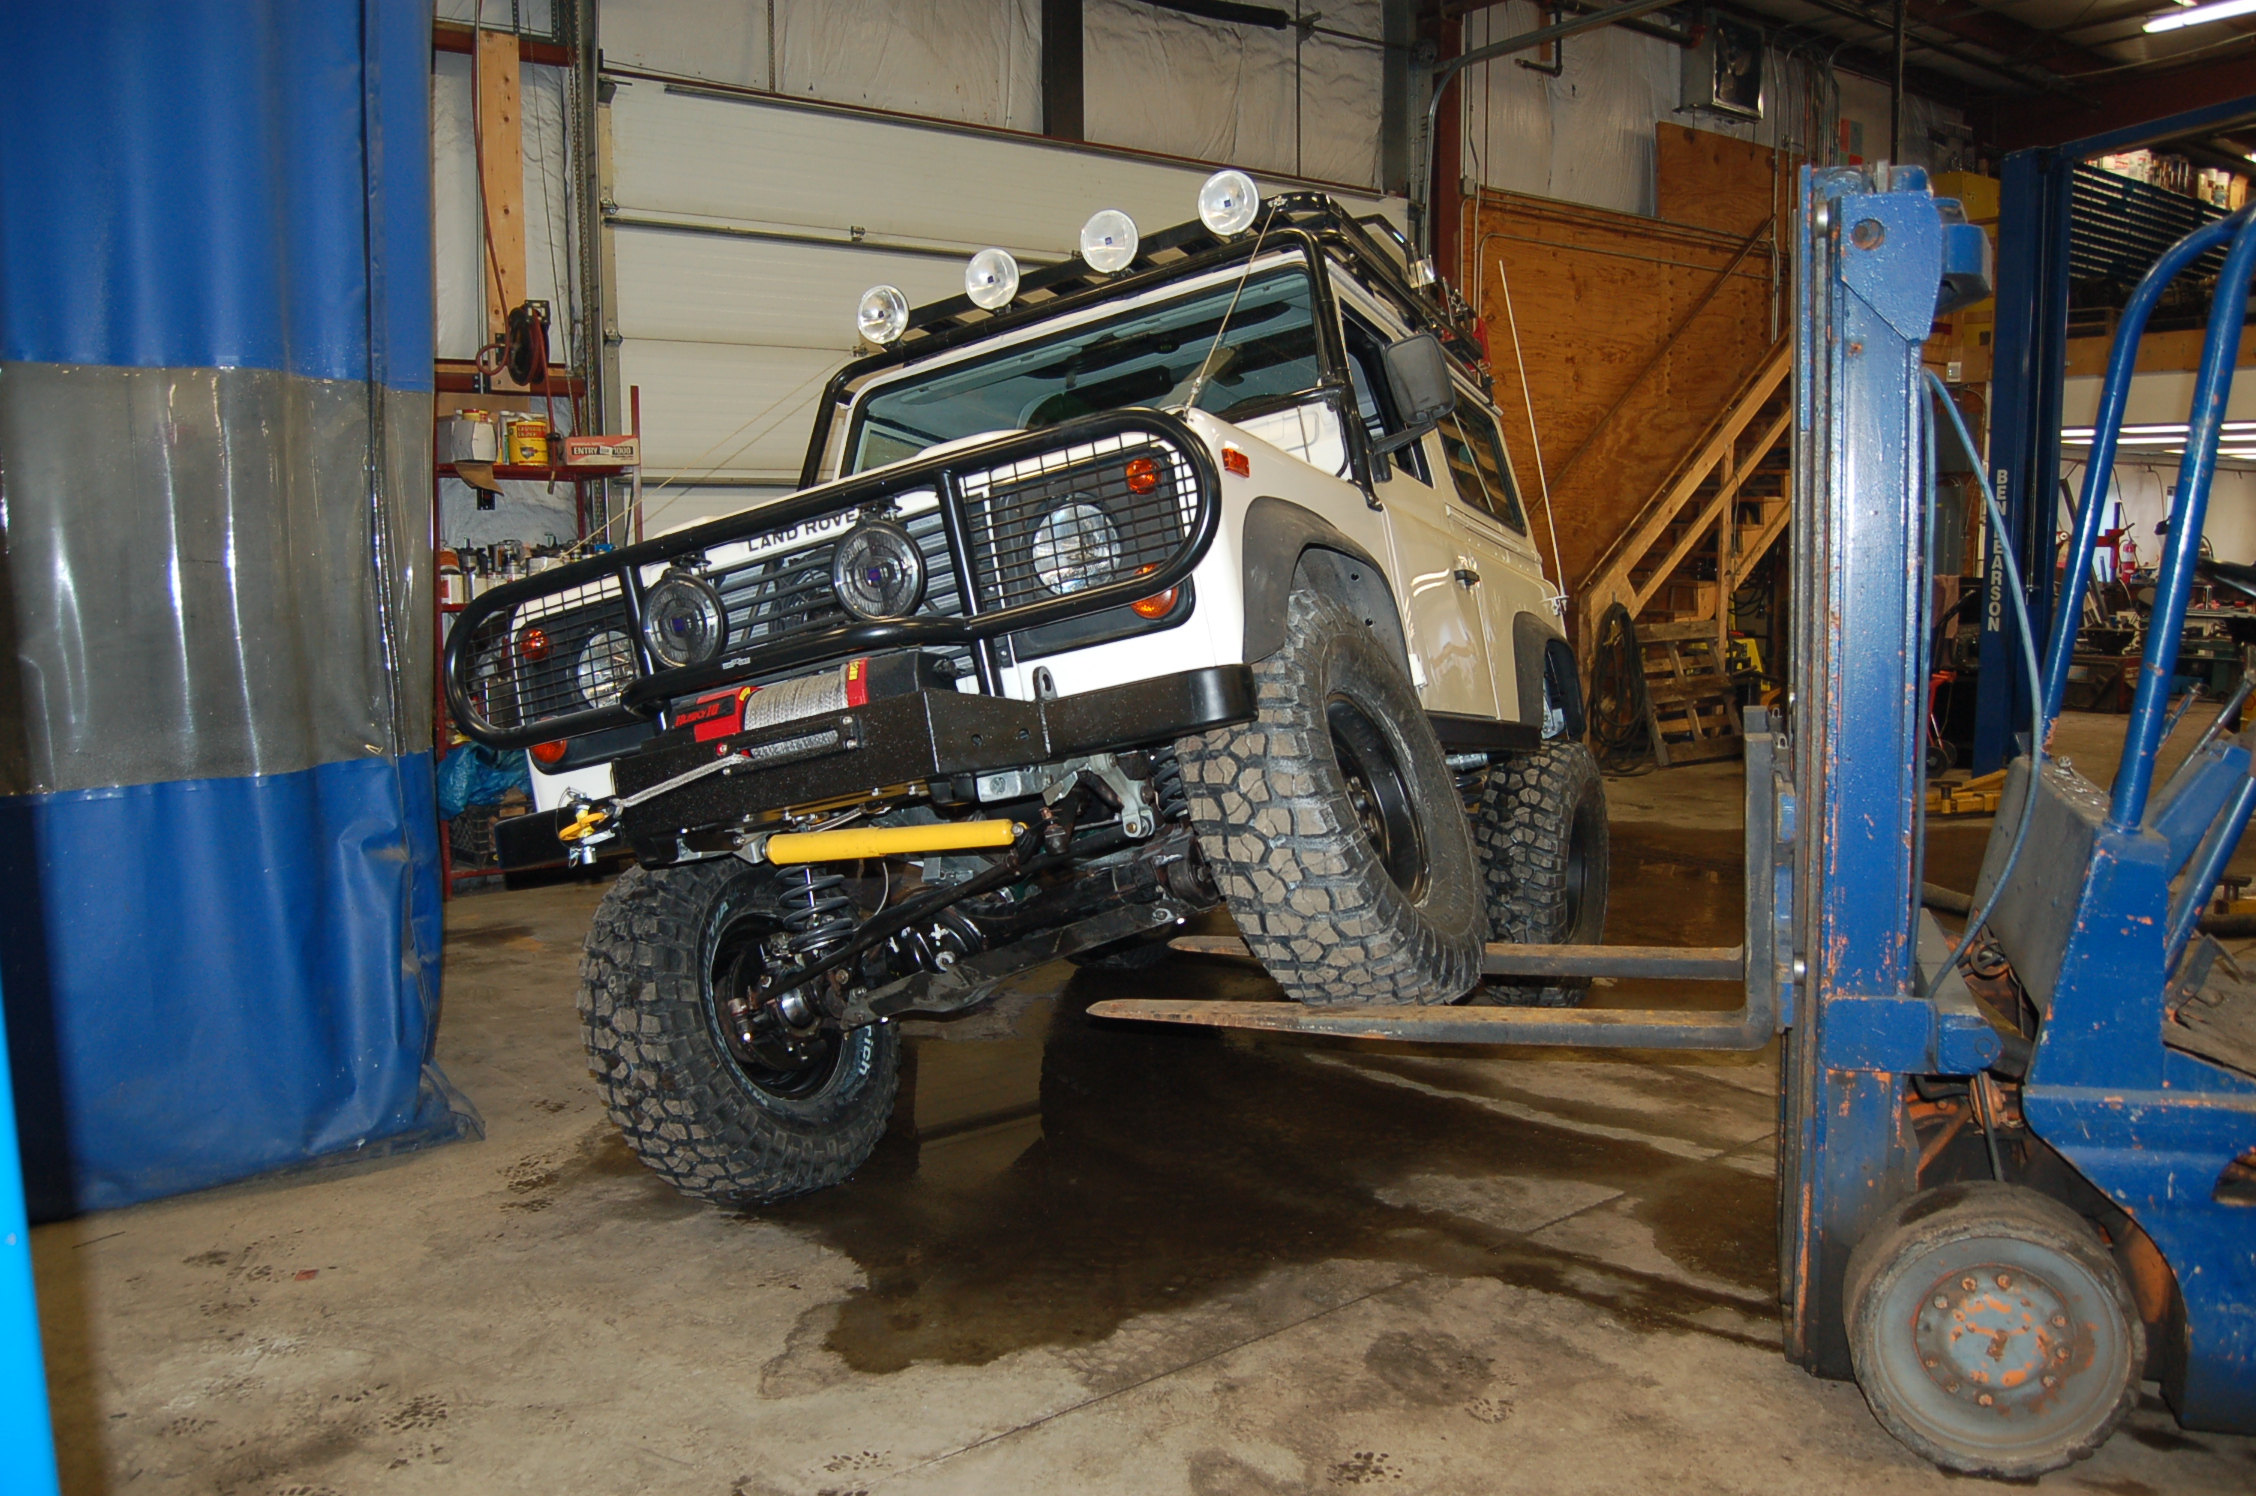
The finished rover is ready for a life of tough off road adventures.
The 4x4 Center is the leading in East Coast Land Rover Restoration facility and North East Land Rover Repair shop.